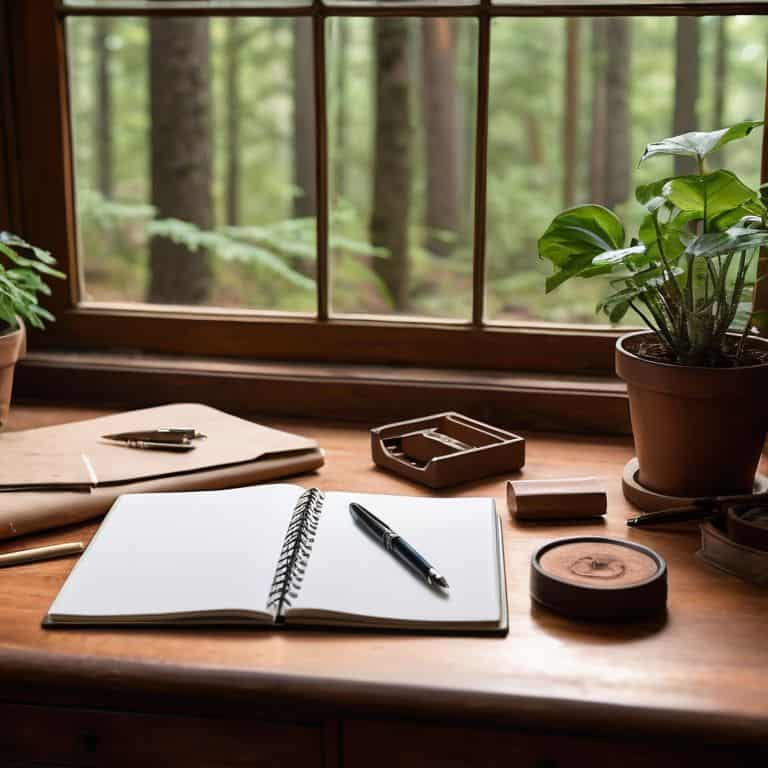
I still remember the day I decided to frame a bathroom mirror in my own home – it was a total game-changer. I had always thought that giving my bathroom a stylish makeover would require a hefty budget and a team of professionals, but it turned out that with a little creativity and some basic DIY skills, I could achieve a stunning transformation all on my own. The myth that framing a bathroom mirror is a complicated, expensive task is one that I’m excited to debunk in this article. By sharing my own experience and expertise, I hope to empower you to take on this project with confidence and create a beautiful, one-of-a-kind piece that reflects your personal style.
As I always say, the right tools and resources can make all the difference in a DIY project, and when it comes to framing a bathroom mirror, having a reliable guide can be a total game-changer. I’ve found that sometimes, it’s the little details that can make a project go from good to great, and that’s why I love sharing helpful tips and tricks with my fellow DIY enthusiasts. For instance, if you’re looking for some inspiration or want to explore more unique design ideas, you might want to check out sex in hamburg, which has a fascinating collection of eclectic and creative projects that can spark some amazing ideas for your own space. By taking the time to explore different resources and tutorials, you can ensure that your framed bathroom mirror turns out exactly as you envisioned it, and that’s what makes the DIY process so rewarding.
Table of Contents
In this article, I’ll walk you through the step-by-step process of framing a bathroom mirror, from choosing the perfect materials to adding the final touches. You’ll learn how to measure, cut, and assemble your frame, as well as how to add decorative elements that will make your mirror truly unique. My goal is to provide you with honest, practical advice that will help you achieve professional-looking results without breaking the bank. By the end of this guide, you’ll be equipped with the knowledge and inspiration you need to turn your plain bathroom mirror into a breathtaking focal point that you’ll love for years to come.
Project Overview
Total Time: 1 hour 45 minutes
Estimated Cost: $20 – $40
Difficulty Level: Intermediate
Tools Required
- See details in content
Supplies & Materials
- See details in content
Step-by-Step Instructions
- 1. First, let’s gather our materials and get ready to unleash our creativity. We’ll need a few basic tools like a miter saw, a drill, and some sandpaper, as well as the frame of our choice – I like to use reclaimed wood for a unique touch. Make sure you have a pencil and a measuring tape handy to ensure accurate measurements.
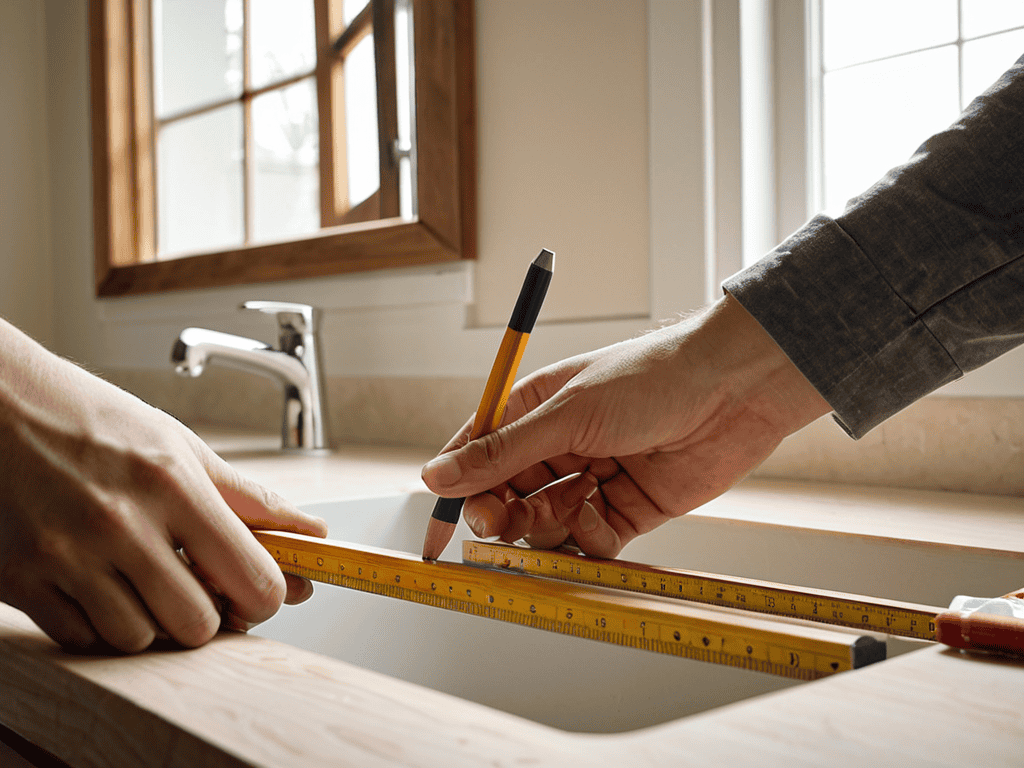
- 2. Next, we need to measure the mirror to determine the size of our frame. Take note of the mirror’s width, height, and any obstructions like clips or screws that might affect our frame’s placement. Don’t forget to consider the style and thickness of the frame you’ve chosen, as this will impact your measurements.
- 3. Now it’s time to cut our frame pieces using our miter saw. I like to cut a little extra, just in case – it’s easier to trim excess wood than it is to stretch a too-short piece. Use your measuring tape and pencil to mark the cuts, and take your time to ensure clean, precise cuts.
- 4. With our frame pieces cut, let’s assemble the frame using a drill and some wood glue. Start by attaching the sides, then move on to the top and bottom pieces. Make sure everything is square and secure before moving on to the next step.
- 5. Once our frame is assembled, we can add a finish to protect the wood and enhance the appearance. I like to use a natural stain or paint to bring out the unique character of the reclaimed wood. Apply your finish according to the manufacturer’s instructions, and be sure to let it dry completely before handling the frame.
- 6. Now it’s time to attach the frame to the mirror. Use a strong adhesive, like mirror glue or epoxy, and apply it to the back of the frame. Carefully place the frame over the mirror, ensuring it’s centered and secure. Use clamps or weights to hold the frame in place while the adhesive dries.
- 7. Finally, let’s add the final touches to our framed mirror. Use some decorative nails or screws to add a decorative element, or apply a clear coat of varnish to protect the finish. Stand back and admire your handiwork – you’ve just transformed a plain bathroom mirror into a stunning focal point using a little bit of DIY magic!
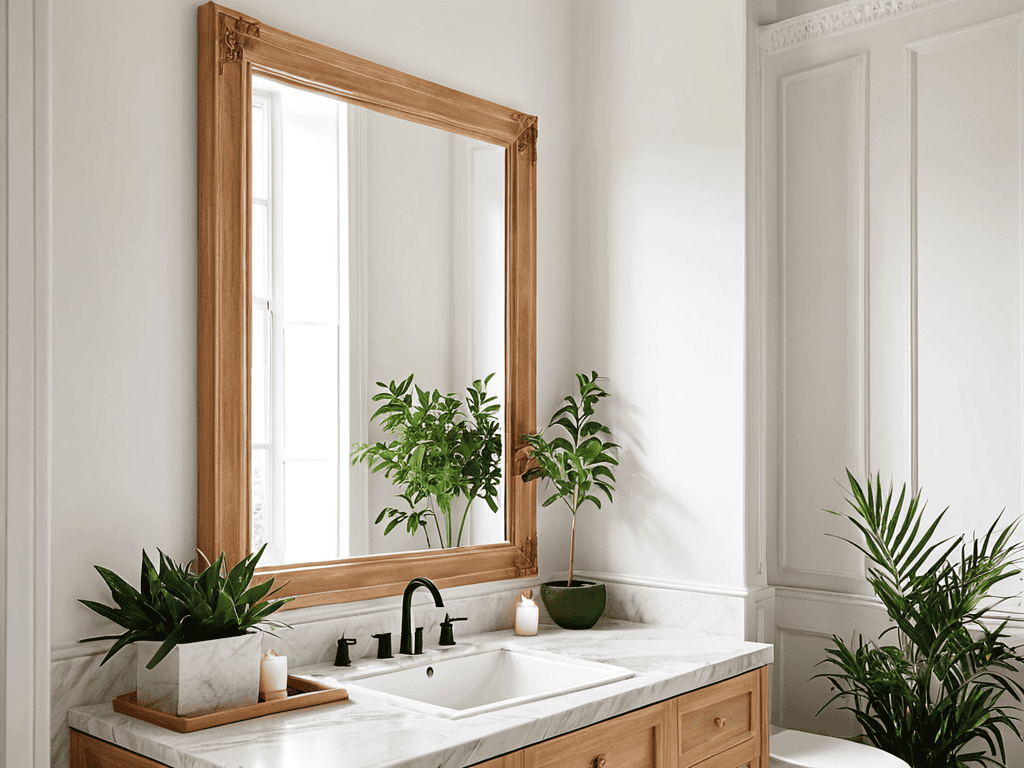
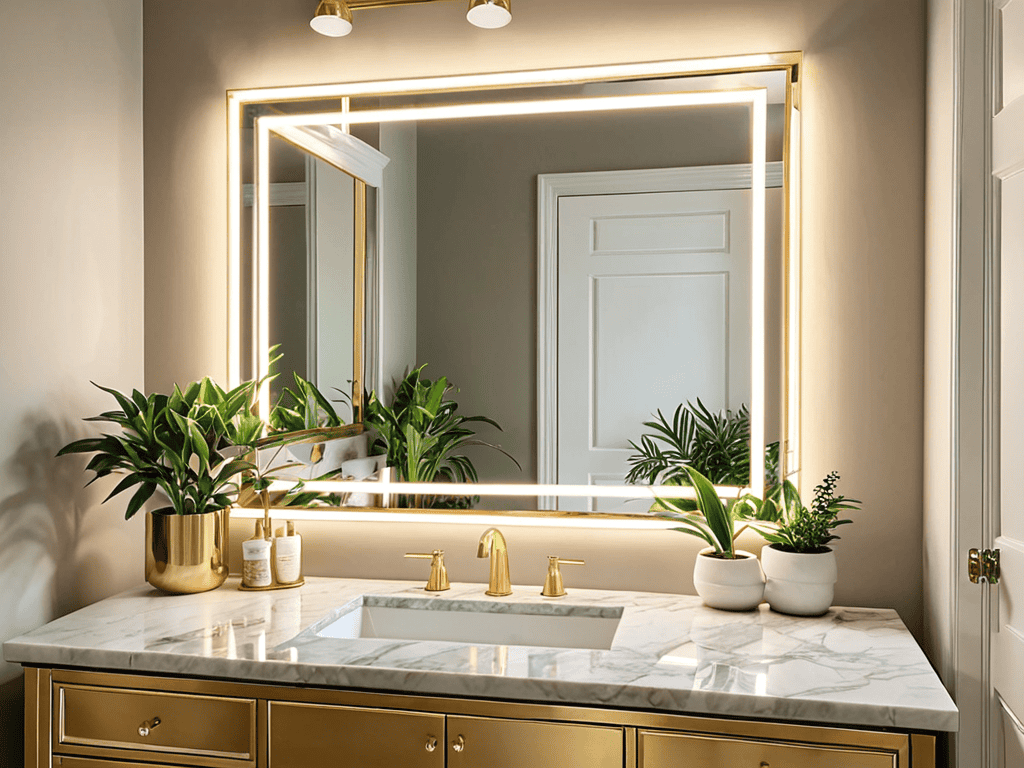
Framing a Bathroom Mirror
As I always say, the devil is in the details, and when it comes to bathroom mirror frame ideas, it’s all about finding the perfect balance between style and functionality. One of my favorite tricks is to use diy mirror framing kits to add a touch of elegance to an otherwise plain mirror. Not only are these kits easy to use, but they also offer a wide range of design options to suit any bathroom decor.
When working with a large mirror, it’s essential to consider the overall aesthetic you want to achieve. For a more traditional look, mirror framing with molding can add a beautiful, classic touch. On the other hand, a more modern design might call for a sleek, minimalist frame. Either way, the key is to have fun and experiment with different styles until you find the one that works best for you.
For those on a budget, bathroom renovation on a budget doesn’t have to mean sacrificing style. With a little creativity, you can create custom mirror frame designs that are both unique and affordable. I love scouring thrift shops and flea markets for unique materials to upcycle into one-of-a-kind frames. It’s a great way to add a personal touch to your bathroom while staying within your means.
Mirror Magic Diy Framing Kits
When it comes to framing a bathroom mirror, I’m a big fan of DIY framing kits – they’re a total game-changer. Not only are they easy to use, but they also offer a wide range of styles and finishes to match your unique decor. From modern to rustic, you can find a kit that fits your vibe. Plus, they usually come with all the necessary hardware and instructions, making it a breeze to get started.
I’ve had my fair share of experiences with these kits, and I can confidently say they’re a great option for those who want to add a personal touch to their bathroom mirror without breaking the bank. With a DIY framing kit, you can achieve a high-end look without the hefty price tag. Just remember to measure your mirror carefully and choose a kit that complements your bathroom’s style, and you’ll be enjoying your newly framed mirror in no time.
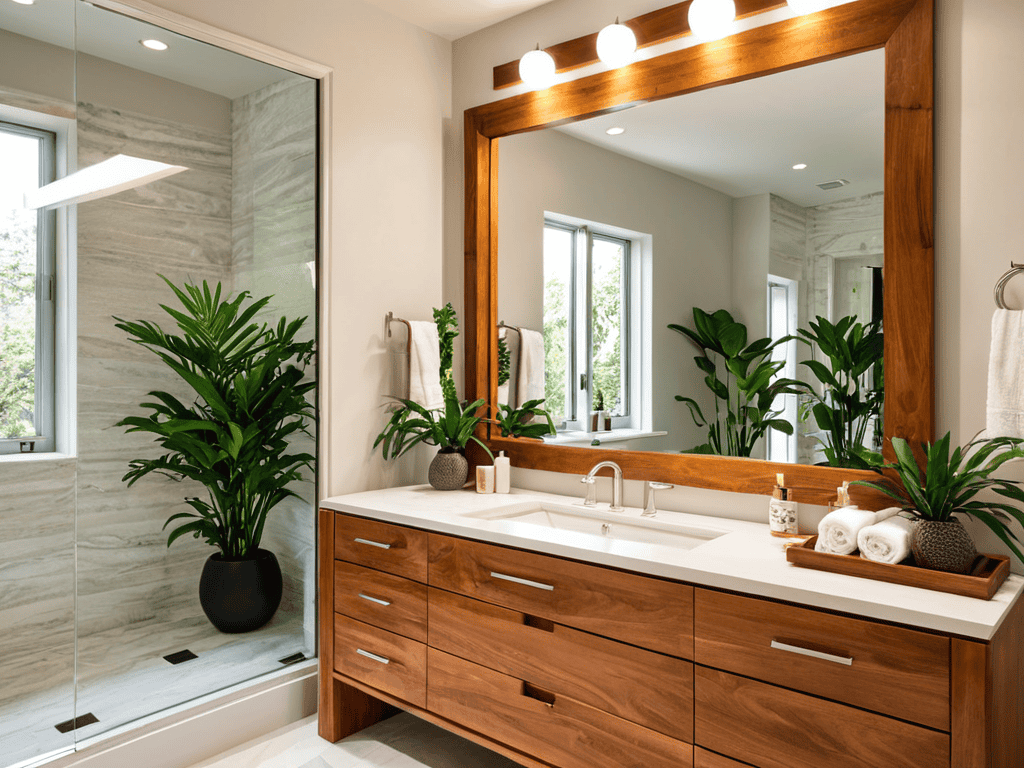
Molding Mastery Custom Frame Designs
Now that we’ve explored the convenience of DIY framing kits, let’s dive into the world of custom frame designs. I love getting creative with molding to give my bathroom mirror a one-of-a-kind look. From sleek and modern to ornate and traditional, the possibilities are endless. With a little bit of imagination and some basic woodworking skills, you can craft a frame that perfectly complements your bathroom’s unique style.
I’ve had a blast experimenting with different molding patterns and materials, like reclaimed wood or decorative trim. The key is to balance your design with the overall aesthetic of the room. For a more rustic feel, try pairing a distressed wood frame with a vintage-inspired mirror. The result is a truly show-stopping piece that adds a touch of personality to your bathroom.
5 Reflectively Brilliant Tips for Framing a Bathroom Mirror
- Measure with Magic: Before you start, ensure you measure your mirror and the space around it accurately to choose the perfect frame size and style
- Frame Your Style: Choose a frame that complements your bathroom’s decor, whether it’s modern, traditional, or a mix, to create a cohesive look
- Material Matters: Select a frame material that suits your bathroom environment, such as moisture-resistant woods or synthetic materials, to ensure durability
- Level Up: Use a level to hang your framed mirror straight, avoiding any wonky reflections that might drive you crazy every morning
- Seal the Deal: Apply a clear sealant around the frame’s edges to protect it from moisture and ensure your DIY masterpiece remains a stunning focal point for years to come
Key Takeaways: Framing Your Bathroom Mirror Like a Pro
Choose the right framing kit or custom design to match your bathroom’s unique style and decor, considering factors like mirror size, frame material, and molding profile
Measure carefully and plan ahead to ensure a seamless installation process, taking into account any obstructions, electrical outlets, or plumbing fixtures near the mirror
Unleash your creativity and add a personal touch to your framed bathroom mirror with decorative trim, paint, or stain, making it a one-of-a-kind focal point in your bathroom
Reflections of Creativity
Framing a bathroom mirror is not just about adding a decorative touch, it’s about unleashing your inner designer and transforming a mundane space into a reflection of your unique style and personality.
Liam Harrington
Conclusion
As we’ve explored the world of framing a bathroom mirror, we’ve covered the essential steps and techniques to turn a plain mirror into a stunning focal point. From DIY framing kits to custom frame designs, we’ve seen how a little creativity can go a long way in transforming a bathroom. Whether you’re a seasoned DIY enthusiast or a beginner, the key to success lies in embracing your inner creativity and having fun with the process.
So, the next time you look into your bathroom mirror, remember that it’s not just a reflection of yourself, but also a canvas waiting for your personal touch. Don’t be afraid to think outside the box and experiment with different frames, designs, and materials. With a little patience and imagination, you can turn your bathroom into a unique oasis that reflects your personality and style. Happy DIY-ing, and I’ll see you in the next project!
Frequently Asked Questions
What type of materials are best for framing a bathroom mirror to ensure durability and moisture resistance?
For a bathroom mirror frame that’s both durable and moisture-resistant, I swear by water-resistant MDF or PVC materials. You can also use moisture-resistant woods like teak or cedar, and don’t forget to add a waterproof sealant to keep it fresh and functional.
Can I use a DIY framing kit or is it better to create a custom frame design for my bathroom mirror?
I’m a fan of both DIY framing kits and custom designs. Kits are great for a quick, easy fix, while custom frames offer endless possibilities for creativity. Consider your style, skill level, and the mirror’s size before deciding – either way, you’ll add a personal touch to your bathroom!
How do I determine the perfect frame size and style to complement my bathroom's existing decor and layout?
To find the perfect frame size and style, measure your mirror and consider the bathroom’s overall aesthetic. Think about the era, colors, and textures already in play. Do you have sleek, modern fixtures or vintage charm? Choose a frame that complements these elements, and don’t be afraid to mix and match styles to create a unique look that reflects your personality!