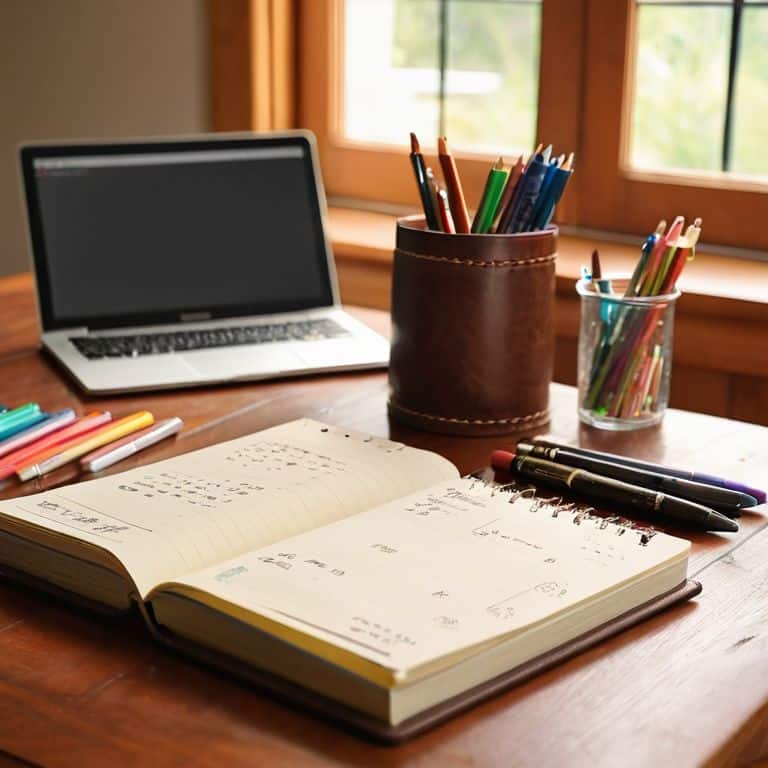
I still remember the day I turned my cluttered garage into a DIY ergonomic workspace that actually worked for me. I was tired of feeling like I was stuck in a sea of tools and half-finished projects, with no clear sense of direction or comfort. That’s when I realized that creating an ergonomic workspace isn’t just about throwing some fancy furniture together – it’s about crafting a space that flows with your unique energy. As someone who’s spent years scouring flea markets and thrift shops for hidden gems to upcycle, I’ve learned that the key to a great workspace is finding that perfect balance between form and function.
In this article, I’ll share my honest, no-nonsense advice on how to create a DIY ergonomic workspace that reflects your personality and work style. From repurposing old furniture to designing a layout that boosts productivity, I’ll walk you through the practical steps to transform your workspace into a comfortable and efficient haven. My goal is to inspire you to think outside the box and unleash your creativity, just like I do with my mismatched socks and DIY projects. By the end of this guide, you’ll have the tools and confidence to create a workspace that’s truly yours, and that will help you stay focused and motivated to tackle any project that comes your way.
Table of Contents
Guide Overview: What You'll Need

Total Time: 2 hours 30 minutes
Estimated Cost: $50 – $100
Difficulty Level: Intermediate
Tools Required
- Tape Measure (for accurate measurements)
- Level (to ensure even surfaces)
- Drill (with screwdriver and drill bits)
- Utility Knife (with extra blades)
- Wrench (for adjusting furniture)
- Pencil and Paper (for planning and notes)
Supplies & Materials
- 2-in x 4-in lumber (for building custom shelving)
- Ergonomic Chair (or chair accessories for improvement)
- Monitor Arm (for optimal screen placement)
- Keyboard Tray (for comfortable typing position)
- Cable Management System (for organizing cords and cables)
- Desk Lamp (for proper lighting)
- Anti-Fatigue Mat (for standing desk option)
Step-by-Step Instructions
- 1. First, let’s assess your space and figure out what you need to make it ergonomic. Take a good look around your workspace and identify any areas that cause you discomfort or stress. Is your chair too low? Is your desk too cluttered? Make a mental note of these problem areas, and we’ll tackle them one by one.
- 2. Next, clear the clutter and give your workspace a good ol’ fashioned purge. Get rid of any unnecessary papers, broken pens, or dusty trinkets that are just collecting dust. This will not only help you focus but also give you a clean slate to work with. Remember, a clutter-free space is a clear mind.
- 3. Now, let’s talk about ergonomic essentials. You’ll need a few basic tools to get started, such as a tape measure, a level, and a pencil. Don’t worry if you don’t have these already – they’re easy to find at your local hardware store (like the one I grew up in!). With these tools, you’ll be able to measure and adjust your workspace to fit your body perfectly.
- 4. It’s time to rethink your seating. Your chair should be at a height that allows your feet to rest flat on the floor or on a footrest, with your knees at or below hip level. If your chair is too low, consider adding a cushion or booster to give you a bit of extra lift. And don’t forget to adjust the armrests – they should be at a height that allows your elbows to rest at a 90-degree angle.
- 5. Let’s not forget about proper lighting. Harsh overhead lighting can be a real strain on the eyes, so consider adding some table lamps or floor lamps to your workspace. These will provide a softer, more focused light that’s easier on the eyes. Plus, they can add a bit of warmth and personality to your space.
- 6. Now, it’s time to get creative with DIY storage solutions. Instead of buying expensive desk organizers, try repurposing old jars, containers, or even cardboard boxes to store your pens, papers, and other office supplies. This will not only save you money but also add a touch of personality to your space. Get creative and have fun with it.
- 7. Finally, let’s talk about adding some personality to your workspace. This is where the magic happens, folks. Whether it’s a fun mousepad, a quirky piece of art, or a colorful rug, add something that reflects your personality and makes you happy. Remember, your workspace should be a reflection of your awesomeness, so don’t be afraid to get a little weird and wonderful.
Diy Ergonomic Workspace Magic
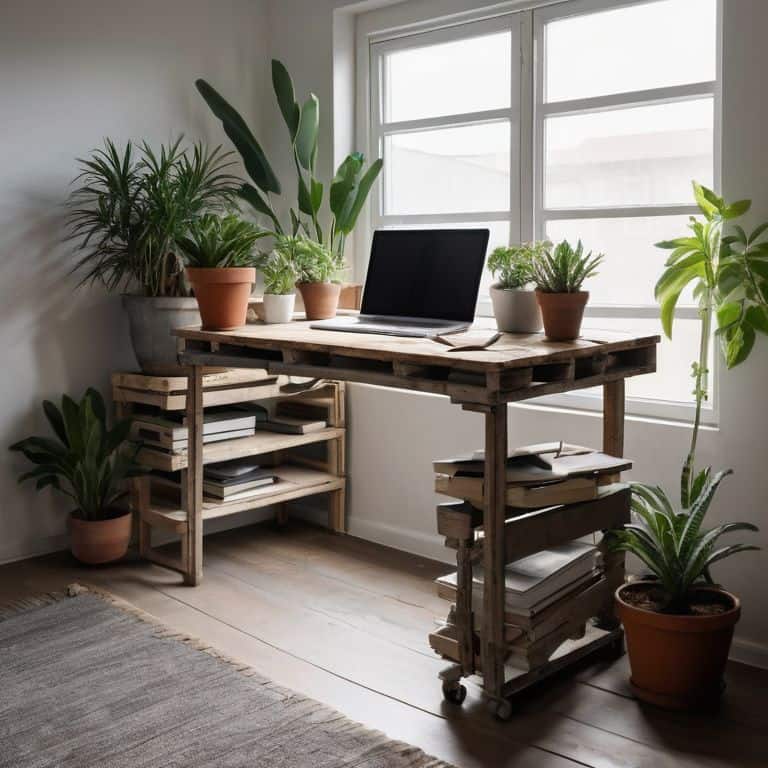
As I delve into the world of standing desk conversion ideas, I’m reminded that creating a comfortable workspace is all about experimentation and creativity. One of my favorite hacks is to repurpose an old door or plank into a one-of-a-kind desk surface. Not only does this add a touch of whimsy to your workspace, but it also allows you to customize the height and layout to suit your needs. Plus, it’s a great way to upcycle and reduce waste.
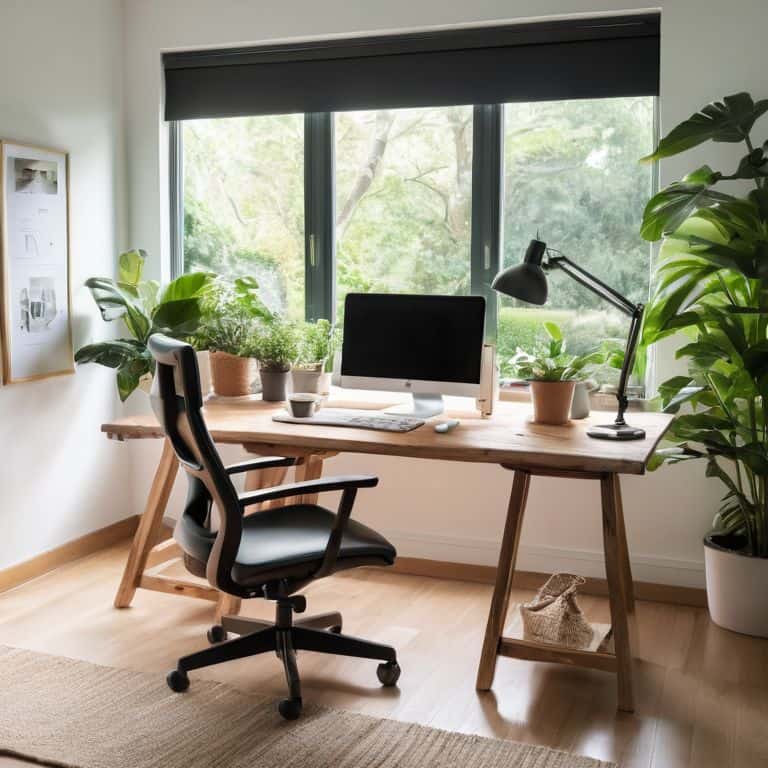
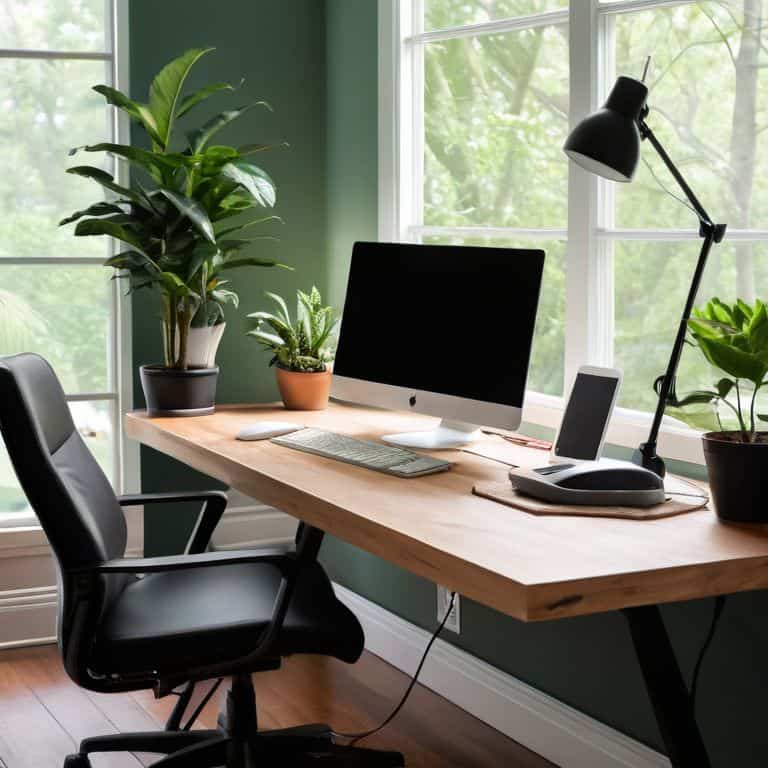
When it comes to seating, I always recommend checking out ergonomic chair reviews to find the perfect fit for your body. A good chair can make all the difference in preventing back pain and promoting productivity. But don’t forget about the importance of natural light workspace benefits – if possible, position your desk near a window to soak up some sunshine and boost your mood.
To take your workspace to the next level, consider implementing some noise reduction techniques for home office setups. This can be as simple as adding some sound-absorbing panels or using a white noise machine to create a more focused environment. By combining these elements with a customizable desk organization system, you’ll be well on your way to creating a workspace that’s both functional and inspiring.
Ergonomic Chair Hacks for Less
I’m all about breathing new life into old favorites, and that includes your trusty office chair. Who says you need to break the bank for an ergonomic seat? With a little creativity, you can transform your current chair into a comfy haven. Try adding a lumbar support roll or a DIY seat cushion using an old foam pad and some funky fabric. You can even repurpose an old backpack or bag as a makeshift back support – just get creative and experiment until you find the perfect fit!
Standing Desk Conversion Secrets
Now that we’ve tapped into the magic of DIY ergonomic workspaces, let’s dive into one of my favorite hacks: converting your existing desk into a standing desk. I mean, who says you need to break the bank on a fancy new setup? With a little creativity, you can breathe new life into your old desk and start reaping the benefits of standing while you work. I’ve done it myself, using a combination of reclaimed wood and industrial pipes to create a custom riser that fits my needs perfectly.
The key is to experiment and find a solution that works for you. Whether you’re using stacks of books, DIY platforms, or even a vintage door, the possibilities are endless. And trust me, your body (and your productivity) will thank you. I like to switch between sitting and standing throughout the day, and it’s amazing how much of a difference it can make. So, don’t be afraid to think outside the box and get creative with your standing desk conversion – your workspace will never be the same!
5 Game-Changing Hacks to Supercharge Your DIY Ergonomic Workspace
- Repurpose Old Furniture to Create a One-Of-A-Kind Desk
- Add Some Greenery to Boost Mood and Productivity
- Implement a Cable Management System to Reduce Clutter and Increase Efficiency
- Upcycle an Old Chair into an Ergonomic Masterpiece with DIY Cushions and Adjustments
- Create a Vision Board to Inspire Creativity and Guide Your Workspace Design
My Top 3 DIY Ergonomic Workspace Hacks
Turn your workspace into a reflection of your personality by upcycling old furniture and decor to create a unique and comfy environment
Get creative with DIY standing desk conversions and ergonomic chair hacks to boost your productivity and reduce eye strain, all without breaking the bank
Remember, the key to a truly awesome DIY ergonomic workspace is to experiment, have fun, and never be afraid to think outside the box (or in this case, the office cubicle)
Embracing Ergonomic Excellence
A DIY ergonomic workspace isn’t just about rearranging furniture, it’s about crafting a sanctuary that celebrates your uniqueness and supercharges your productivity – one creative hack at a time!
Liam Harrington
Wrapping Up Your DIY Ergonomic Workspace
In this article, we’ve covered the basics of creating a truly personalized DIY ergonomic workspace. From repurposing items to create the perfect desk organizers to giving your old chair a new life with some clever hacks, we’ve explored it all. The key to a successful DIY project is to not be afraid to think outside the box and get creative. Remember, it’s all about making your workspace a reflection of your unique style and needs. Whether you’re a fan of standing desks or prefer to sit in comfort, there are countless ways to make your workspace not only functional but also a haven that inspires productivity and joy.
As you embark on your own DIY ergonomic workspace journey, keep in mind that it’s a process, and it’s okay to take your time and make adjustments as you go. The most important thing is to have fun and stay true to yourself. Don’t be afraid to experiment with different materials, colors, and designs until you find the perfect combination that makes your heart skip a beat. With a little patience, imagination, and elbow grease, you can turn even the most mundane space into a vibrant oasis that nurtures your mind, body, and soul. So, go ahead, roll up your sleeves, and get ready to unleash your inner DIY rockstar!
Frequently Asked Questions
What are some creative ways to repurpose old furniture into ergonomic workspace pieces?
I love breathing new life into old furniture. Try upcycling an vintage door into a standing desk or transforming a worn-out dresser into a storage-filled workstation. You can also repurpose old pallets into a custom shelving unit or turn a retro armchair into a comfy, ergonomic reading nook. Get creative and give those old pieces a fresh spin!
How can I ensure my DIY standing desk is sturdy and safe to use?
For a sturdy DIY standing desk, I swear by using heavy-duty casters and reinforcing the frame with extra brackets. Also, make sure to test it with your heaviest gear and give it a few wobbles to ensure it’s rock-solid – safety first, my friend!
Are there any affordable and eco-friendly materials I can use to make my own ergonomic chair accessories?
Ah, you’re speaking my language now. I’m all about repurposing and upcycling. For eco-friendly chair accessories, consider using reclaimed wood, bamboo, or even vintage fabric. You can also breathe new life into old pallets or crates to create custom armrests or back supports. Get creative and reduce waste – it’s a win-win!