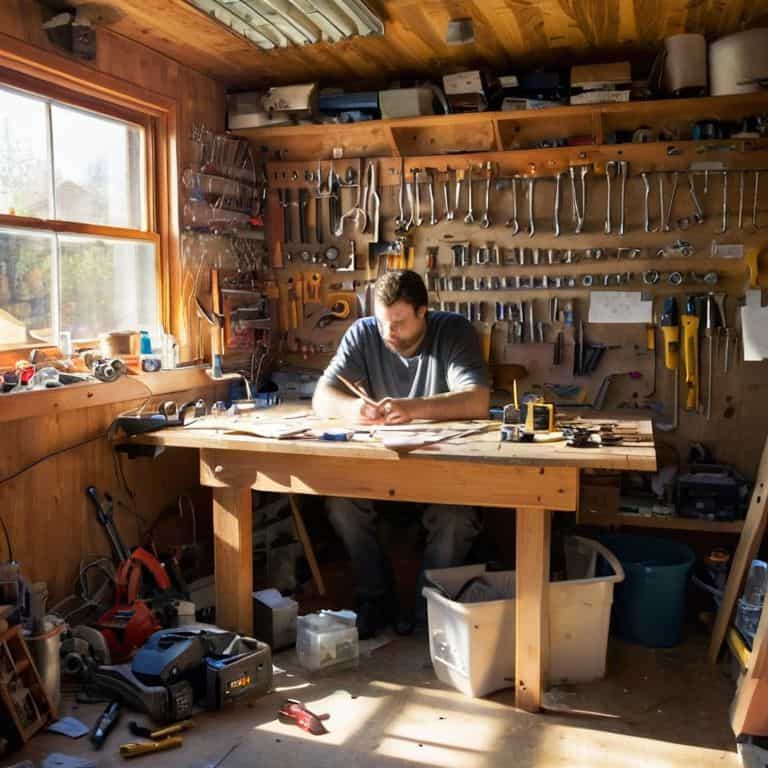
I still remember the time I tried to upcycle an old dresser without properly assessing the risks, and let’s just say it was a messy disaster. As someone who’s passionate about DIY projects, I’ve learned that risk management for DIY projects is not just about avoiding accidents, but also about bringing your vision to life without breaking the bank or losing your mind. I’ve found that many people believe that DIY projects have to be chaotic and unpredictable, but I’m here to tell you that with the right mindset and strategies, you can tame the chaos and create something truly amazing.
In this article, I’ll share my personal approach to risk management for DIY projects, including practical tips and tricks for identifying potential hazards, assessing risks, and developing a plan to mitigate them. You’ll learn how to think like a DIY pro, anticipating potential problems and finding creative solutions to overcome them. By the end of this guide, you’ll be equipped with the knowledge and confidence to take on even the most ambitious DIY projects, and turn your ideas into reality without sacrificing your sanity or your budget.
Table of Contents
Guide Overview: What You'll Need
Total Time: 1 hour 30 minutes
Estimated Cost: $0 – $20
Difficulty Level: Easy
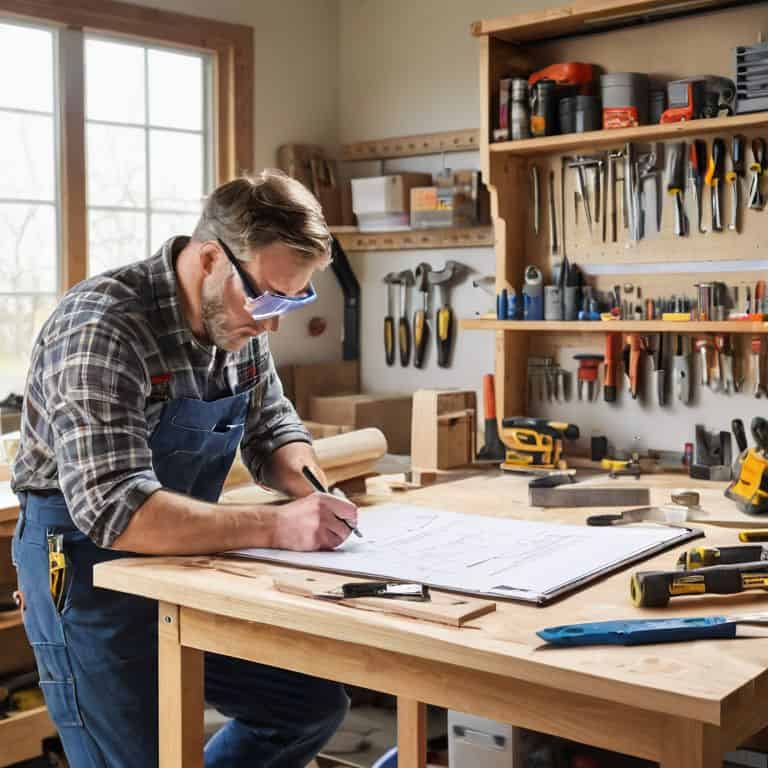
Tools Required
- Pencil (for note-taking)
- Calculator (for risk assessment calculations)
Supplies & Materials
- Paper (for brainstorming and planning)
- 6 inches by 9 inches Notebook (for recording project details)
Step-by-Step Instructions
- 1. First, do this: take a step back and assess the situation before starting your DIY project. Look around the area where you’ll be working, and think about any potential hazards that could arise. This is where having a clear mind and a keen eye for detail can really help you identify any risks and plan accordingly.
- 2. Next, make a list of all the materials and tools you’ll need for the project. This might seem like a no-brainer, but trust me, it’s a crucial step in managing risk. By knowing exactly what you’ll be working with, you can anticipate potential dangers and take steps to mitigate them. For example, if you’ll be using power tools, make sure you have a fire extinguisher nearby.
- 3. Now it’s time to think about the what-ifs. What if the wall you’re trying to hang a shelf on is hollow? What if the paint you’re using is toxic? What if you’re working at heights and lose your balance? By considering all the possible scenarios, you can plan for the unexpected and take necessary precautions to avoid accidents.
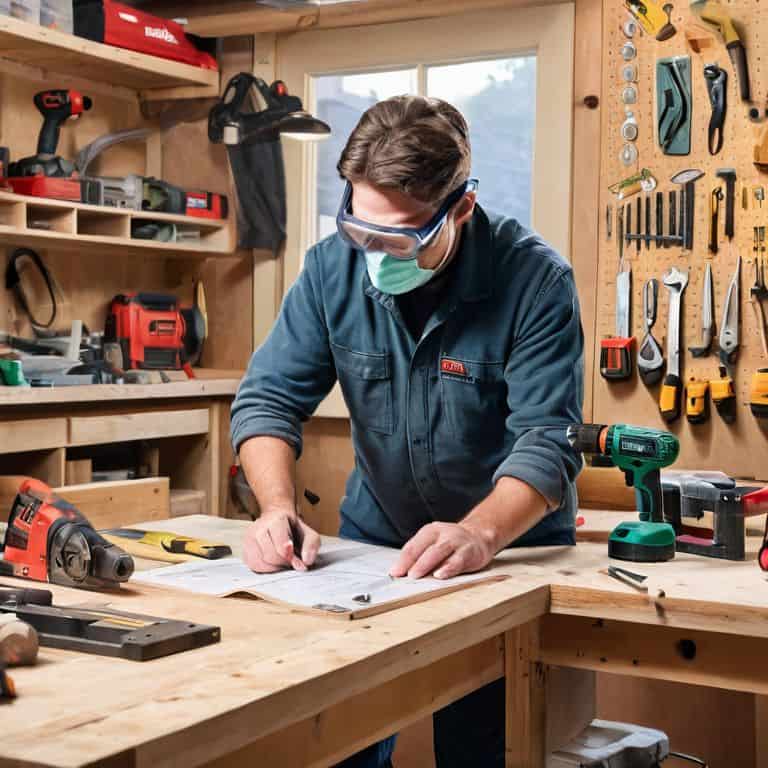
- 4. Before you start working, make sure you have all the necessary safety gear. This might include gloves, safety glasses, a dust mask, or a hard hat, depending on the project. Don’t be afraid to get creative with your safety gear – for example, you can use a bicycle helmet as a makeshift hard hat if you don’t have one.
- 5. As you begin working on your project, be sure to stay focused and avoid distractions. Put away your phone, turn off the TV, and make sure any pets or children are safely out of the way. By maintaining a safe working environment, you can minimize the risk of accidents and ensure a successful outcome.
- 6. If you’re working with power tools or other equipment, make sure you follow the manufacturer’s instructions to the letter. Don’t be tempted to skip steps or take shortcuts – this can be a recipe for disaster. Instead, take your time and follow the recommended safety protocols to avoid injury or damage.
- 7. Finally, be prepared for things to go wrong. Even with the best planning and preparation, unexpected problems can still arise. By staying calm and thinking on your feet, you can often troubleshoot the issue and get back on track. Remember, DIY projects are all about learning and adapting – so don’t be too hard on yourself if things don’t go exactly as planned.
Risk Management for Diy Projects
When it comes to tackling a new DIY project, assessing DIY project feasibility is crucial to ensure a smooth and safe execution. This means taking the time to evaluate the scope of the project, the materials needed, and the potential common DIY project hazards that may arise. By doing so, you can identify areas where accidents are more likely to occur and take steps to mitigate them. For instance, if you’re planning to work with power tools, make sure you have a clear understanding of how to use them safely and take necessary precautions to prevent injuries.
To further minimize risks, it’s essential to invest time in project planning for safety. This involves creating a detailed plan of action, including a timeline, budget, and contingency plans for unexpected setbacks. By having a solid plan in place, you can prevent accidents during DIY and ensure that you’re well-prepared for any challenges that may arise. Additionally, considering DIY insurance options can provide an added layer of protection in case something goes wrong.
By being proactive and taking a thoughtful approach to DIY project planning, you can significantly reduce the likelihood of accidents and ensure a successful outcome. Mitigating risks in home renovation requires a combination of careful planning, attention to detail, and a willingness to adapt to changing circumstances. By embracing this mindset, you can unlock the full potential of your DIY projects and create something truly unique and special.
Assessing Feasibility Safely
When I’m scouring flea markets for urban treasures, I’ve learned to balance my excitement with a healthy dose of reality. Assessing feasibility safely means taking a hard look at your project’s potential pitfalls. For me, it’s about asking the tough questions: Do I have the right skills and tools for the job? Are there any potential hazards lurking beneath the surface? By taking a step back to evaluate these factors, you can avoid turning your DIY dream into a nightmare.
I always think about the what-ifs: what if the structure isn’t sound, or what if I’m working with hazardous materials? Considering these scenarios helps me plan for contingencies and ensures my projects stay on track. It’s all about finding that sweet spot where creativity meets caution.
Mitigating Common Hazards
When it comes to mitigating common hazards, I always say, “expect the unexpected.” You know, like that time I was upcycling an old dresser and the sanding machine decided to malfunction – let’s just say it was a real wood-chip frenzy! To avoid such chaos, make sure you’re equipped with the right safety gear, like gloves and goggles. And, trust me, having a fire extinguisher nearby doesn’t hurt either. It’s all about being prepared for those what-if moments.
I like to think of it as “defensive DIYing.” Take the time to inspect your tools, materials, and workspace before diving in. Check for any damaged cords, sharp edges, or loose parts that could cause trouble. By being proactive, you’ll not only save yourself from potential harm but also ensure your project turns out exactly as you envisioned it – minus the extra drama, of course!
Taming the DIY Beast: 5 Key Tips for Risk Management
- Know Your Limits: Don’t be afraid to admit when a project is beyond your skill level, and consider seeking help or outsourcing to a pro
- Prepare for the Worst: Make a list of potential hazards and have a plan in place for each, from power outages to pesky pests
- Tool Up Safely: Invest in proper safety gear, like gloves and goggles, and ensure your tools are in good working condition to avoid accidents
- Measure Twice, Cut Once: Double-check your measurements and calculations to avoid costly mistakes and structural mishaps
- Stay Flexible: Be prepared to pivot when unexpected issues arise, and don’t be too proud to change your plans or seek advice from others
Nailing Down the Essentials
Before diving into any DIY project, take a step back to assess the feasibility and potential risks involved, ensuring you have a clear plan to tackle any challenges that may arise
Identify and mitigate common hazards such as electrical shocks, falls, and overexertion by using proper safety gear and following established safety protocols
By combining careful planning, safety precautions, and a dash of creativity, you can transform your DIY endeavors into successful, stress-free experiences that bring your unique vision to life
Embracing the Unknown
Risk management isn’t about eliminating the thrill of DIY, it’s about being bold enough to imagine the possibilities and prepared enough to turn them into realities.
Liam Harrington
Bringing Your Vision to Life, Safely
As we’ve explored the world of risk management for DIY projects, it’s clear that assessing feasibility and mitigating common hazards are crucial steps in bringing your unique vision to life. By taking the time to evaluate potential risks and plan accordingly, you can ensure a successful outcome and avoid costly mistakes. Whether you’re a seasoned DIY enthusiast or just starting out, remembering to stay flexible and adapt to unexpected challenges is key to a stress-free and enjoyable experience.
So, the next time you’re about to embark on a new DIY adventure, remember that embracing uncertainty is all part of the fun. With a clear mind, a solid plan, and a willingness to learn as you go, you’ll be well on your way to transforming your space and making your wildest DIY dreams a reality. Happy building, and don’t forget to wear your lucky socks!
Frequently Asked Questions
What are some common mistakes DIY enthusiasts make when assessing the feasibility of a project and how can I avoid them?
Honestly, I’ve been there too – underestimating time, overestimating skills, and ignoring potential roadblocks. To avoid these common pitfalls, take a step back, and ask yourself the tough questions: What’s the worst that could happen? Do I have the right tools and expertise? What’s my Plan B?
How do I balance the need for risk management with the desire to be creative and try new things in my DIY projects?
For me, it’s all about finding that sweet spot where caution meets creativity. I like to think of risk management as a safety net that lets me swing for the fences with my DIY projects, trying new things without worrying about total disaster. It’s about being prepared, not paralyzed.
Are there any specific risk management strategies that are particularly effective for DIY projects that involve power tools or electrical work?
When it comes to power tools and electrical work, I swear by a simple rule: ‘one hand for the task, one hand for safety.’ Keep a fire extinguisher nearby, and never underestimate the power of a good grounding system. It’s all about being prepared for the unexpected spark!