I still remember the day I stumbled upon an old, tattered notebook in my family’s hardware store. It was love at first sight – the worn cover, the yellowed pages, and the stories it could tell. As someone who’s passionate about DIY journaling techniques, I’ve always believed that journaling is not just about writing down your thoughts, but about creating a unique, tangible space that reflects your personality. I’ve tried my fair share of store-bought journals, but there’s something special about transforming an old notebook into a one-of-a-kind treasure trove of self-expression using various DIY journaling techniques.
In this article, I’ll share my favorite hacks for turning any old notebook into a personalized journal that sparks joy and creativity. From decorating the cover to creating custom page layouts, I’ll walk you through the process of unleashing your imagination and making journaling a fun, therapeutic experience. You’ll learn how to combine different materials, textures, and colors to create a truly unique journal that reflects your style and personality. Whether you’re a seasoned journaler or just starting out, this guide will provide you with the inspiration and practical advice you need to take your journaling to the next level and make the most out of DIY journaling techniques.
Table of Contents
Guide Overview: What You'll Need

Total Time: 1 hour 15 minutes
Estimated Cost: $10 – $20
Difficulty Level: Easy
Tools Required
- Pen (fine-tip and medium-tip)
- Pencil (sharpener recommended)
- Eraser (kneaded or white vinegar)
- Ruler (12 inches long)
- Scissors (sharp and dedicated to paper cutting)
Supplies & Materials
- Journal or Notebook (blank or grid paper, 8 inches by 10 inches)
- Colored Pencils or Markers (optional, for decoration)
- Stickers or Washi Tape (optional, for embellishment)
- Glue or Adhesive (for attaching inserts or ephemera)
- Paper Clips or Binder Clips (for temporary holding)
Step-by-Step Instructions
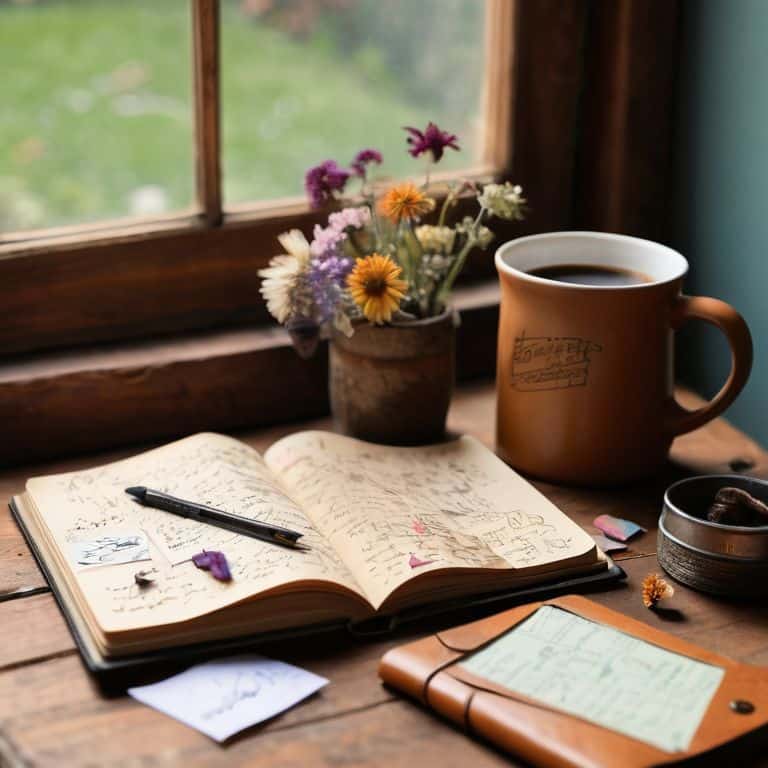
- 1. First, let’s start by gathering our materials, which include old notebooks, scissors, glue, markers, and any other embellishments we want to add to our journal. I love scouring thrift shops and flea markets for unique items to incorporate into my DIY projects, and journaling is no exception. I’m always on the lookout for interesting paper textures, vintage stamps, or colorful washi tape to add a personal touch.
- 2. Next, we’ll prep our notebooks by flipping through the pages and removing any unnecessary contents, such as old receipts or to-do lists. This is also a great opportunity to reflect on our intentions for our journal and what we hope to achieve with it. Do we want to use it for daily gratitudes, sketching, or writing poetry? Having a clear idea of our goals will help us tailor our journal to our needs.
- 3. Now it’s time to get creative with our journal’s cover design. We can use paint, markers, or even decoupage to give our notebook a unique and eye-catching cover. I like to use a combination of stencils and free-hand drawing to create intricate designs and patterns. Don’t be afraid to experiment and try out new techniques – it’s all part of the DIY fun!
- 4. With our cover design complete, let’s move on to customizing the inside pages. We can add tabs, pockets, or inserts to create a personalized system for organizing our thoughts and ideas. I’m a big fan of using washi tape to create tabs and dividers, as it’s easy to remove and reposition as needed.
- 5. One of my favorite DIY journaling techniques is creating a vision board. This involves cutting out images and words from magazines or printouts and arranging them on a page to create a visual representation of our goals and desires. I like to use a combination of glue and tape to secure my images, and then add embellishments like stickers or stamps to make it more visually appealing.
- 6. Another technique I love is making a handmade paper insert. We can use recycled paper, watercolors, or other materials to create unique and textured pages that add an extra layer of depth to our journal. I like to experiment with different folding techniques to create intricate designs and patterns.
- 7. As we continue to work on our journal, let’s not forget to leave room for imperfection. DIY journaling is all about embracing the process and having fun, so don’t worry if things don’t turn out exactly as planned. I like to think of my journal as a work in progress, always evolving and changing as I add new pages and ideas.
- 8. Finally, let’s make our journal a habit by committing to use it regularly. Whether it’s daily, weekly, or monthly, the key is to find a rhythm that works for us and stick to it. I like to keep my journal in a convenient location, such as on my desk or in my bag, so I can easily grab it and start writing or sketching whenever inspiration strikes.
Unlock Diy Journaling Techniques
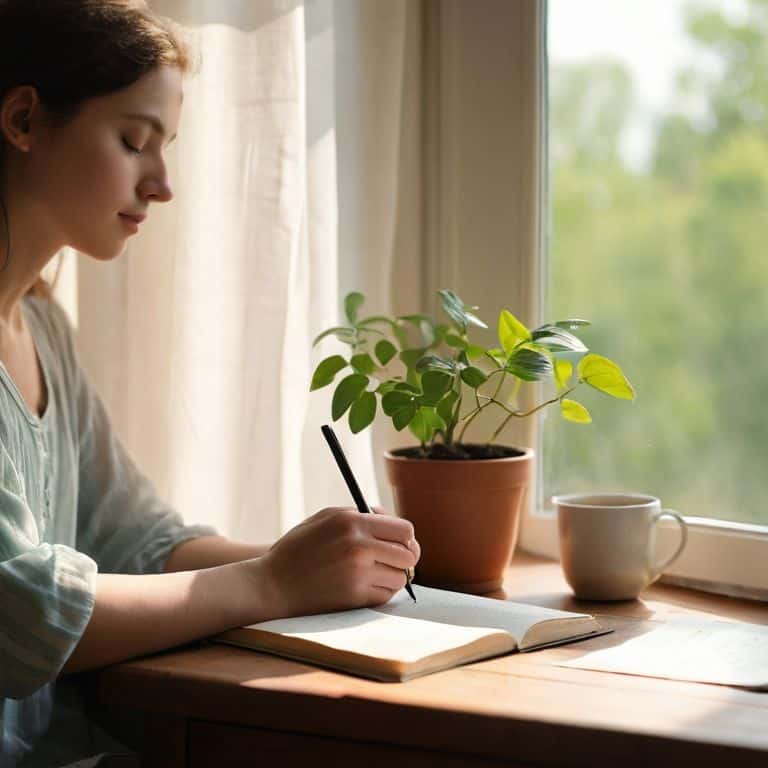
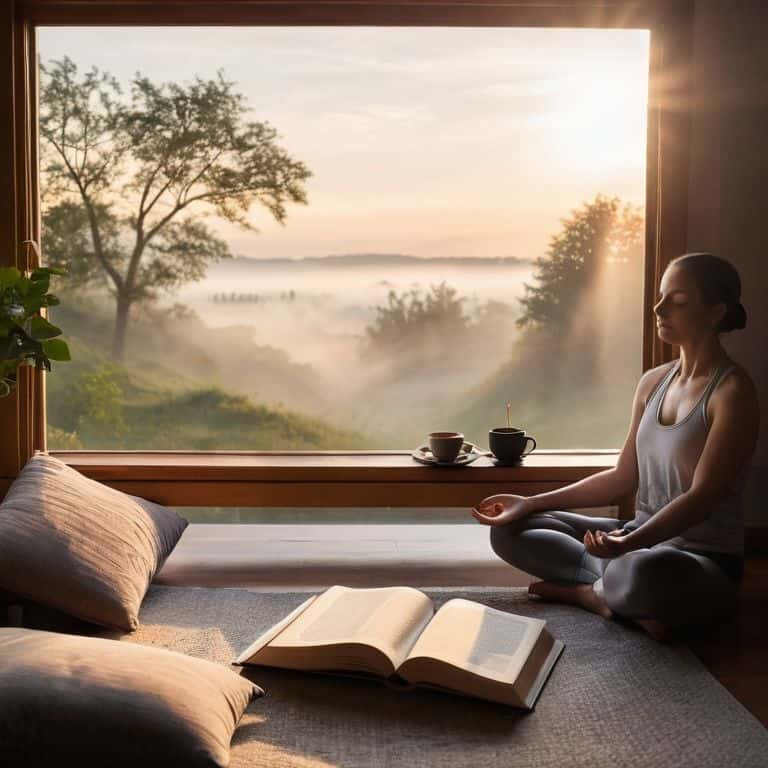
As I delve into the world of DIY journaling, I’ve discovered that morning journaling routines can be a game-changer for setting a positive tone for the day. By incorporating journaling into your morning routine, you can clear your mind, prioritize your tasks, and even explore creative journaling ideas for adults that help you grow as a person. I’ve found that starting my day with a journaling session helps me stay focused and motivated, and I’m excited to share this habit with you.
One of the most significant benefits of journaling is its impact on journaling for mental health benefits. By reflecting on your thoughts, emotions, and experiences, you can gain valuable insights into your mental well-being and develop healthier coping mechanisms. I’ve seen firsthand how journaling can help reduce stress and anxiety, and I’m passionate about sharing this tool with others. Whether you’re using a traditional notebook or exploring bullet journal inspiration online, the most important thing is to make journaling a consistent part of your self-care routine.
As you continue on your journaling journey, don’t be afraid to experiment with different formats and tools. You might find that you prefer using journaling apps for iphone and android for their convenience and accessibility, or that you enjoy the tactile experience of writing in a physical notebook. Whatever your preference, the key is to make journaling a sustainable and enjoyable habit that brings you reflective journaling prompts for self improvement and helps you cultivate a deeper understanding of yourself.
Bullet Journal Inspiration for Adults
As I delve into the world of DIY journaling, I’m always on the lookout for fresh inspiration. Bullet journaling, in particular, has become a favorite of mine – there’s something about the customizable layouts and creative freedom that really speaks to my upcycling spirit. I love how a simple notebook can be transformed into a personalized space for reflection, goal-setting, and artistic expression.
For adults, bullet journaling offers a unique opportunity to slow down and tap into our creative potential. By incorporating elements like doodles, washi tape, and colorful pens, we can add a touch of whimsy to our daily planning and reflection. Whether you’re a busy professional or a curious crafter, bullet journaling invites you to experiment, make mistakes, and have fun – and that’s exactly what I love about it.
Morning Pages for Mental Clarity
Morning Pages for Mental Clarity is a game-changer for me. It’s all about ditching the editing mindset and just letting your thoughts flow onto the page. I start my day by scribbling down whatever comes to mind – no judgment, no filters. It’s amazing how this simple practice can clear the mental fog and get those creative juices flowing. I like to think of it as a warm-up for my brain, prepping me for a day of DIY adventures and treasure hunting in thrift stores.
By committing to Morning Pages, I’ve found that I’m more focused and inspired to tackle my DIY projects. It’s like my mind is a cluttered thrift store, and Morning Pages helps me sift through the noise to find the hidden gems. Give it a try, and see how it sparks your own creativity and clarity!
Unleash Your Creativity: 5 Essential DIY Journaling Tips
- Start with a treasure hunt: Scour thrift stores and flea markets for one-of-a-kind notebooks and journals to make your DIY journaling journey truly unique
- Get messy with materials: Experiment with different textures and embellishments like stickers, washi tape, and ephemera to add depth and visual interest to your journal pages
- Make it a ritual: Set aside a specific time each day to practice DIY journaling, whether it’s first thing in the morning or before bed, to cultivate a sense of consistency and mindfulness
- Don’t be afraid to experiment: Try out different formats, such as bullet journaling, collage, or free-writing, to discover what works best for you and your creative style
- Add a personal touch: Incorporate meaningful mementos and memorabilia, like ticket stubs or postcards, to make your DIY journal a true reflection of your personality and experiences
Key Takeaways to Unlock Your Creative Journaling
Embracing DIY journaling techniques can help you tap into your creativity and self-expression, allowing you to transform ordinary notebooks into unique reflections of your personality and style
By incorporating methods like morning pages and bullet journaling into your daily routine, you can cultivate mental clarity, organizational skills, and a deeper understanding of your thoughts and goals
Remember, the beauty of DIY journaling lies in its flexibility and customizability – don’t be afraid to experiment, mix and match different techniques, and make your journaling practice a truly personal and fulfilling experience
Embracing Creativity
As we scribble, glue, and tape our way through DIY journaling, we’re not just filling pages – we’re uncovering pieces of ourselves, one handmade spread at a time.
Liam Harrington
Embracing the Art of DIY Journaling
As we’ve explored the world of DIY journaling together, I hope you’ve discovered the freedom to express yourself in new and exciting ways. From morning pages that bring mental clarity to bullet journal inspiration that sparks creativity, we’ve uncovered a multitude of techniques to make journaling a truly personal experience. The key to unlocking your full potential lies in embracing the process, not being afraid to experiment, and finding what works best for you. Remember, it’s all about transforming ordinary notebooks into extraordinary tools for self-discovery and growth.
As you close this chapter and embark on your own DIY journaling journey, I want to leave you with a final thought: your imagination is the greatest tool you possess. Don’t be afraid to unscrew your imagination and let your thoughts flow onto the pages. With every stroke of the pen, you’re not just writing – you’re crafting a reflection of your unique voice, a voice that deserves to be heard. So, go ahead, get creative, and watch your journal transform into a treasure trove of self-expression.
Frequently Asked Questions
What are some creative ways to repurpose old materials for DIY journaling?
I love upcycling old maps, music sheets, and fabric scraps into unique journal pages. You can also repurpose vintage windows, doors, or wooden crates as journal covers or decorative elements. Get creative and experiment with different textures and materials to add character to your DIY journal!
How can I make my DIY journal more visually appealing without sacrificing its functionality?
To jazz up your DIY journal, try adding colorful washi tape, stickers, or doodles – I like to use thrift store finds like old maps or music sheets to create unique backgrounds. Keep functionality in mind by using tabs, indexes, or inserts to stay organized, and don’t forget to leave some blank space for brainstorming!
What are some common mistakes to avoid when starting a DIY journaling practice?
When starting a DIY journaling practice, I’ve found that common mistakes to avoid include being too hard on yourself, trying to make it perfect, and worrying about what others might think – just remember, it’s yours, so let your creativity shine and don’t be afraid to get a little messy!