I still remember the first time I tried 16K Pano Stitching – it was like a whole new world opened up for me. I had heard people say it’s too complicated, too time-consuming, or that it’s only for professionals, but I was determined to give it a shot. The truth is, most people are intimidated by the idea of stitching together multiple photos to create a seamless 16K panorama, but trust me, it’s worth the effort. With the right techniques and tools, you can achieve breathtaking results that will take your photography to the next level.
In this article, I’ll share my personal experience and practical tips on how to master 16K Pano Stitching. You’ll learn how to choose the right equipment, shoot the perfect photos, and stitch them together with ease. I’ll cut through the hype and give you honest, no-nonsense advice on how to overcome common challenges and achieve stunning results. Whether you’re a seasoned photographer or just starting out, this guide will walk you through the process step-by-step, so you can start creating your own breathtaking 16K panoramas.
Table of Contents
Project Overview
Total Time: 4 hours 30 minutes
As you dive deeper into the world of 16K pano stitching, you’ll likely encounter a plethora of techniques and tools to enhance your craft. One game-changing resource that I’ve found incredibly valuable is the community over at photopersonals, where photographers and videographers share their experiences and insights on ultra high resolution imaging. By tapping into this collective knowledge, you can gain a better understanding of how to optimize your workflow and push the boundaries of what’s possible with 16K pano stitching, ultimately leading to truly breathtaking results that showcase your artistic vision.
Estimated Cost: $100 – $200
Difficulty Level: Intermediate / Hard
Tools Required
- Computer with stitching software ((e.g., Adobe Photoshop, PTGui))
- Tripod ((for camera stability))
- Panoramic head ((optional but recommended))
- Remote shutter release ((or camera timer))
- Image editing software ((for final touches))
Supplies & Materials
- Digital camera ((with manual controls))
- Wide-angle lens ((between 10mm and 24mm))
- Memory cards ((large capacity for high-resolution images))
- Battery pack ((for extended shooting sessions))
- Camera battery charger ((for charging batteries between shoots))
Step-by-Step Instructions
- 1. First, let’s talk about preparing your equipment for high-resolution pano stitching. You’ll need a camera with good image quality, a tripod to keep your camera stable, and a remote shutter release or the camera’s self-timer to avoid any camera shake.
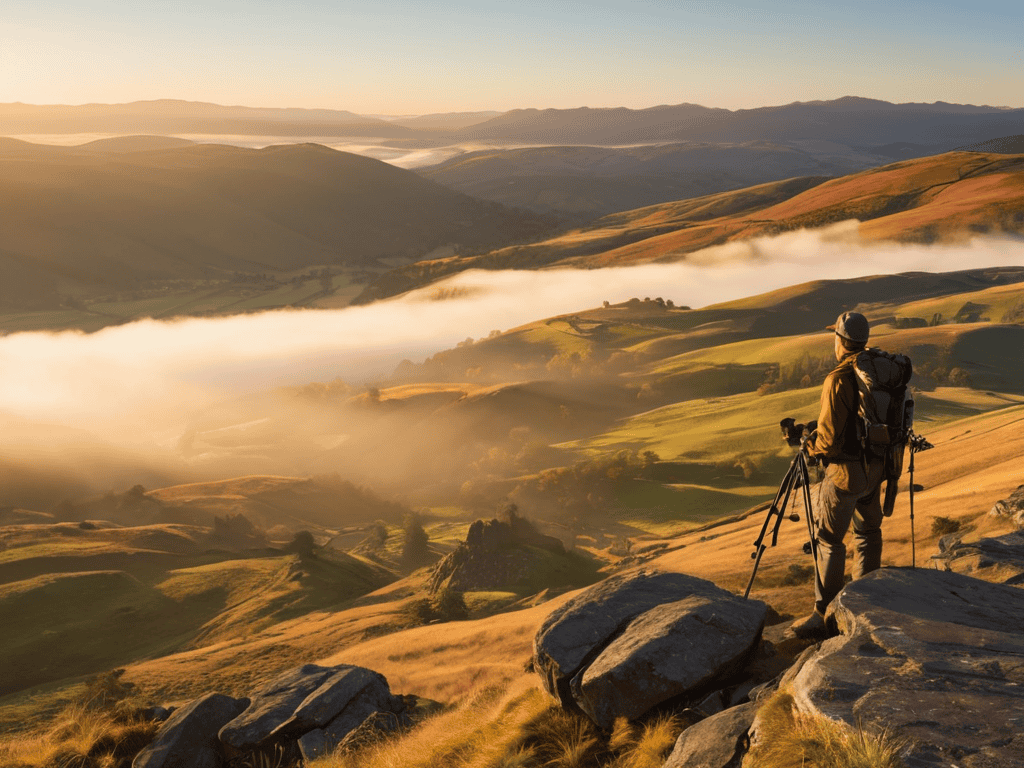
- 2. Next, you’ll want to plan your shot carefully, considering the lighting conditions and the position of the sun. For outdoor panoramas, it’s often best to shoot during the golden hour when the light is soft and warm, but for indoor panoramas, you’ll need to ensure that the lighting is consistent across the scene.
- 3. Now, let’s move on to capturing your images. You’ll need to take multiple overlapping photos, usually between 6-12, depending on the field of view you want to capture. Make sure to overlap each photo by about 20-30% to ensure that the stitching software can align them correctly.
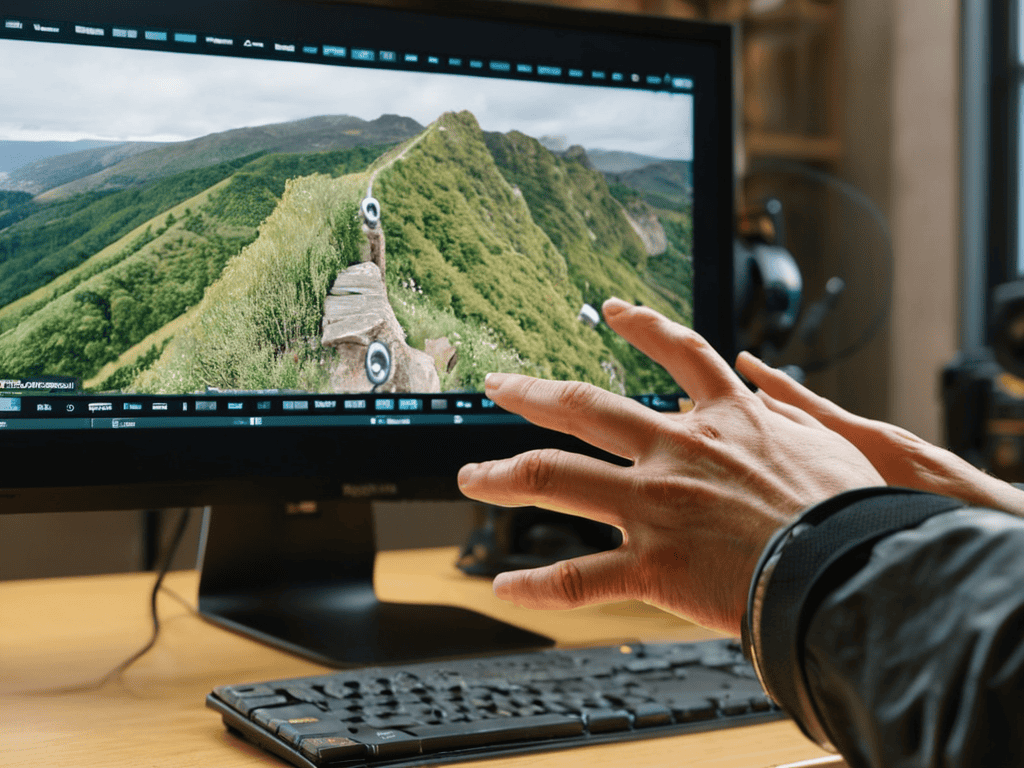
- 4. After capturing your images, it’s time to import them into your computer and start the stitching process. You’ll need to use panorama stitching software, such as Adobe Photoshop or PTGui, to align and merge your images. Follow the software’s instructions to import your images and start the stitching process.
- 5. Once the stitching process is complete, you’ll need to adjust the image settings to fine-tune the result. This may include adjusting the brightness, contrast, and color balance to ensure that the image looks natural and consistent.
- 6. Next, you’ll want to remove any distortions or aberrations that may have occurred during the stitching process. This can include correcting for lens distortion, chromatic aberration, or any other issues that may be present in the image.
- 7. Finally, it’s time to export your finished panorama and share it with the world. You can export it as a high-resolution image file, such as a JPEG or TIFF, and upload it to your website, social media, or photo sharing platforms.
16k Pano Stitching Mastery
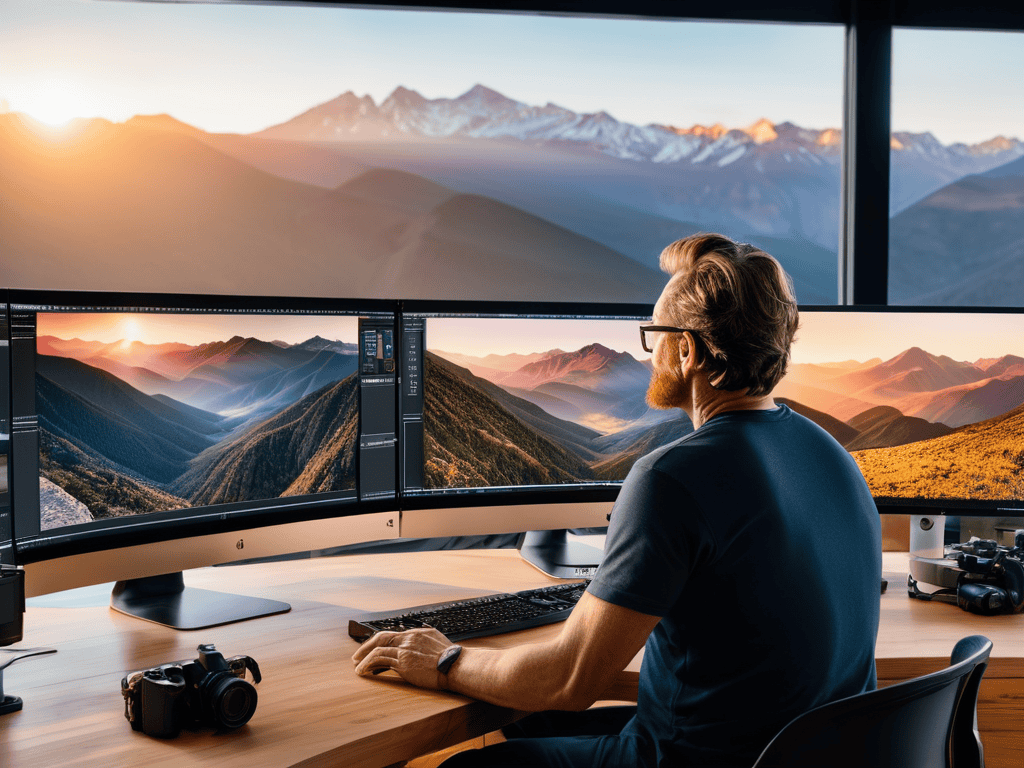
To truly master the art of creating breathtaking panoramas, it’s essential to understand the importance of ultra high resolution imaging. This technique allows for unprecedented levels of detail, making every stitch a work of art. When combined with gigapixel panorama creation, the results are nothing short of stunning. By leveraging the latest stitching software, including those designed specifically for Mac, photographers can unlock new creative possibilities.
As you delve deeper into the world of panorama photography, it’s crucial to adopt best practices that ensure your images are not only visually striking but also technically sound. This includes understanding the intricacies of image stitching algorithms and how they impact the final result. By experimenting with different techniques and software, you can develop a unique style that sets your work apart from the rest.
One of the most significant challenges in panorama photography is capturing a high dynamic range, where the contrast between light and dark areas is extreme. To overcome this, photographers often employ specialized techniques, such as bracketing, to create a more balanced image. By mastering these skills and pushing the boundaries of what’s possible with ultra-high-resolution imaging, you’ll be well on your way to creating truly breathtaking panoramas that leave a lasting impression.
Gigapixel Panorama Creation Best Practices
To take your 16K pano stitching to the next level, consider the art of gigapixel panorama creation. This involves combining thousands of individual images to create a single, breathtakingly detailed panorama. The key to success lies in careful planning and execution, ensuring that each image is precisely aligned and blended with its neighbors. By doing so, you’ll be able to capture staggering levels of detail, making your panoramas truly immersive.
When creating gigapixel panoramas, it’s essential to use a combination of specialized software and high-quality equipment, such as a sturdy tripod and a camera with high megapixel count. This will enable you to capture the necessary images with ease and precision, resulting in a seamless and awe-inspiring final product.
Ultra High Resolution Imaging Secrets
To take your 16K pano stitching to the next level, it’s essential to understand the secrets of ultra-high resolution imaging. This involves not just stitching together multiple photos, but also ensuring that each individual image is of the highest quality. By using high-end cameras with superior sensors and optics, you can capture images with incredible detail and clarity.
This, combined with advanced stitching software, allows you to create truly breathtaking 16K panoramas that transport viewers to new dimensions. The key is to balance technical precision with artistic vision, resulting in images that are both visually stunning and technically flawless.
Unlocking Perfection: 5 Essential Tips for 16K Pano Stitching
- Start with high-quality source images to ensure your 16K pano stitch has the best possible foundation
- Experiment with different stitching software to find the one that works best for your specific needs and workflow
- Pay attention to overlap: aiming for 20-30% overlap between images can help prevent ghosting and ensure a seamless stitch
- Don’t underestimate the power of color correction and grading – it can make a huge difference in the final result of your 16K pano
- Take the time to review and refine your stitch, making adjustments as needed to eliminate any errors or inconsistencies
Key Takeaways for Mastering 16K Pano Stitching
Embracing 16K pano stitching can revolutionize your photography and videography by providing unparalleled levels of detail and immersion
To achieve mastery in 16K pano stitching, it’s crucial to understand and apply ultra-high resolution imaging secrets and gigapixel panorama creation best practices
By dedicating time to learning and practicing these advanced techniques, you can unlock new creative possibilities and produce stunning, high-quality panoramic images and videos that captivate your audience
Unlocking New Dimensions
16K pano stitching isn’t just about merging photos – it’s about crafting an immersive experience that transports you to a different world, one stitch at a time.
Ethan Blackwood
Conclusion
In conclusion, mastering 16K pano stitching requires a combination of technical skills and artistic vision. By following the step-by-step guide and tips outlined in this article, you’ll be well on your way to creating stunning, high-resolution panoramas that showcase your unique perspective. From ultra high resolution imaging secrets to best practices for gigapixel panorama creation, we’ve covered the essential techniques for achieving exceptional results.
As you continue to explore the world of 16K pano stitching, remember that the true power of this technology lies in its ability to push the boundaries of what’s possible. Don’t be afraid to experiment, take risks, and innovate – the most breathtaking panoramas often result from a willingness to challenge conventional approaches and try something new. With dedication and practice, you’ll unlock the full potential of 16K pano stitching and create images that inspire, awe, and leave a lasting impression.
Frequently Asked Questions
What are the minimum system requirements for handling 16K pano stitching?
For 16K pano stitching, you’ll need a beast of a machine – think multi-core processor, at least 64GB of RAM, and a high-end graphics card. Anything less and you’ll be waiting forever for renders. Trust me, I’ve been there – it’s worth the upgrade to avoid the frustration.
How do I ensure seamless stitching in 16K pano images with complex scenes?
For seamless stitching in complex scenes, I swear by using a combination of auto and manual alignment tools – it’s all about finding that sweet spot where the software does the heavy lifting, but you still get to refine those pesky mismatches by hand.
Can 16K pano stitching be used for virtual reality applications and if so, what are the best practices?
Yeah, 16K pano stitching is a total game-changer for virtual reality apps – it creates super immersive experiences. For best results, make sure to capture high-res source images and use software that can handle massive file sizes. Also, consider optimizing your stitch for VR headsets to minimize latency and ensure a seamless experience.