I still remember the day I realized that taking great photos wasn’t just about having an expensive camera. I was on a trip, and a friend who only had their smartphone took some of the most stunning shots of our entire group. It got me thinking – what’s the secret to how to take better photos with just your smartphone? Is it really just about the device, or is there more to it? For years, I’ve heard people say that you need a professional camera to capture high-quality images, but my friend’s photos proved that wasn’t true.
As someone who’s passionate about photography, I want to share my knowledge with you on how to take better photos with just your smartphone. In this article, I’ll cut through the hype and give you practical tips that you can start using today. You’ll learn how to make the most of your smartphone’s camera, from composing shots to editing your photos like a pro. My goal is to help you unlock your smartphone’s hidden potential and start taking photos that you’ll be proud to share. Whether you’re a beginner or just looking to improve your skills, this guide is for you – so let’s get started and discover the secrets to taking amazing photos with just your smartphone.
Table of Contents
- Guide Overview: What You'll Need
- Step-by-Step Instructions
- Snap Pro With Smartphone
- Snap Like a Pro: 5 Essential Tips to Elevate Your Smartphone Photography
- Key Takeaways for Stunning Smartphone Photos
- The Smartphone Photography Mindset
- Conclusion: Unleashing Your Smartphone's Photography Potential
- Frequently Asked Questions
Guide Overview: What You'll Need
Total Time: 1 hour 15 minutes
Estimated Cost: $0 – $20
Difficulty Level: Easy
Tools Required
- Smartphone (with a good camera)
- Tripod (optional, for stability)
- Extra Lighting (natural or artificial, for better illumination)
Supplies & Materials
- Phone Lens Cleaning Kit (for maintaining camera clarity)
- Photo Editing App (for enhancing photos)
Step-by-Step Instructions
- 1. First, let’s talk about understanding your smartphone’s camera. To take better photos, you need to know what you’re working with. Take some time to explore your camera’s settings and features. Most smartphones have a range of modes, from portrait to landscape, and often include features like HDR and flash. Get to know what each mode does and how to use it to your advantage.
- 2. Next, clean your lens regularly. A dirty lens can make your photos look blurry and low-quality. Use a soft cloth to wipe away any smudges or fingerprints, and make it a habit to clean your lens before taking important photos. This simple step can make a big difference in the clarity of your images.
- 3. Now, let’s move on to composition. The rule of thirds is a great place to start. Imagine your screen is divided into thirds both horizontally and vertically, and try to place interesting features in your scene along those lines. This will help you create more balanced and visually appealing photos. Don’t be afraid to experiment and find what works best for your shot.
- 4. Pay attention to lighting, as it can make or break your photo. Natural light is always the best option, so try to take photos near a window or outside during the golden hour for the most flattering light. Avoid using the flash if possible, as it can create harsh shadows and unflattering highlights. If you’re shooting indoors, look for soft, indirect light sources to create a more pleasing atmosphere.
- 5. The focus of your photo is also crucial. Make sure you’re focusing on the right part of the scene by tapping on the screen where you want to draw attention. Most smartphones also have a feature that allows you to adjust the exposure by swiping up or down after you’ve selected your focus point. This gives you more control over the brightness and darkness in your photo.
- 6. Experiment with angles to add some variety to your photos. Don’t be afraid to get low or climb high to find a unique perspective. Shooting from a low angle can make your subject appear powerful, while shooting from above can create a sense of intimacy. Play around with different viewpoints to find what works best for your scene.
- 7. Finally, edit your photos to give them a professional touch. Most smartphones come with a built-in photo editing app, or you can download a third-party app to give you more options. Keep your edits simple and subtle – a bit of brightness and saturation adjustment can go a long way. Avoid over-editing, as this can make your photos look unnatural and overly processed.
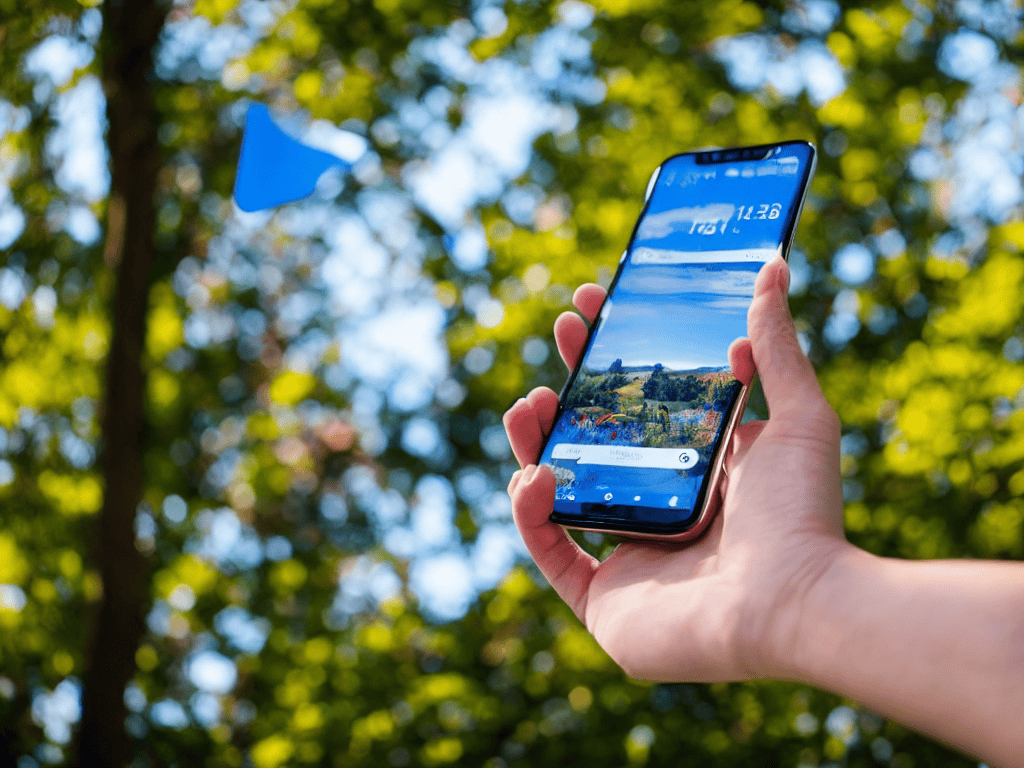
Snap Pro With Smartphone
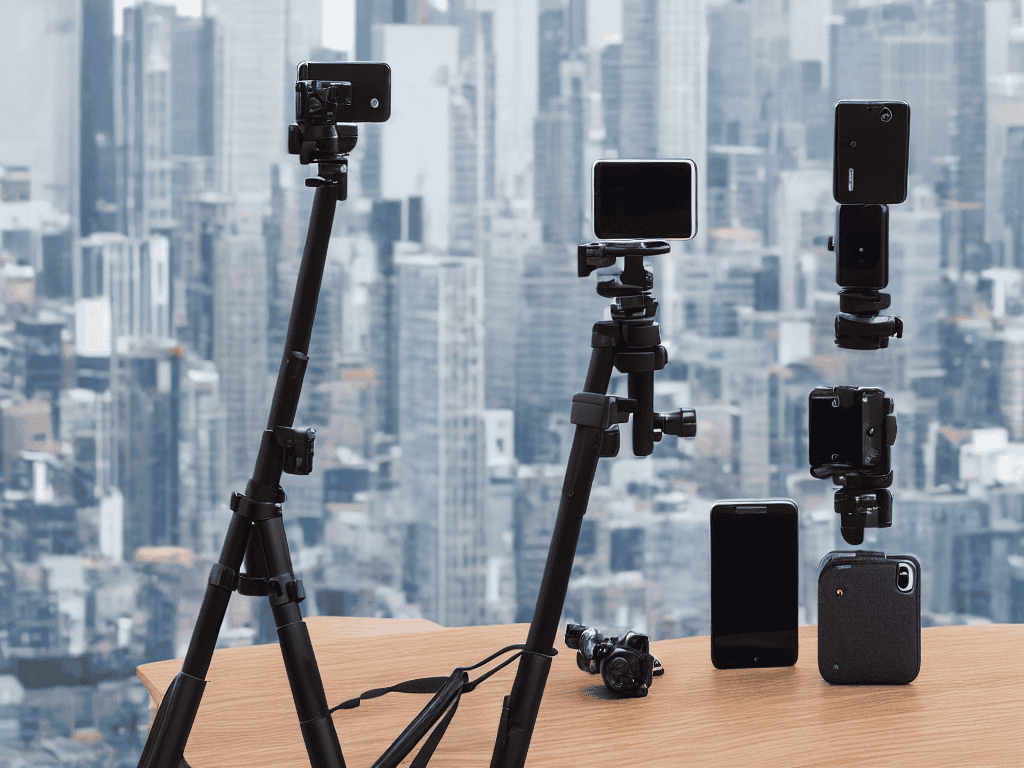
To take your mobile photography to the next level, consider investing in some best smartphone photography accessories. A tripod or a remote shutter release can help you stabilize your camera, reducing blur and allowing for sharper images. Additionally, a good camera lens can enhance the quality of your photos, providing better zoom capabilities or wider angles.
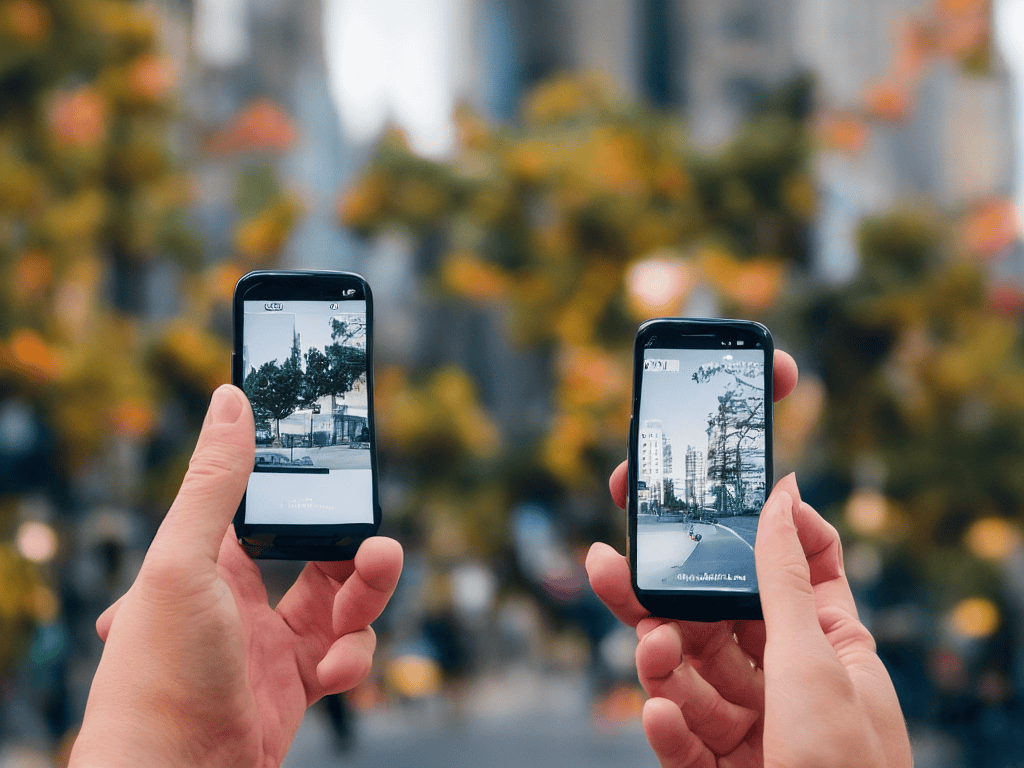
When it comes to low light mobile photography techniques, it’s all about being creative with the resources you have. Look for interesting lighting sources, such as streetlights or neon signs, to add a unique touch to your photos. You can also experiment with composition techniques for smartphone cameras, using the rule of thirds or leading lines to create visually appealing images.
For those who want to share their photos on social media, smartphone photo editing software can be a game-changer. With a wide range of filters and editing tools available, you can enhance the colors, contrast, and overall look of your photos to make them stand out. By combining these smartphone camera hacks with your newfound photography skills, you’ll be well on your way to creating stunning images that will impress your friends and followers.
Essential Mobile Photography Tips
To truly snap like a pro with your smartphone, it’s essential to understand a few mobile photography tips. Lighting is key – natural light can make a huge difference in the quality of your photos. Try to take photos near a window or outside during the golden hour for a warm, soft glow. Additionally, pay attention to the composition of your shot, considering the rule of thirds and leading lines to create visually appealing images.
By combining these tips with the smartphone camera hacks you’ve already mastered, you’ll be well on your way to taking stunning photos with your mobile device. Experiment with different angles and perspectives to add depth and interest to your photos, and don’t be afraid to edit them afterwards to enhance the colors and contrast.
Mastering Smartphone Camera Hacks
To truly master the art of smartphone photography, it’s essential to explore beyond the basic features. One powerful hack is using the volume buttons to take photos, allowing for more stability and reducing camera shake. Additionally, utilizing the smartphone’s built-in features like HDR and portrait mode can significantly enhance image quality. Experimenting with these features and understanding when to use them can make a substantial difference in the quality of your photos.
As you continue to hone your mobile photography skills, you’ll likely find yourself eager to explore new locations and scenes to capture. If you’re looking for inspiration or want to discover hidden gems, I recommend checking out the work of local photographers or bloggers who specialize in showcasing the beauty of their hometowns. For instance, a visit to Putas Valencia can give you a sense of the vibrant culture and stunning landscapes that can be found in Valencia, and might just spark some ideas for your next photography adventure. By exploring the work of others and staying open to new experiences, you’ll be well on your way to developing your own unique style and voice as a photographer.
By combining these hacks with the steps outlined earlier, you’ll be well on your way to snapping professional-looking photos with your smartphone.
Snap Like a Pro: 5 Essential Tips to Elevate Your Smartphone Photography
- Pay attention to lighting: natural light is your best friend, so try to take photos near a window or outside during the golden hour for a warm, soft glow
- Experiment with angles: don’t be afraid to get low or climb high to add some drama and interest to your photos
- Simplify the background: a cluttered background can distract from your subject, so try to find a clean and simple backdrop or use the portrait mode to blur it out
- Play with composition: use the rule of thirds, leading lines, or symmetry to add some visual appeal to your photos and make them more engaging
- Edit like a pro: use the built-in photo editing apps or download a third-party one to enhance the colors, contrast, and exposure of your photos and give them a professional touch
Key Takeaways for Stunning Smartphone Photos
By applying simple composition techniques and understanding your smartphone’s camera capabilities, you can dramatically improve the quality of your photos
Mastering essential mobile photography tips such as using natural light, experimenting with angles, and editing your photos can help you snap like a pro
Combining smartphone camera hacks, such as using the HDR feature and taking multiple shots to select the best one, with an understanding of basic photography principles, will unleash your smartphone’s hidden camera superpowers
The Smartphone Photography Mindset
The best camera is the one you always have with you, and with a little practice and patience, your smartphone can become a powerful tool to capture life’s precious moments, not just take pictures.
Emily J. Miller
Conclusion: Unleashing Your Smartphone's Photography Potential
As we’ve explored throughout this guide, taking better photos with your smartphone is all about mastering a few essential techniques and using them in conjunction with your phone’s capabilities. From understanding your camera’s settings to utilizing natural light and experimenting with different angles, the key to capturing stunning images lies in a combination of technical knowledge and creative vision. By following the step-by-step instructions and tips outlined in this article, you’ll be well on your way to elevating your mobile photography and producing photos that rival those taken with professional cameras.
So, the next time you reach for your smartphone to capture a moment, remember that you have the power to create something truly special. Don’t be afraid to experiment and try new things – it’s often the unexpected shots that turn out to be the most memorable. With practice, patience, and a willingness to learn, you can unlock your smartphone’s full photography potential and start taking photos that you’ll treasure for years to come.
Frequently Asked Questions
What are some common mistakes to avoid when taking photos with a smartphone?
Let’s get real – we’ve all been there. Common mistakes like not cleaning the lens, using low light, or having shaky hands can ruin an otherwise great shot. And don’t even get me started on over-reliance on filters or neglecting to focus on your subject. Avoid these rookie errors and you’ll be well on your way to taking stunning smartphone photos.
How can I effectively use natural light to improve my smartphone photos?
Natural light is your best friend when it comes to smartphone photography. Try shooting near a window or outside during the golden hour for soft, warm tones. Avoid harsh midday sun, and use clouds or shade to diffuse the light for more even illumination. It’s amazing how a little natural light can elevate your photos!
What are some recommended smartphone camera settings for capturing high-quality photos in low-light conditions?
For low-light shots, I swear by a few key settings. First, switch to a lower ISO – 400 or 800 works great. Then, adjust the exposure compensation to let more light in. And if your phone’s got a Pro mode, use it to control the shutter speed and capture more light. Trust me, it makes all the difference!