I still remember the day I decided to tackle the grimy grout in my bathroom – it was a game-changer. I had been putting it off for months, but finally, I learned how to deep clean your bathroom grout and make it look new. The process was easier than I thought, and the results were astonishing. My bathroom looked like it had just been renovated, and I felt a sense of pride and accomplishment. But what really surprised me was how often I had been misled by cleaning products and methods that promised the world but delivered little.
In this article, I’ll share my no-nonsense approach to deep cleaning your bathroom grout, and provide you with practical tips to make it look like new again. You’ll learn how to identify the right cleaning products, techniques, and tools to get the job done efficiently. I’ll cut through the hype and give you honest advice on how to achieve professional-looking results without breaking the bank. By the end of this guide, you’ll be equipped with the knowledge and confidence to tackle even the toughest grout cleaning tasks and give your bathroom a fresh new look.
Table of Contents
Guide Overview: What You'll Need
Total Time: 2 hours 30 minutes
Estimated Cost: $20 – $40
Difficulty Level: Intermediate
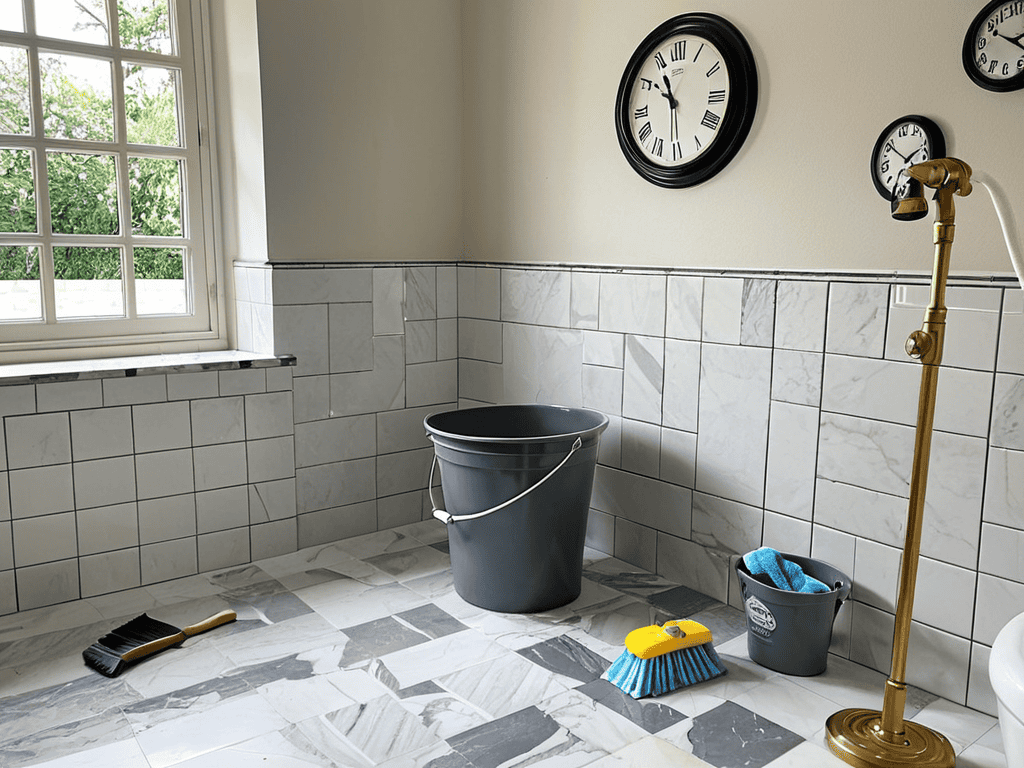
Tools Required
- Grout Brush (old toothbrush or dedicated grout brush)
- Scrub Brush (with stiff bristles)
- Bucket (large enough to hold 1 gallon of water)
- Mop (for cleaning floors)
- Gloves (rubber or latex for protection)
- Safety Goggles (for protecting eyes from chemicals)
Supplies & Materials
- Baking Soda (1 cup)
- White Vinegar (1 cup)
- Hydrogen Peroxide (1 cup)
- Grout Cleaner (optional, follow instructions on label)
- Grout Sealer (optional, for protecting grout after cleaning)
- Warm Water (1 gallon)
- Microfiber Cloths (several for drying and cleaning)
Step-by-Step Instructions
- 1. First, gather your cleaning arsenal, which should include a grout brush, a toothbrush, baking soda, white vinegar, and a non-abrasive cleaner. Make sure you have a pair of rubber gloves to protect your hands from the harsh chemicals and a scrub brush for those tough stains.
- 2. Next, remove any soap scum or mildew from the surface of the grout by spraying a solution of equal parts water and white vinegar onto the area. Let it sit for about 10-15 minutes to allow the solution to penetrate and loosen the dirt.
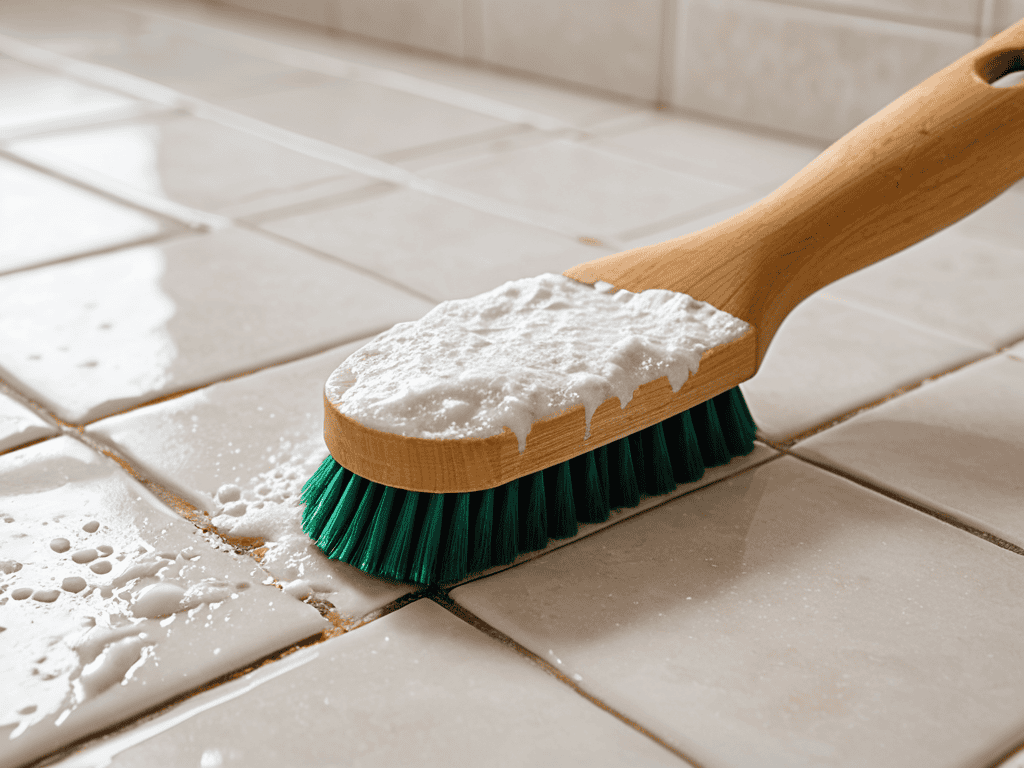
- 3. Now, create a paste by mixing 1 tablespoon of baking soda with 2 tablespoons of white vinegar to form a thick consistency. Apply this paste to the grout using the grout brush, making sure to cover the entire area evenly. Let it sit for about 30 minutes to an hour to allow the paste to work its magic.
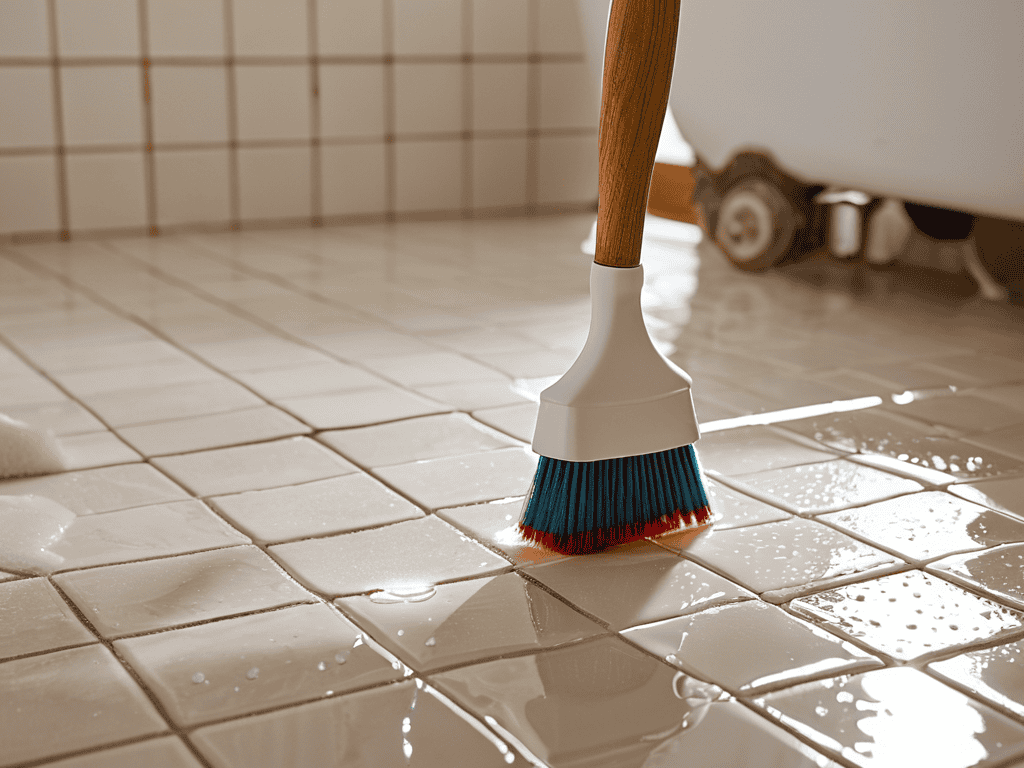
- 4. After the paste has sat for the desired amount of time, use the scrub brush to scrub the grout in a circular motion, working from one end of the area to the other. Be sure to apply some elbow grease to remove any tough stains, but avoid using too much pressure, which can damage the grout.
- 5. Once you’ve scrubbed the entire area, use warm water to rinse away the paste and dirt, making sure to remove any remaining residue. If some stains still persist, you can repeat the process until the grout is clean.
- 6. For any particularly stubborn stains, you can use a non-abrasive cleaner and a toothbrush to gently scrub the area. Apply the cleaner to the stain, let it sit for a few minutes, and then use the toothbrush to scrub the area until the stain is removed.
- 7. Finally, use a clean, damp cloth to wipe down the grout and surrounding areas, removing any remaining dirt or cleaning solution. This will help to restore the grout to its original color and give your bathroom a fresh, clean look.
Deep Clean Bathroom Grout
When it comes to natural grout cleaners, there are several options you can consider. For instance, a mixture of baking soda and vinegar can be quite effective in removing dirt and grime from your grout. Simply apply the paste to the grout, let it sit for a few minutes, and then scrub it with a best grout brush for cleaning. This method is not only eco-friendly but also gentle on your tiles.
To take your grout cleaning to the next level, consider using diy grout whitening methods. These can help restore the original color of your grout, making it look like new. One popular method involves using hydrogen peroxide to lift stains and whiten the grout. However, be sure to test a small area first to ensure the solution doesn’t damage your tiles.
Regular grout maintenance tips can also go a long way in keeping your bathroom looking its best. This includes wiping down the shower and bathtub after each use to prevent soap scum and mildew from building up. By following these tips and using the right cleaning tools, you can keep your grout looking clean and fresh, and even consider hiring grout and tile cleaning services for a deeper clean if needed.
Diy Grout Whitening Methods
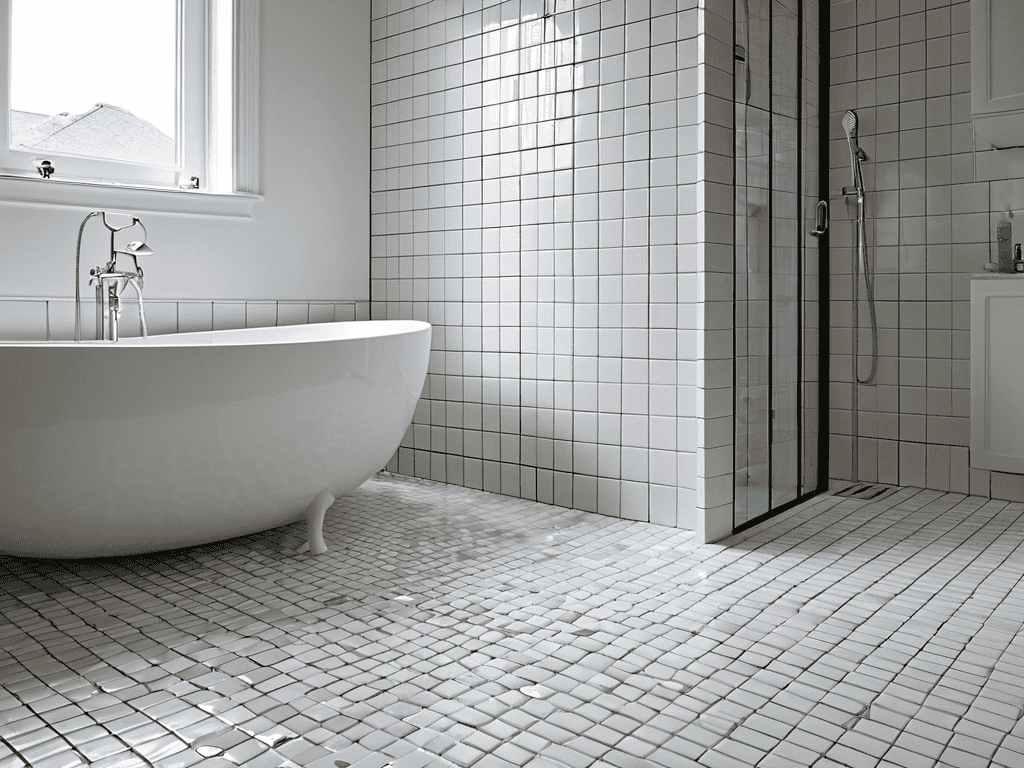
As you’re working on deep cleaning your bathroom grout, it’s also a good idea to think about the overall aesthetic you want to achieve in your bathroom. Maybe you’re looking to create a relaxing oasis, or perhaps you want to add some romantic ambiance to the space. Whatever your goal, it’s worth considering how the little details, like clean grout and a well-designed layout, can come together to create a space that feels like a retreat. If you’re feeling stuck or just want to explore some new ideas, you might enjoy browsing a website like sex in tirol, which offers a range of perspectives and advice on creating a beautiful and inviting space that’s perfect for unwinding and reconnecting with loved ones. By taking the time to think about the bigger picture, you can turn your bathroom into a space that’s not just functional, but also truly beautiful.
For a sparkling finish, try DIY grout whitening methods. Baking soda and hydrogen peroxide make a great team – mix them to create a paste, apply to the grout, and let it sit before rinsing. Another option is lemon juice and borax, which can help break down tough stains. Apply the mixture, let it sit, and scrub gently for a brighter look. These methods are easy, inexpensive, and can give your grout a fresh new appearance. With a little elbow grease, you can achieve professional-looking results without the hefty price tag.
Natural Grout Cleaners Explained
When it comes to deep cleaning your bathroom grout, you don’t always need to reach for harsh chemicals. Natural grout cleaners can be just as effective, and they’re often gentler on your grout and the environment. Baking soda and vinegar are two popular options that can help break down tough stains and grime. Simply mix the two to form a paste, apply it to the grout, and let it sit before scrubbing and rinsing.
These natural cleaners can be a great alternative to traditional bleach-based products, and they can leave your grout looking like new without exposing you to harsh fumes or chemicals. Plus, they’re often cheaper and more eco-friendly, making them a win-win for your bathroom and the planet.
5 Pro Tips to Keep Your Grout Looking Brand New
- Seal your grout regularly to prevent stains and make cleaning easier
- Use a grout brush with stiff bristles to get into tight spaces and corners
- Mix baking soda and vinegar to create a powerful natural cleaner for tough grout stains
- Test a small area of grout first when using a new cleaning solution to ensure it won’t damage the material
- Use a steam cleaner to loosen and remove dirt and grime from grout lines without harsh chemicals
Key Takeaways for a Sparkling Clean Grout
Regular deep cleaning of your bathroom grout can completely transform the appearance of your bathroom, making it look fresher and more inviting
Using natural grout cleaners or DIY whitening methods can be an effective and budget-friendly way to remove tough stains and grime from your grout
By incorporating grout cleaning into your regular bathroom maintenance routine, you can prevent the buildup of dirt and grime, making future cleaning tasks easier and less time-consuming
The Power of a Deep Clean
A sparkling clean grout line is not just a matter of aesthetics, it’s a reflection of the love and care you put into your home – and with the right techniques, you can make your bathroom grout shine like new, transforming the entire space into a tranquil oasis.
Emily Wilson
Bringing it all Together: A Sparkling Clean Bathroom
By following the steps outlined in this guide, you’ll be able to give your bathroom a fresh new look. From understanding the importance of regular deep cleaning to exploring natural grout cleaners and DIY whitening methods, we’ve covered it all. Whether you’re a cleaning enthusiast or just looking to give your bathroom a quick makeover, the tips and tricks shared here are designed to help you achieve a cleaner, brighter space. Remember, consistency is key when it comes to maintaining your bathroom’s appearance, so try to incorporate these habits into your routine.
As you stand back to admire your hard work, remember that a clean bathroom is not just about aesthetics; it’s also about creating a healthy environment for you and your family. So, take pride in your efforts and enjoy the satisfaction of knowing you’ve transformed your bathroom from grimy to glam. With these simple yet effective methods, you’ll be well on your way to making your bathroom a haven of cleanliness and relaxation. Happy cleaning!
Frequently Asked Questions
How often should I deep clean my bathroom grout to maintain its appearance?
Honestly, it depends on how much your bathroom is used, but as a general rule, deep cleaning your grout every 6-12 months can keep it looking fresh and new. If you notice it’s getting grimy more often, you can adjust the frequency to every 3-4 months.
Can I use bleach to whiten my grout or are there safer alternatives?
While bleach can whiten grout, it’s harsh and can damage surrounding materials. Safer alternatives include hydrogen peroxide, baking soda, and oxygen-based cleaners. These options are gentler on surfaces and the environment, making them great choices for a grout whitening DIY project.
What are some common mistakes to avoid when deep cleaning bathroom grout to prevent damage?
When deep cleaning bathroom grout, beware of using too much bleach or harsh chemicals, as they can damage the grout or surrounding surfaces. Avoid using abrasive scrubbers that can scratch the grout, and never use a power washer, which can dislodge the grout entirely. Gentle cleaning and patience are key to a successful deep clean.