I still remember the first time I stumbled upon Paper Marbling (Ebru) – it was like discovering a hidden world of art and magic. The common myth that it’s a complicated, tedious process that only seasoned artists can master is simply not true. In reality, creating these stunning, one-of-a-kind designs is incredibly accessible, even for those who don’t consider themselves “artistic.” With a few simple tools and some patience, you can unlock the secrets of this ancient art form and start producing breathtaking pieces.
In this guide, we’ll cut through the hype and get straight to the heart of Paper Marbling (Ebru), focusing on practical, easy-to-follow techniques that will have you creating your own unique designs in no time. We’ll cover the essential materials, step-by-step instructions, and expert tips to help you overcome common obstacles and achieve professional-looking results. Whether you’re a curious beginner or an experienced artist looking to expand your skills, this article will provide you with the honest, no-nonsense advice you need to succeed in the captivating world of Paper Marbling (Ebru).
Table of Contents
Project Overview
Total Time: 1 hour 30 minutes
Estimated Cost: $20 – $40
Difficulty Level: Intermediate
Tools Required
- Tray or container ((at least 12 inches long, 6 inches wide, and 2 inches deep))
- Skewers or sticks ((for creating patterns))
- Blow dryer ((optional))
- Gloves ((for protection))
- Newspaper or paper towels ((for cleaning up spills))
Supplies & Materials
- Water
- Carrageenan or methylcellulose ((as a sizing agent))
- Glycerin ((to reduce surface tension))
- Oil-based ink or marbling paint ((in various colors))
- Paper ((preferably 8.5 inches x 11 inches or larger, and 80-100 gsm))
- A surfactant ((such as dish soap, to break surface tension))
Step-by-Step Instructions
- 1. First, let’s start with the basics – to create our paper marbling masterpiece, we’ll need a few essential materials, including a large tray or container filled with water, ink, and a surfactant to reduce the water’s surface tension. I find that using a mixture of water and glycerin works beautifully, allowing the ink to float effortlessly on the surface.
- 2. Next, we’ll need to prepare our ink – traditionally, Ebru artists use a special type of ink that’s designed to float on water, but you can also experiment with natural dyes like food coloring or plant-based inks. Simply add a few drops of your chosen ink to the water, and watch as it spreads out into a vibrant, swirling pattern.
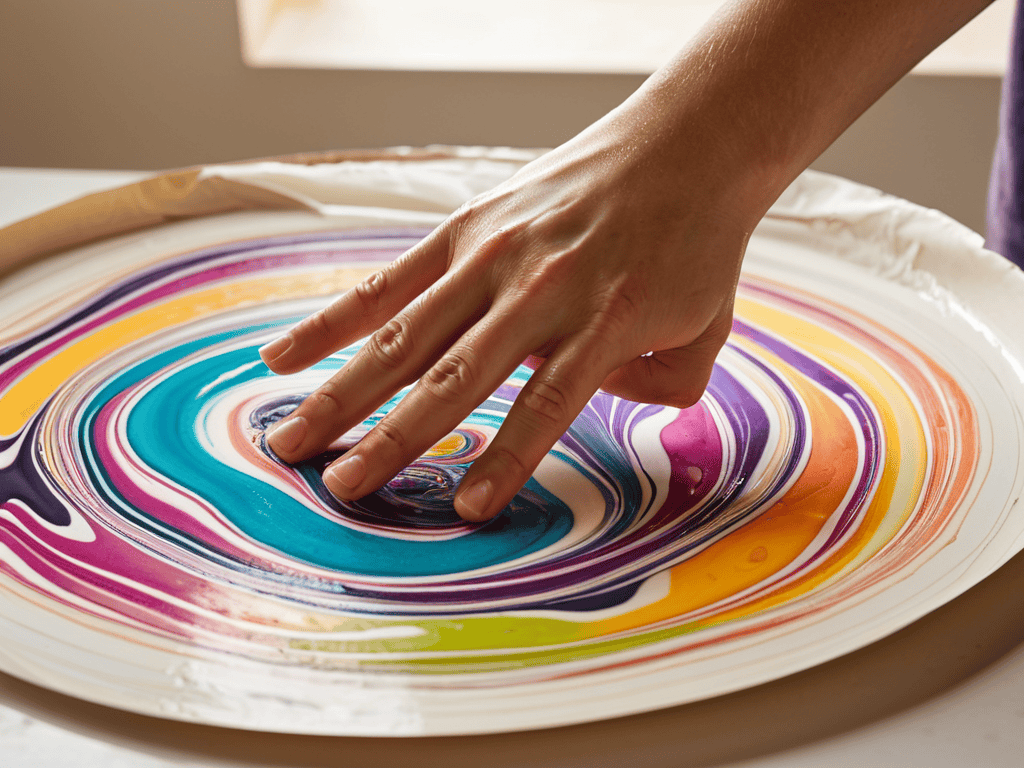
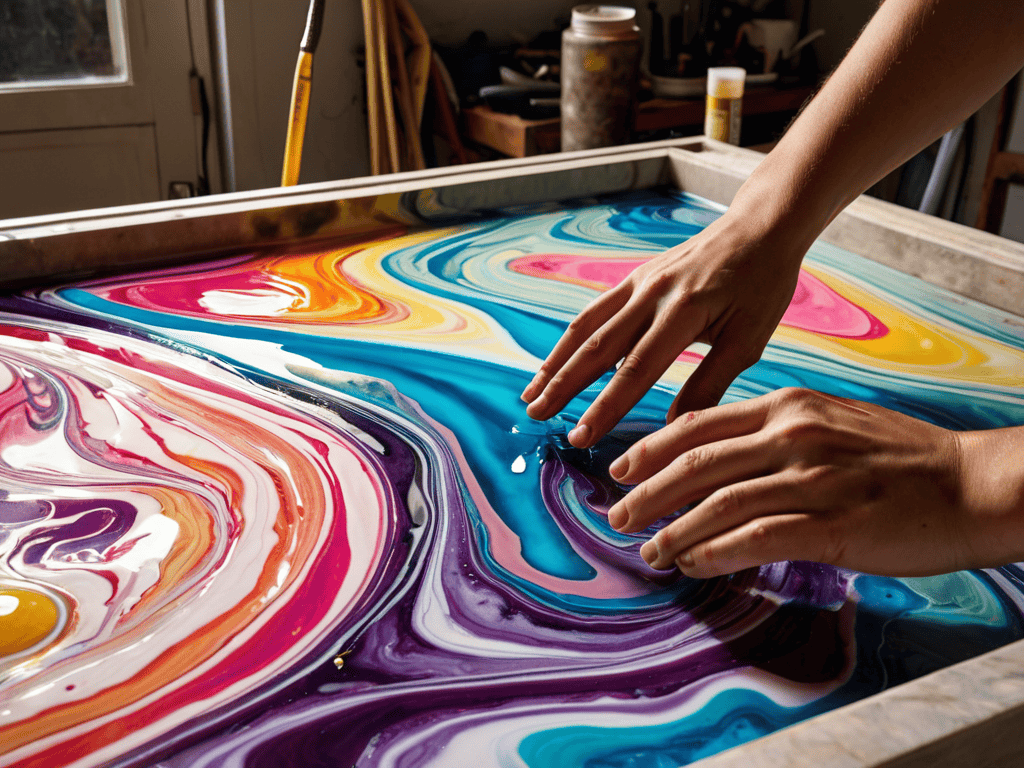
- 3. Now it’s time to create our design – using a toothpick or a small tool, gently manipulate the ink on the surface of the water to create the desired pattern. You can use a variety of techniques, from simple swirls to intricate, geometric shapes. Don’t be afraid to experiment and try out new things – it’s all part of the fun!
- 4. With our design in place, it’s time to add the paper – carefully place a sheet of paper onto the surface of the water, making sure not to disturb the ink. Let it sit for a few seconds, allowing the ink to transfer to the paper, before gently lifting it out of the water and setting it aside to dry.
- 5. To add an extra layer of depth and interest to our design, we can use a technique called over-marbling – this involves adding additional layers of ink to the water, and then re-dipping the paper to create a multi-colored, dimensional effect. Just be careful not to overdo it, or the design can become too busy and overwhelming.
- 6. Once we’ve achieved the desired effect, it’s time to fix the design in place – using a fixative or a spray varnish, gently mist the paper to prevent the ink from smudging or running. This will help preserve the delicate, lacy patterns that we’ve worked so hard to create.
- 7. Finally, let’s add a few finishing touches to our masterpiece – using a pair of scissors or a craft knife, carefully trim the edges of the paper to create a clean, straight edge. You can also add a few decorative touches, like a sprinkle of glitter or a handwritten message, to make the piece truly special.
Unlocking Paper Marbling Ebru

To truly master the art of creating stunning, one-of-a-kind designs, it’s essential to understand the traditional ebru techniques that have been passed down through generations. By experimenting with different tools and materials, you can add your own unique twist to this ancient art form. For instance, paper marbling for beginners often involves using a combination of ink and water to create intricate patterns, but you can also try using natural dyes to achieve a more subtle, organic look.
As you continue to explore the world of paper marbling, you may find yourself looking for new inspiration or ways to connect with like-minded artists. I’ve personally found that joining online communities or forums can be a great way to stay up-to-date on the latest trends and techniques, and even discover new resources and tools to help take your craft to the next level. For instance, if you’re looking to meet new people who share your interests, you can check out adult personals australia to find local groups or events that align with your hobbies, which can be a great way to network and learn from others in a more casual setting.
As you delve deeper into the world of marbled paper art projects, you’ll begin to appreciate the history of ebru art and its significance in various cultures. From the intricate designs used in traditional Turkish art to the modern, abstract patterns created by contemporary artists, there’s a wealth of inspiration to draw from. By studying the work of other artists and experimenting with different techniques, you can develop your own unique style and voice.
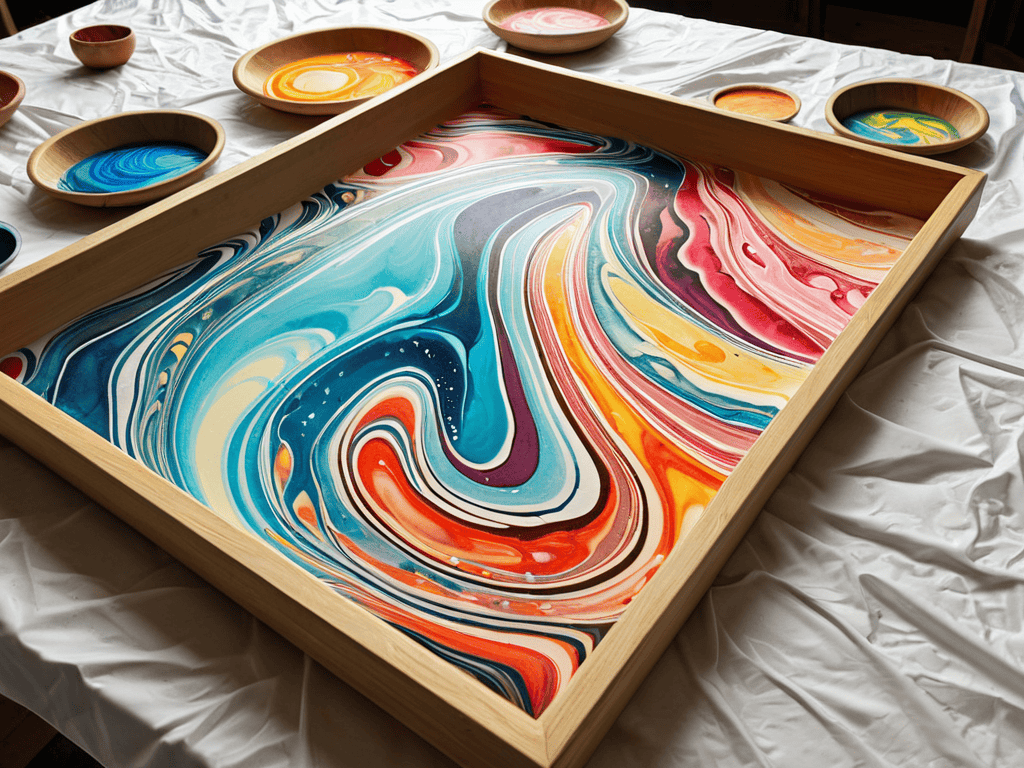
One of the most exciting things about this art form is its versatility – you can use marbled paper to create everything from ebru inspired journal covers to stunning works of art that can be displayed on their own. Whether you’re a seasoned artist or just starting out, the possibilities are endless, and the process of creating something beautiful and unique is truly meditative.
Creating Marbled Paper Art Projects
To take your paper marbling skills to the next level, try incorporating them into unique art projects. You can create stunning journal covers, gift wraps, or even decorative papers for origami. Experiment with different colors and patterns to match your project’s theme. For instance, pastel shades can add a touch of elegance to a handmade card, while bold colors can make a statement in a mixed-media collage.
As you explore various projects, remember to let your creativity shine. Don’t be afraid to combine paper marbling with other techniques, like calligraphy or stamping, to add texture and depth. With a little practice, you’ll be amazed at the beautiful, one-of-a-kind pieces you can create. Whether you’re a seasoned artist or a beginner, paper marbling art projects offer a fun and rewarding way to express yourself.
Discovering Traditional Ebru Techniques
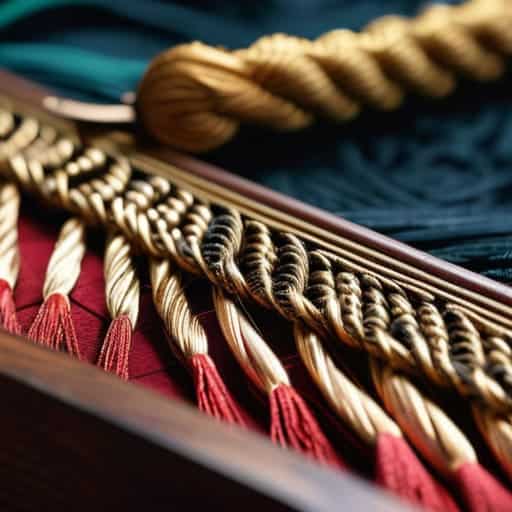
As I delved deeper into the world of Ebru, I became fascinated with the traditional techniques that have been passed down through generations. The way Turkish artisans would carefully craft their tools, from horsehair brushes to delicate combs, is a testament to the art form’s rich history. By experimenting with these time-honored methods, I discovered a new level of depth and nuance in my marbling creations. The traditional Ebru approach emphasizes patience, precision, and a deep respect for the materials, allowing the ink to dance on the water in mesmerizing patterns.
By embracing these traditional techniques, I found that my paper marbling practice became more meditative and intentional, inviting a sense of connection to the artisans who came before me.
5 Essential Tips to Master the Art of Paper Marbling (Ebru)
- Experiment with different ink colors and combinations to achieve unique, one-of-a-kind patterns
- Use high-quality paper that can withstand the marbling process, such as watercolor or specialty marbling paper
- Control the temperature and consistency of the water to achieve the desired level of ink dispersion and pattern formation
- Practice, practice, practice – paper marbling is an art that requires patience, experimentation, and a willingness to learn from mistakes
- Don’t be afraid to push the boundaries of traditional Ebru techniques and incorporate new materials, tools, or methods to create innovative and modern marbled paper art
Key Takeaways from the World of Paper Marbling (Ebru)
I’ve learned that with a few simple materials like water, ink, and paper, you can unlock a universe of unique, dreamlike patterns through the ancient art of Ebru
Experimenting with different traditional Ebru techniques and modern twists can help you discover your own style and voice in paper marbling, making each piece truly one-of-a-kind
Whether you’re a seasoned artist or a curious beginner, the journey of creating marbled paper art projects is just as rewarding as the final result, offering a meditative and creative escape from the ordinary
The Art of Imperfection
In the ephemeral dance of ink and water, paper marbling reminds us that perfection is not in the repetition, but in the unique, unrepeatable moments of beauty that unfold with every delicate touch.
Ava Morales
Conclusion
As we conclude our journey through the world of paper marbling, also known as Ebru, it’s essential to reflect on the key takeaways. We’ve explored the traditional techniques of this ancient art form, including the step-by-step process of creating marbled paper. We’ve also delved into the various methods for unlocking paper marbling, from discovering traditional Ebru techniques to creating unique marbled paper art projects. By mastering these skills, you’ll be able to create stunning, one-of-a-kind designs that showcase your creativity and patience.
As you continue to experiment with paper marbling, remember that the true beauty of this art form lies in its imperfections and surprises. Don’t be afraid to try new things and make mistakes – they can often lead to unexpected breakthroughs. With practice and dedication, you’ll find that paper marbling becomes a meditative and rewarding experience, allowing you to tap into your creative potential and produce truly breathtaking works of art. So, keep exploring, experimenting, and pushing the boundaries of what’s possible with paper marbling.
Frequently Asked Questions
What kind of ink and paper are best suited for creating vibrant and long-lasting paper marbling designs?
For vibrant and long-lasting designs, I swear by high-quality, light-fast inks and paper with a smooth finish. Look for inks specifically designed for marbling, and opt for paper with a high cotton content – it’s a game-changer for creating stunning, durable pieces.
How can I achieve unique and intricate patterns in my Ebru art?
To achieve unique patterns, experiment with different ink ratios, water temperatures, and tool manipulations. Try layering colors or introducing unexpected textures to create intricate, one-of-a-kind designs that reflect your artistic voice.
Are there any modern twists or innovations in traditional paper marbling techniques that I can experiment with?
I love experimenting with modern twists on traditional Ebru techniques. You can try using metallic inks, adding glitter or sequins to the water, or even incorporating natural materials like leaves or flowers into your designs. These innovative approaches can add a fresh, contemporary spin to this ancient art form, allowing you to create truly unique and captivating pieces.