I still remember the first time I created a DIY vision board – it was like unlocking a treasure chest of creativity and inspiration. I was rummaging through a thrift shop, searching for unique items to upcycle, when I stumbled upon a quirky old frame and a bunch of vintage magazines. As I flipped through the pages, I started cutting out images and words that resonated with me, and before I knew it, I had a visual representation of my wildest dreams staring back at me. It was then that I realized the true power of a DIY vision board – it’s not just a fancy craft project, but a tool for self-discovery.
In this article, I’ll share my honest, no-hype guide to creating a DIY vision board that truly reflects your personality and aspirations. I’ll walk you through the process of gathering materials, brainstorming ideas, and bringing your vision to life. You’ll learn how to let go of perfection and embrace the beauty of imperfection, just like I do when I’m working on my own DIY projects. By the end of this guide, you’ll have a unique and meaningful DIY vision board that will inspire you to take action and make your dreams a reality. So, let’s get started and unleash our creativity together!
Table of Contents
Guide Overview: What You'll Need
Total Time: 1 hour 30 minutes
Estimated Cost: $20 – $40
Difficulty Level: Easy
Tools Required
- Scissors (sharp)
- Glue Stick (acid-free)
- Ruler (for straight cuts)
- Pencil (for marking board)
- Push Pins or Adhesive Putty (for hanging board)
Supplies & Materials
- Foam Board approximately 11 inches x 14 inches
- Magazines (various for cutting out images)
- Printed Photos (personal favorites)
- Colored Markers or Pens (for writing goals and notes)
- Any other decorative items (such as stickers, stamps, or ribbons)
Step-by-Step Instructions
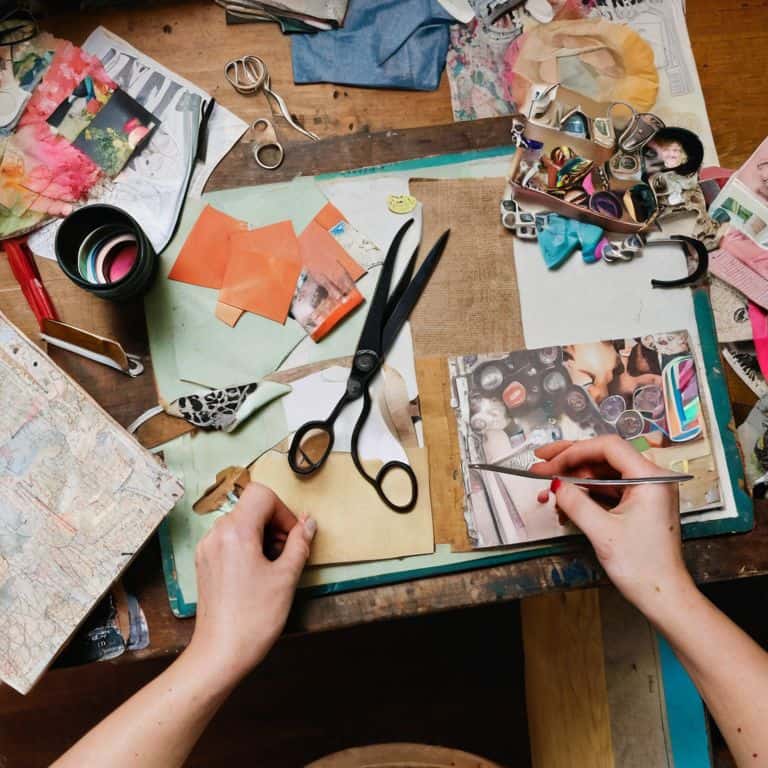
- 1. First, let’s start by gathering all the necessary materials for our DIY vision board, which includes a large piece of cardboard, scissors, glue, old magazines, and any other embellishments you like, such as stickers, washi tape, or even natural elements like leaves or flowers.
- 2. Next, take some time to brainstorm and reflect on your goals, thinking about what you want to achieve in the short and long term – this could be anything from career aspirations to personal relationships or travel dreams, and write down key words or phrases that come to mind.
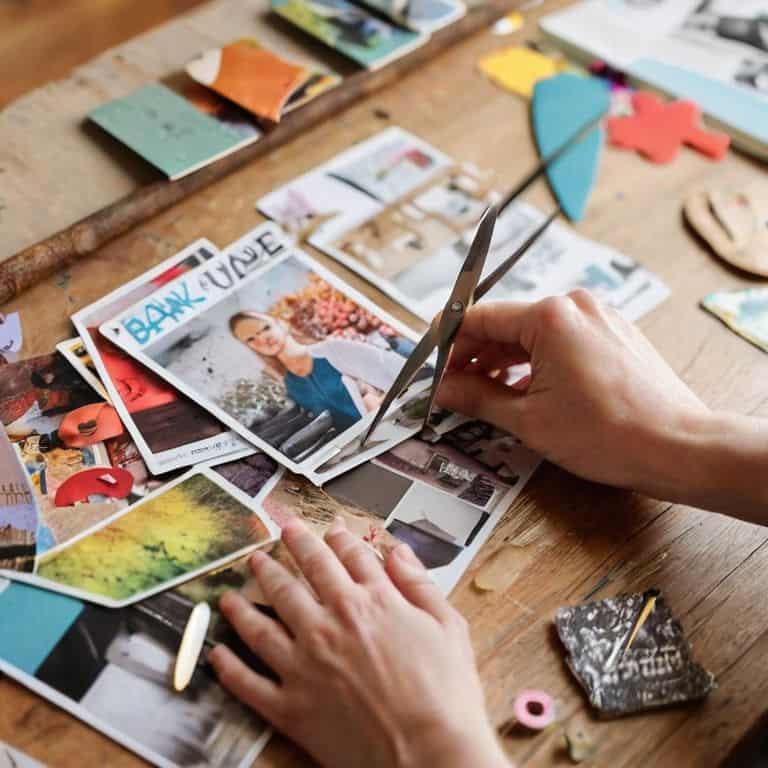
- 3. Now, flip through those old magazines and start tearing out pages that resonate with your vision, whether it’s a beautiful landscape, a stylish room, or a quote that speaks to your soul – don’t worry too much about why you’re drawn to something, just trust your instincts.
- 4. With your magazine cutouts in hand, start arranging them on your cardboard in a way that feels intuitively right to you, playing with different patterns and compositions until you find a layout that -feels like you.
- 5. Once you’re happy with your arrangement, start gluing everything in place, adding any extra embellishments as you go – this is where you can get really creative and add things like personal symbols or meaningful objects to make your vision board even more potent.
- 6. As you work on your vision board, remember to have fun and not worry too much about making mistakes – the process is just as important as the end result, and it’s all about embracing your creativity and enjoying the journey.
- 7. Finally, hang your finished vision board somewhere you’ll see it every day, such as above your desk or on a bedroom wall, and take a moment to step back and admire your handiwork, feeling proud of yourself for taking the time to create something truly unique and meaningful.
Crafting Diy Vision Board
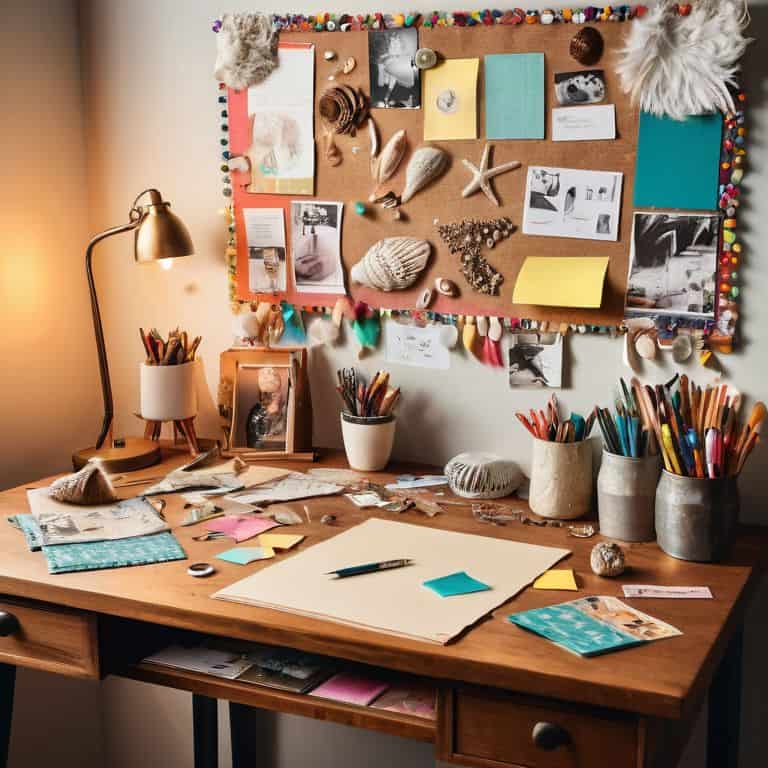
As I delve into the world of vision boards, I’m reminded of the countless hours I’ve spent scouring thrift shops and flea markets for unique materials to incorporate into my projects. Creating a vision board for manifestation is all about tapping into your personal style and desires. When it comes to vision board supplies for beginners, I always recommend starting with the basics: a sturdy board, some scissors, glue, and a plethora of magazines to cut out inspiring images and words.
One of my favorite aspects of vision boards is the ability to make them truly personal. Whether you’re looking for vision board ideas for career growth or simply wanting to decorate your space with meaningful quotes and images, the possibilities are endless. I’ve seen people use everything from fabric scraps to vintage postcards to create a one-of-a-kind piece of art that reflects their personality. Using affirmations on a vision board can be a powerful way to focus your intentions and attract positive energy into your life.
When hosting a vision board workshop, I encourage participants to think outside the box and experiment with different materials and techniques. From digital vision boards to traditional physical ones, the most important thing is to have fun and make it your own. By embracing your creativity and letting your imagination run wild, you’ll be amazed at the incredible things you can create – and the impact it can have on your life.
Manifestation Through Affirmations
As I delve into the world of vision boards, I’m reminded of the power of affirmations. These short, punchy phrases can be the spark that sets your intentions ablaze. For my own vision board, I like to mix and match words that resonate with my current vibe – think “create,” “inspire,” and “upcycle.” I write them down on colorful sticky notes or even paint them directly onto the board for a more organic feel. The key is to keep it personal and authentic, so don’t be afraid to get a little quirky with your word choices.
By incorporating affirmations into your vision board, you’re essentially manifesting your desires into reality. It’s like giving your subconscious a gentle nudge in the right direction. I like to place my affirmations alongside images or objects that evoke a strong emotional response, amplifying their impact and making my vision board a true reflection of my aspirations.
Unleashing Vision Board Ideas
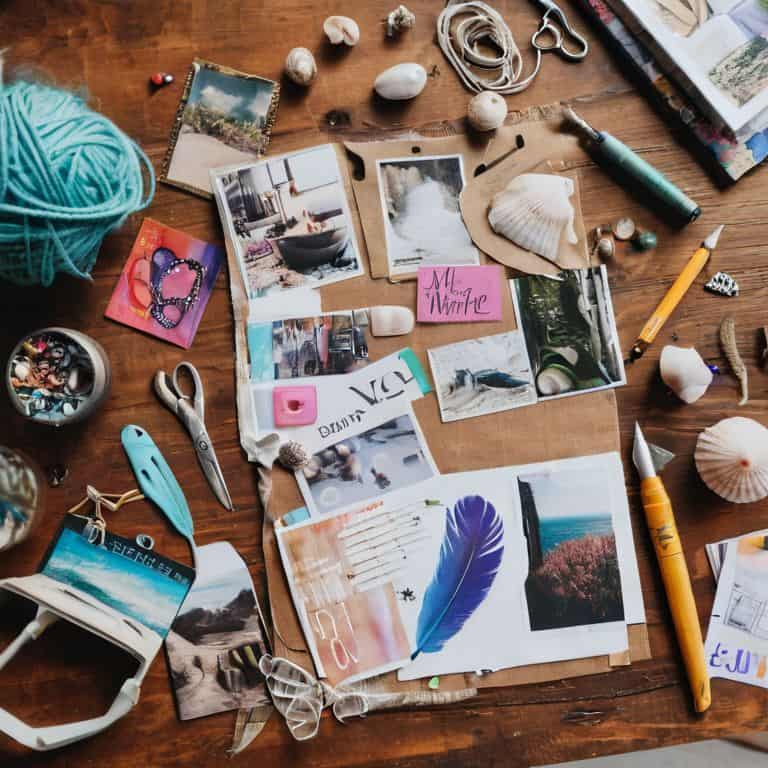
Now that we’ve got our vision board bases covered, it’s time to unleash the real creativity. I love scouring thrift shops and flea markets for unique materials to add some extra oomph to my boards. Think vintage maps, music sheets, or even fabric scraps – the quirkier, the better. You can also experiment with different textures and colors to make your vision board truly one-of-a-kind. For me, it’s all about mixing and matching unexpected elements to create a visual story that’s both personal and inspiring.
Hammering Out the Essentials: 5 Key Tips for Your DIY Vision Board
- Get Personal: Use images and words that genuinely resonate with your passions and desires, making your vision board a true reflection of your inner world
- Mix it Up: Combine different textures, colors, and materials to add depth and visual interest to your board, from magazine cutouts to fabric scraps and found objects
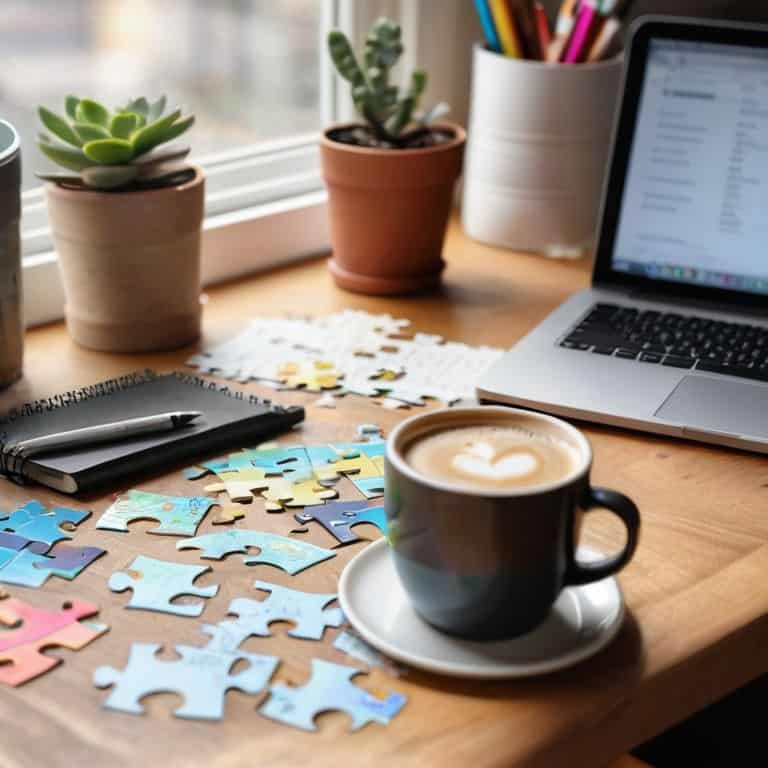
- Make it a Ritual: Set aside a special time and space to work on your vision board, lighting some candles, playing your favorite music, or sipping a cup of coffee to get those creative juices flowing
- Keep it Fresh: Don’t be afraid to update or remake your vision board as your goals and aspirations evolve, using it as a dynamic tool for reflection and growth
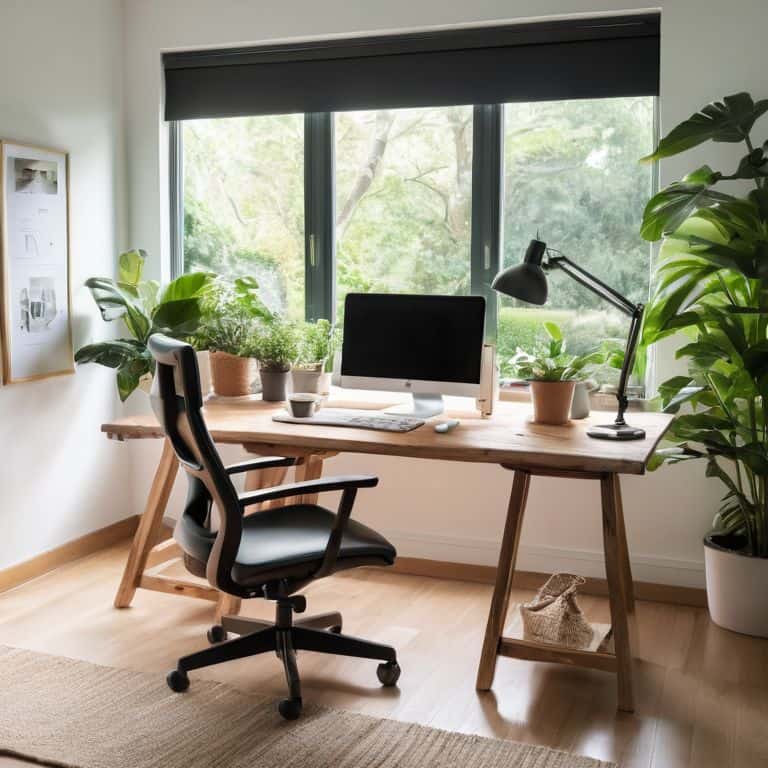
- Display with Intention: Hang your vision board in a spot where you’ll see it daily, such as above your desk or on a bedroom wall, serving as a constant reminder of your dreams and desires
Key Takeaways to Unleash Your Creativity
Embracing your personal style and creativity is crucial when crafting a DIY vision board – don’t be afraid to think outside the box and make it a reflection of your unique vision
Combining visual elements like images, colors, and textures with powerful affirmations can supercharge your vision board, helping you manifest your goals and dreams
Remember, the true magic of a DIY vision board lies in its ability to evolve with you – feel free to add, remove, or modify elements as your aspirations and desires change over time
A Visionary's Mantra
A DIY vision board is more than just a craft project – it’s a blueprint for your dreams, a reminder that the power to shape your reality lies in your own hands, and a celebration of the incredible things that happen when imagination meets inspiration.
Liam Harrington
Bringing Your Vision to Life
As we wrap up this DIY vision board journey, let’s recap the key elements that bring this project to life. From gathering inspirational materials to unleashing your creativity through affirmations, every step has been about tapping into your unique energy and manifesting your desires. Remember, the process is just as important as the end result – it’s about having fun, exploring your imagination, and embracing the journey of self-discovery.
Now that you’ve crafted your very own DIY vision board, it’s time to let its transformative power shine. Hang it in a place where you’ll see it daily, and let the visual reminders of your goals and aspirations inspire you to take action. Believe in yourself, stay true to your vision, and watch how your life begins to unfold in amazing ways. Keep exploring, creating, and pushing the boundaries of what’s possible – the world needs your unique brand of awesome!
Frequently Asked Questions
What are some creative ways to display my DIY vision board in my home or office?
Now that you’ve crafted your vision board, it’s time to show it off! Consider hanging it above your desk, on a gallery wall, or even repurposing an old easel to display it proudly. You could also lean it against a shelf or shelve it in a decorative frame to add some visual interest to your space.
How often should I update or revise my vision board to reflect changes in my goals and aspirations?
I like to think of my vision board as a living, breathing reflection of my goals – so, I update it whenever I feel like my aspirations have shifted. For me, that’s usually every few months or when I’ve accomplished a major milestone. It’s all about keeping your vision board fresh and relevant, like swapping out a old hammer for a new one in my toolbox!
Can I incorporate digital elements, such as printed photos or quotes, into my DIY vision board or is it better to stick with physical materials?
Absolutely, go digital! I love incorporating printed photos, quotes, or even magazine cutouts into my vision boards. It adds a fun, modern twist. Just print, cut, and glue them in – it’s a great way to personalize your board and make it truly one-of-a-kind.