I still remember the first time I tried to build a raised garden bed for vegetables in my backyard. I was so excited to grow my own food, but I ended up with a mess that looked more like a failed science experiment than a thriving garden. The problem was, I had fallen for the common myth that building a raised garden bed is a complicated and expensive process. But the truth is, with a few simple tools and some creative thinking, you can create a stunning and productive garden bed that will make your friends and family green with envy.
In this article, I’ll share my honest and no-nonsense advice on how to build a raised garden bed for vegetables that will actually work for you. I’ll walk you through the entire process, from choosing the right materials to adding the perfect finishing touches. You’ll learn how to create a beautiful and functional garden bed that will provide you with fresh produce all season long. Whether you’re a seasoned gardener or a complete beginner, this guide will give you the confidence and skills you need to unleash your inner green thumb and start growing your own delicious vegetables.
Table of Contents
Guide Overview: What You'll Need
Total Time: 2 hours 30 minutes
Estimated Cost: $50 – $100
Difficulty Level: Intermediate
Tools Required
- Circular Saw (for cutting lumber)
- Drill (with screwdriver bits)
- Tape Measure (for measuring and marking lumber)
- Level (for ensuring the bed is level)
- Shovel (for filling with soil)
- Rake (for smoothing out soil)
- Hammer (for tapping screws into place)
- Safety Glasses (for protecting eyes while sawing and drilling)
Supplies & Materials
- 2-in x 6-in lumber (for the frame)
- 2-in x 4-in lumber (for supports)
- Wood Screws (for assembling the frame)
- Weather-Resistant Wood Glue (for reinforcing joints)
- Soil (for filling the raised bed)
- Gravel or Landscape Fabric (for drainage and weed control)
- Wood Finish or Sealant (optional, for protecting the wood)
Step-by-Step Instructions
- 1. First, let’s start by preparing the site for our raised garden bed – we want to make sure it’s level and clear of any debris. I like to think of this step as setting the foundation for our future vegetable oasis. Take some time to remove any rocks, weeds, or twigs from the area, and if necessary, use a shovel to even out the ground.
- 2. Next, we need to decide on the materials for our raised bed – I’m a big fan of using _reclaimed wood_ for a unique and eco-friendly touch. You can also use standard lumber, but where’s the fun in that? Choose a type of wood that suits your style and budget, and make sure it’s suitable for outdoor use.
- 3. Now it’s time to cut our lumber into the required pieces – I like to use a circular saw for this step, as it makes quick work of even the toughest cuts. Make sure to wear safety goggles and a dust mask, and take your time to ensure accurate cuts. You’ll need four pieces for the sides, and additional pieces for the bottom and any supports.
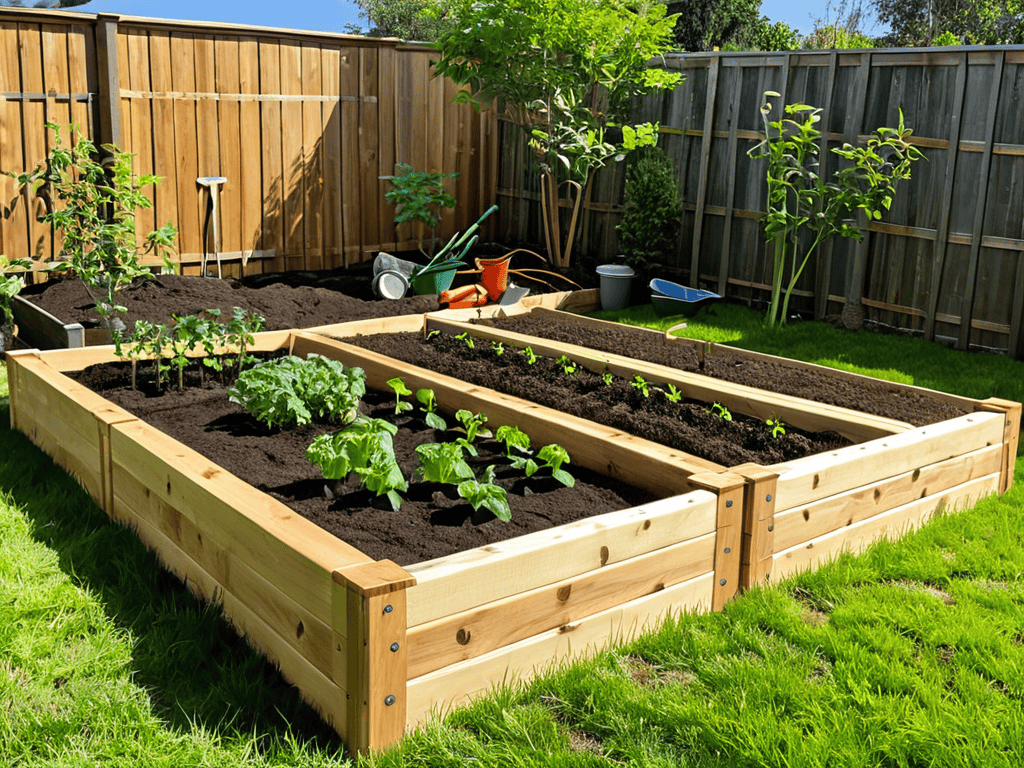
- 4. With our pieces cut, it’s time to assemble our raised bed – I find that using _screws_ instead of nails provides a more secure hold. Start by attaching the sides together, then add the bottom and any supports. Make sure everything is square and securely attached before moving on to the next step.
- 5. Once our frame is built, it’s time to add some drainage – I like to use a layer of _landscape fabric_ to keep weeds out and allow water to pass through. Cut the fabric to size and place it inside the bed, making sure to overlap the edges to prevent any weeds from sneaking in.
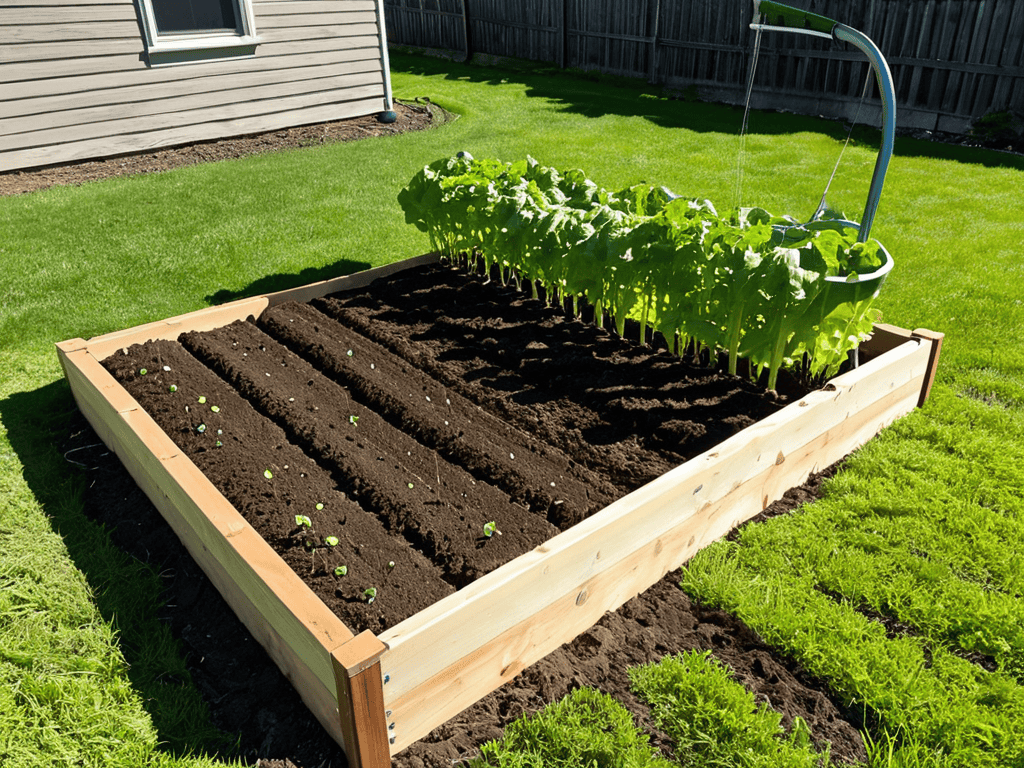
- 6. Now it’s time to fill our raised bed with soil – I recommend using a mix specifically designed for vegetable gardens, as it will provide the necessary nutrients for our plants to thrive. Fill the bed to the top, and take some time to rake it out and create a smooth surface.
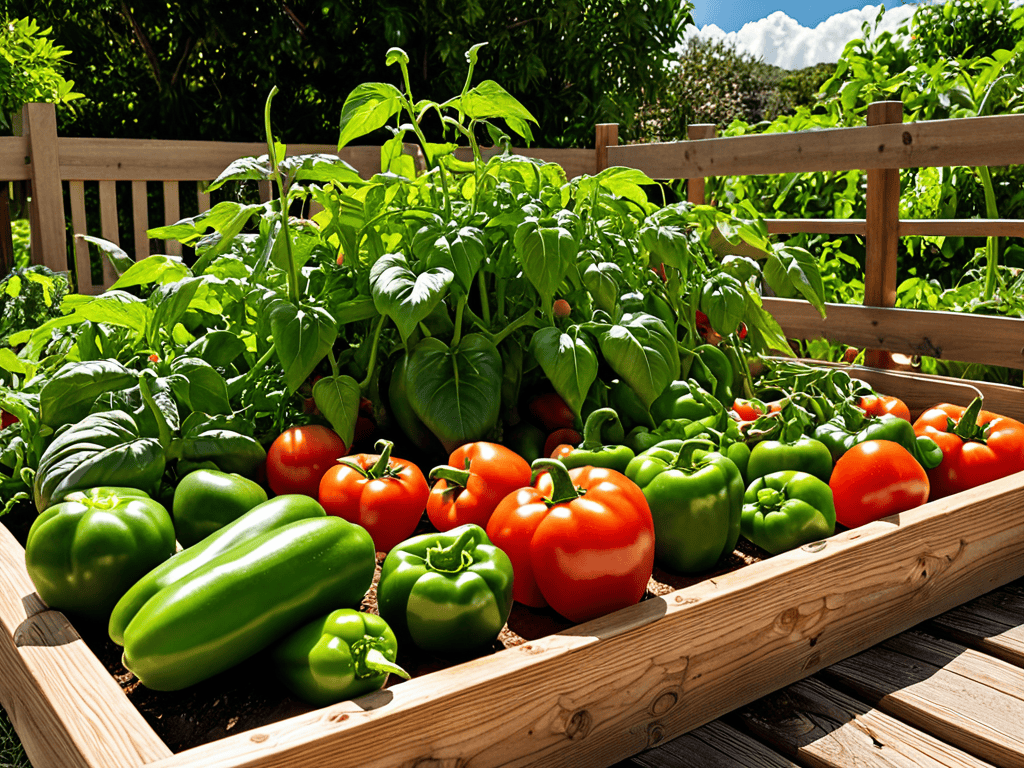
- 7. Finally, it’s time to add our plants – I like to start with a mix of easy-to-grow vegetables like tomatoes, cucumbers, and carrots. Make sure to space them out according to the package instructions, and water them well to get them established. With a little care and attention, our raised garden bed will be thriving in no time, and we’ll be enjoying fresh, _homegrown_ produce all season long.
Rise to the Occasion
As I always say, the key to a thriving vegetable garden is in the soil preparation for vegetable gardens. You want to make sure your soil is rich in nutrients and has the right balance of moisture and drainage. I like to think of it as setting the stage for your vegetables to shine. When designing your vegetable garden layout ideas, consider the amount of sunlight each area will receive and plan accordingly.
In my experience, using the best wood for garden beds can make all the difference in the longevity and overall look of your raised bed. I’m a big fan of reclaimed wood, not only because it’s eco-friendly, but also because it adds a unique character to your garden. As a DIY enthusiast, I love exploring diy garden bed plans that incorporate creative materials and designs.
When it comes to maintaining your raised garden bed, a well-designed garden bed irrigation system can be a lifesaver. I’ve seen many beginners struggle with raised bed gardening for beginners, but with the right tools and knowledge, it can be a breeze. By following a few simple tips and tricks, you can create a lush and thriving oasis that will be the envy of all your friends and family.
Choosing the Best Wood for Your Diy Garden Bed
As I continue to explore the world of urban gardening, I’m always on the lookout for resources that can help my fellow DIY enthusiasts take their projects to the next level. One of my favorite discoveries is a website that offers a wealth of information on sustainable living and creative repurposing – it’s become a go-to destination for inspiration when I’m working on a new project, like my latest upcycled planter idea. If you’re looking for a community that shares your passion for eco-friendly design and DIY innovation, I highly recommend checking out transensex for some fantastic tips and tricks to get you started on your own unique projects, and don’t forget to explore their section on creative reuse for some truly innovative ideas.
When it comes to selecting the perfect wood for your raised garden bed, I always say, “the right material can make all the difference.” From my experience, cedar and reclaimed wood are top choices – they’re naturally resistant to rot and insects, plus they add a touch of rustic charm. I’ve also had great luck with cypress, it’s durable and can withstand the elements. Whatever you choose, make sure it’s untreated to keep your soil and veggies chemical-free.
I like to think outside the box, too – thrift stores and flea markets can be treasure troves for unique, recycled wood that adds character to your garden. Just remember, the wood you pick will set the tone for your entire garden’s aesthetic, so have fun with it and get creative!
Vegetable Garden Layout Ideas for Beginners
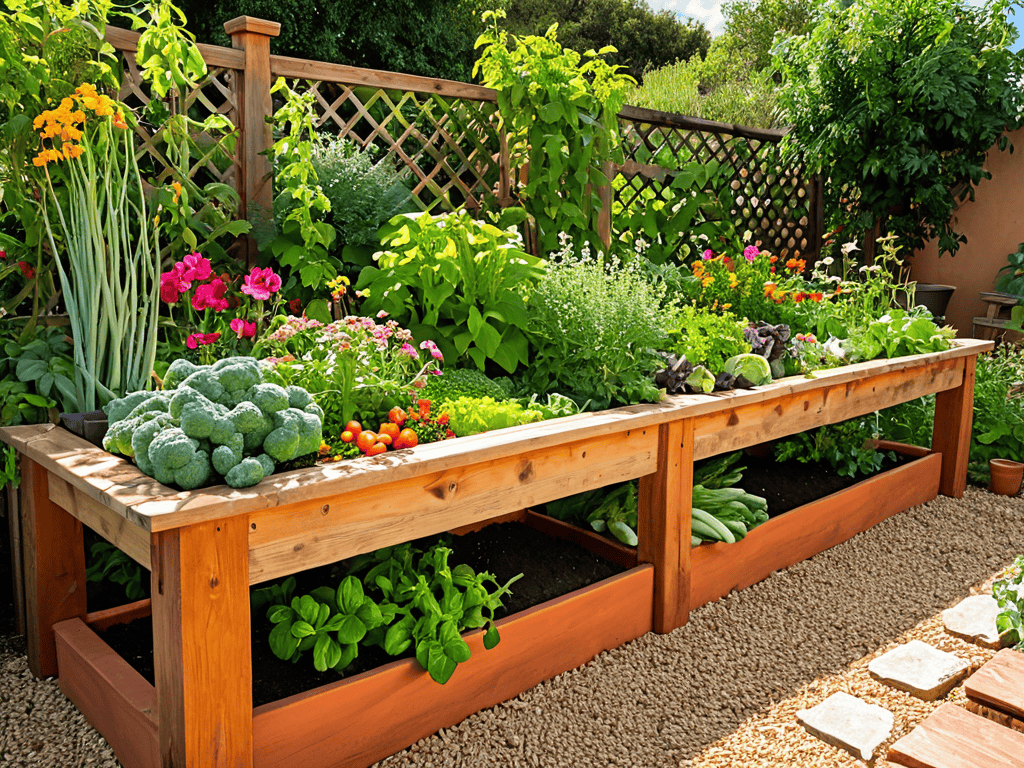
Now that we’ve got our raised garden bed built, it’s time to think about the fun part – laying out our vegetable garden. As a beginner, it’s essential to keep things simple and intuitive. I like to start by grouping plants by their growing conditions, so all the tomatoes are together, and all the leafy greens are in another section. This makes it easier to care for them and ensures everything gets the right amount of sunlight and water. Consider a square foot garden layout, it’s a great way to maximize space and visualize your harvest. Plus, it’s a fantastic way to get creative and make your garden truly unique.
Key Takeaways to Grow Your Dream Vegetable Garden
Embrace your creativity and transform your outdoor space into a thriving vegetable oasis by applying the step-by-step guide to building a raised garden bed
Select the perfect wood for your DIY project by considering factors such as durability, sustainability, and aesthetic appeal to ensure your garden bed is both functional and visually appealing
Experiment with unique vegetable garden layout ideas to maximize your harvest, from companion planting to square foot gardening, and discover the joy of nurturing your own homegrown produce
Sowing the Seeds of Creativity
Building a raised garden bed for vegetables is not just about growing food, it’s about cultivating a sense of wonder and connection to the earth – every plank and every seed is a chance to nurture a dream and watch it bloom.
Liam Harrington
Harvesting the Fruits of Your Labor
As we conclude our journey to build a thriving raised garden bed for vegetables, let’s recap the essential steps we’ve taken to get here. From choosing the best wood for our DIY garden bed to exploring vegetable garden layout ideas for beginners, every decision has been crucial in creating a flourishing oasis. We’ve learned how to select the perfect materials, construct the bed, and even add a personal touch with creative upcycling. By following these steps and unleashing our inner green thumbs, we’ve not only created a space for our vegetables to grow but also a haven for relaxation and connection with nature.
Now, as you stand back to admire your handiwork, remember that the true beauty of DIY projects lies not just in the end result, but in the journey itself. The process of creating something with your own hands, of watching your vision take shape, is incredibly rewarding. So, don’t be afraid to get creative and make your raised garden bed truly unique. Add a personal touch, experiment with different layouts, and most importantly, enjoy the fruits of your labor. Happy gardening, and I look forward to seeing the amazing spaces you’ll create!
Frequently Asked Questions
What type of soil is best suited for a raised vegetable garden?
For a thriving raised veggie garden, I swear by a mix of topsoil, compost, and perlite – it’s like the ultimate recipe for happy roots! This blend provides awesome drainage, aeration, and nutrients for your plants to soak up. Trust me, your veggies will thank you!
How do I ensure proper drainage in my DIY raised garden bed?
Proper drainage is key to a thriving garden. I like to add a layer of gravel or broken pottery at the bottom of my DIY raised beds, and then line them with a breathable landscape fabric. This combo helps excess water escape, preventing waterlogged soil and root rot – trust me, it’s a game-changer!
Can I use reclaimed or recycled materials for building my raised garden bed?
Absolutely, I’m all about giving old materials a new life. Reclaimed or recycled wood, like pallets or fencing, can add a unique touch to your raised garden bed. Just make sure to clean and disinfect them properly before use. I’ve even used old brick and stone in my own projects – the key is to get creative and have fun with it!