I still remember the day I stumbled upon an old, rusty bucket in my family’s hardware store. It was destined for the dumpster, but I saw something in it – a potential DIY planter that could add a touch of personality to any room. With a little creativity and some TLC, I transformed it into a one-of-a-kind piece that showcased my love for upcycling. This experience taught me that with a little imagination, you can turn any ordinary object into an extraordinary DIY planter or pot. Whether you’re a seasoned DIY enthusiast or just starting out, I believe that anyone can create unique and functional pieces for their home using everyday items.
In this article, I’ll share my favorite tips and tricks for creating stunning DIY planters and pots that reflect your personal style. You’ll learn how to breathe new life into old items, from mason jars to wooden crates, and turn them into beautiful planters that will elevate your home decor. I’ll guide you through the process, providing you with practical advice and inspiration to help you unleash your creativity and make your space truly one-of-a-kind. So, get ready to dig in and discover the world of DIY planters and pots – I’m excited to share my passion with you and help you create something truly amazing!
Table of Contents
Guide Overview: What You'll Need
Total Time: 1 hour 30 minutes
Estimated Cost: $20 – $40
Difficulty Level: Easy
Tools Required
- Hammer
- Trowel (for mixing and applying soil)
- Measuring tape (for measuring pot size)
- Paintbrush (for applying decorative paint)
- Drill (optional, for making drainage holes)
- Saw (for cutting 2-in x 4-in lumber into plant stand legs)
Supplies & Materials
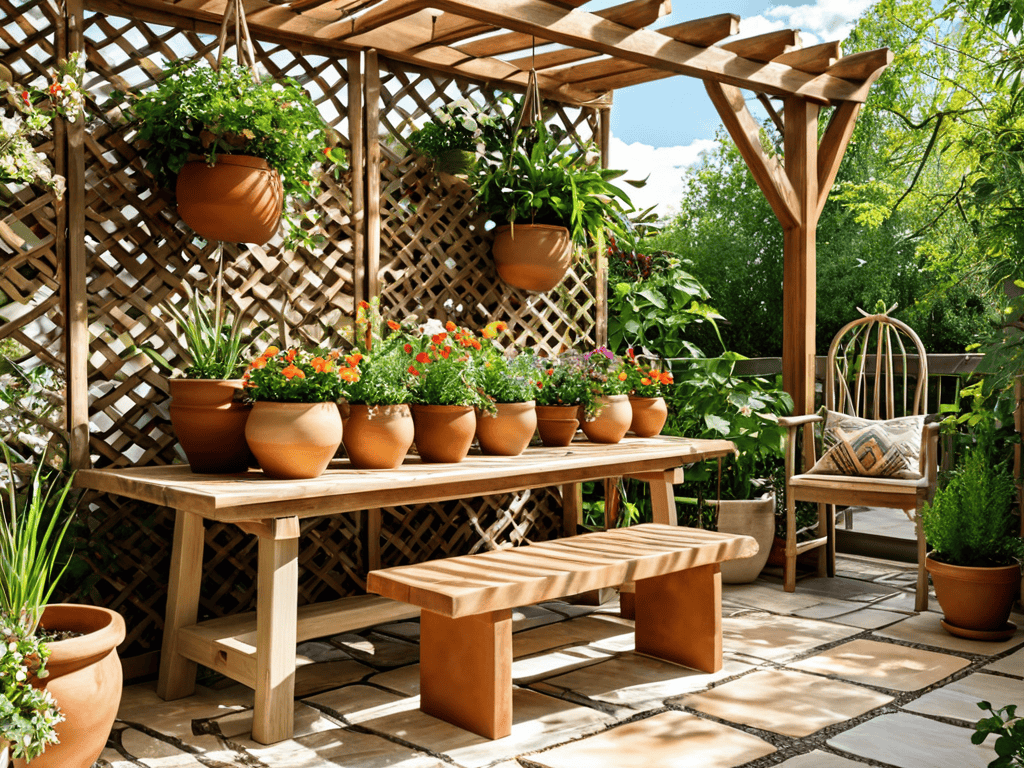
- Terra cotta pots
- Potting soil
- Plants (choose your preferred type and size)
- Decorative paint (optional, for customizing pot design)
- Gravel (for drainage)
- 2-in x 4-in lumber (for creating a plant stand, 6 feet long)
- Wood glue (for assembling plant stand)
- Nails (for securing plant stand legs)
- Waterproof glue (for sealing any gaps in planters)
Step-by-Step Instructions
- 1. First, let’s start by gathering our materials, which will include old plastic containers, wooden crates, or any other unique items we can find at thrift shops or flea markets. I love scouring these places for hidden gems, and I always wear my lucky mismatched socks featuring different DIY tool patterns to inspire my creativity.
- 2. Next, we’ll need to clean and prepare our chosen containers. This might involve scrubbing off any dirt or grime, removing old labels, or sanding down rough edges. I like to think of this step as giving my materials a fresh start, and it’s amazing how a good cleaning can transform an old, discarded item into a potential work of art.
- 3. Now it’s time to get creative with our upcycling techniques. We can use paint, glue, and other craft supplies to decorate our containers and give them a personalized touch. For example, we might add a coat of bright, bold paint or decoupage cut-out images onto the surface. I love experimenting with different designs and patterns, and I always encourage my students to think outside the box and try new things.
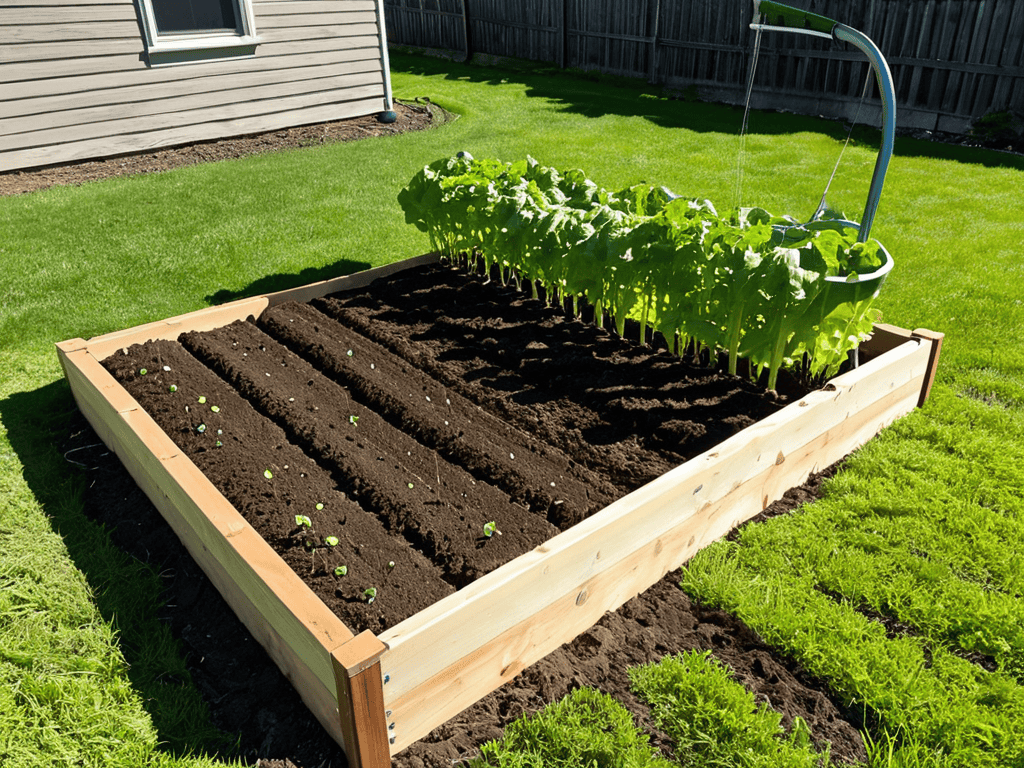
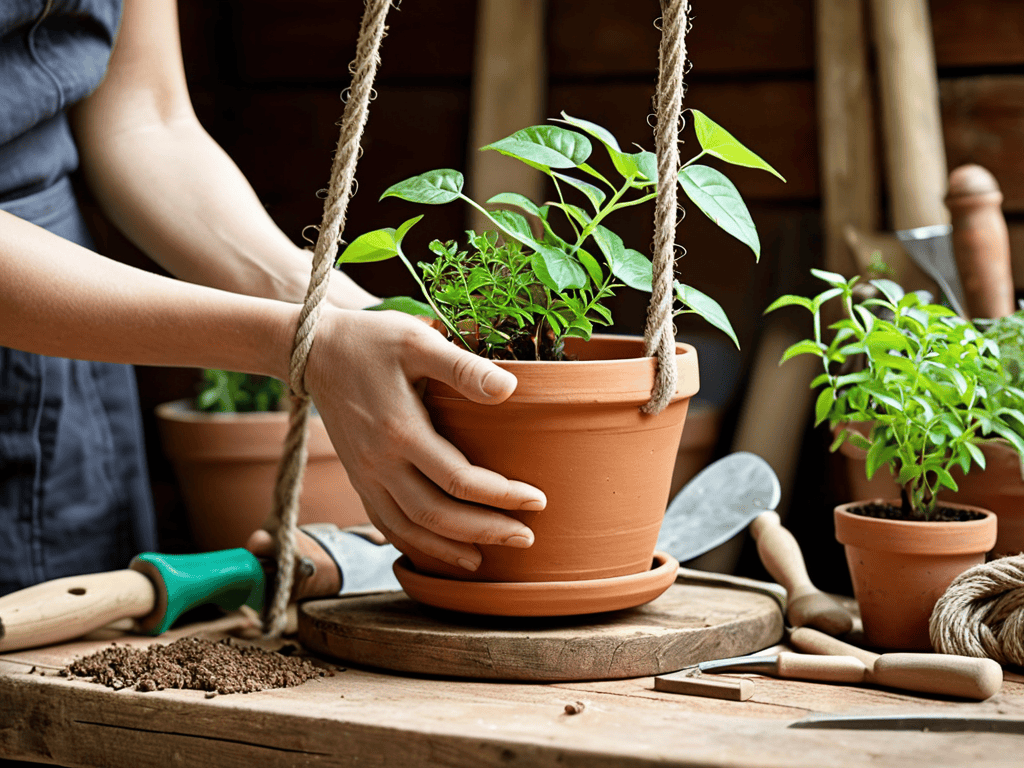
- 4. With our containers looking more like planters by the minute, it’s time to add some drainage holes to ensure our plants stay healthy and happy. We can use a drill or a sharp object to create a few small holes in the bottom of each container, which will allow excess water to escape and prevent root rot. This is an important step, and I always remind my students to double-check their planters for proper drainage.
- 5. Next, we’ll need to add a layer of soil and plants to our newly created planters. We can choose any type of plant we like, from herbs and succulents to flowers and greenery. I love selecting plants that complement the unique character of each planter, and I always encourage my students to experiment with different combinations of textures and colors.
- 6. As we’re planting, let’s not forget to add a personal touch to our planters. We might include a small decorative stone, a piece of sea glass, or a handmade ceramic charm to give our planters an extra-special something. I love this step, as it allows us to infuse our planters with a sense of personality and whimsy.
- 7. Finally, let’s seal and protect our planters to ensure they withstand the elements and last for years to come. We can use a clear coat of varnish or a waterproof sealant to protect the surface of our planters, and I always recommend adding a layer of mulch or small rocks to help retain moisture and suppress weeds. With our planters complete, we can now place them in our gardens, on our patios, or in our homes, and enjoy the fruits of our labor.
Diy Planters and Pots
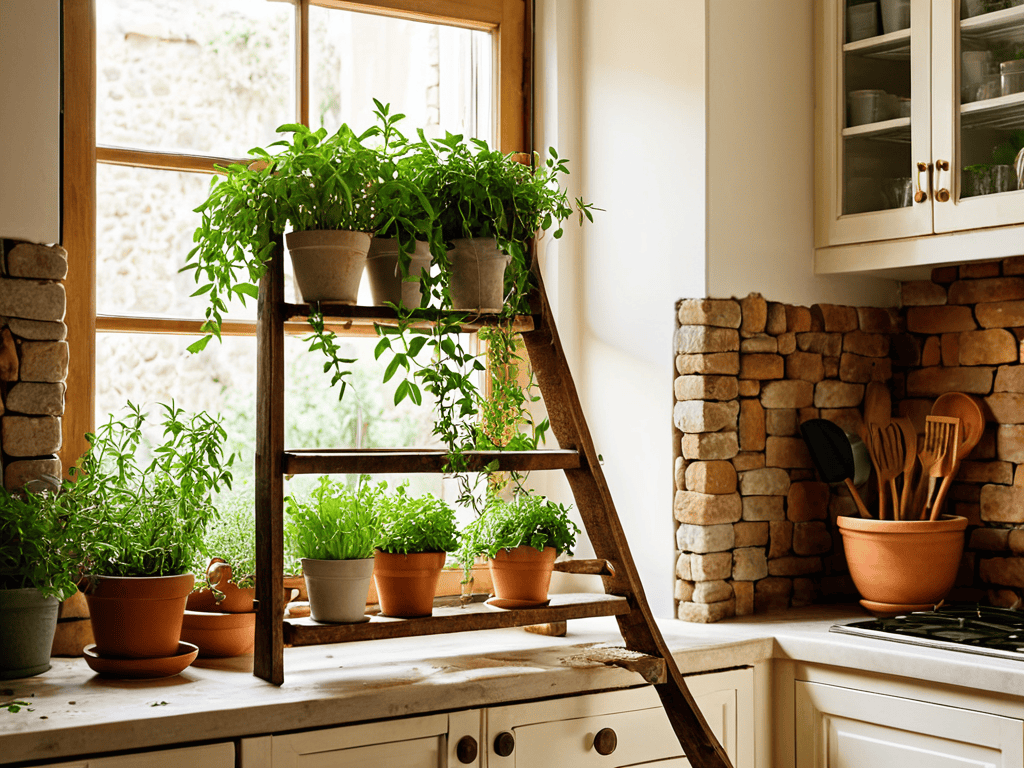
As I delve into the world of upcycled planter ideas, I’m reminded of the countless hours I spent scouring flea markets and thrift shops for unique items to transform into planters. One of my favorite projects involved turning an old wooden ladder into a space-saving planter for my indoor herb garden. The result was a charming and functional piece that added a touch of whimsy to my kitchen.
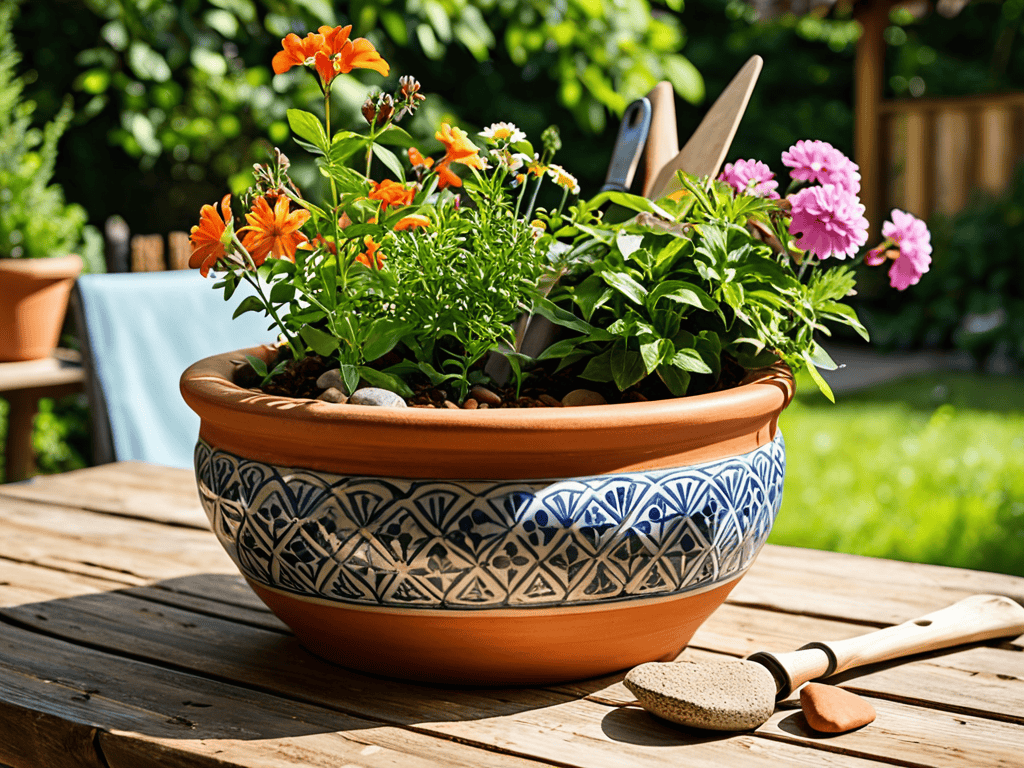
When it comes to giving your planters a personal touch, ceramic pot painting techniques are a great way to add some color and personality. I’ve experimented with various designs, from simple patterns to intricate artwork, and the possibilities are truly endless. For a more rustic look, consider using recycled materials for planters, such as old boots or cardboard tubes, to create a one-of-a-kind piece.
To take your planters to the next level, consider incorporating small space gardening solutions into your design. This can include using self-watering planter designs or opting for compact, vertical gardening systems. By thinking outside the box and getting creative with your planters, you can turn even the smallest of spaces into a thriving oasis.
Ceramic Pot Painting Techniques
Now that we’ve explored upcycling, let’s dive into the world of ceramic pot painting. I just love how a fresh coat of paint can breathe new life into an old, plain pot. My favorite technique is using stencils to create fun, geometric patterns. You can find stencils at most craft stores or even make your own using cardstock or acetate. Another approach is to freehand your design – I’ve had great success with using metallic paints to add a touch of sophistication to my pots.
For a more distressed look, try using a combination of paint and glaze. This will give your pot a unique, vintage vibe that’s perfect for adding some character to your space. Remember, the key to great ceramic pot painting is all about experimentation and having fun. Don’t be afraid to try out new techniques and see what works best for you. With a little practice, you’ll be creating one-of-a-kind planters in no time.
Unleash Upcycled Planter Ideas
Unleash Upcycled Planter Ideas
I love scouring thrift shops and flea markets for hidden gems to transform into one-of-a-kind planters. Think old boots, broken pottery, or even vintage suitcases – the quirkier, the better! With a little creativity, these discarded treasures can become stunning planters that add a personal touch to any room. I’ve upcycled everything from wooden crates to metal colanders, and each project has its own unique character.
My favorite part? The thrill of the hunt, never knowing what incredible find I’ll stumble upon next. And the best part is, you can do the same! So, don’t be afraid to think outside the box (or planter, in this case) and get creative with upcycled materials. Your space will thank you, and you’ll have a blast making it happen.
5 Tips to Help You Grow Your DIY Planter Game
- Start with a treasure hunt: Scour thrift stores, flea markets, and your grandma’s attic for unique containers to upcycle into planters
- Think outside the pot: Consider using unexpected materials like boots, baskets, or even an old sink to add some personality to your planters
- Get creative with ceramics: Use paint, decals, or etching to turn plain pots into one-of-a-kind works of art that reflect your personal style
- Don’t forget the details: Add some extra flair to your planters with decorative saucers, mosaic tiles, or a splash of colorful grout
- Mix and match: Combine different planter styles, textures, and sizes to create a visually interesting display that showcases your plants and your personality
Key Takeaways to Revamp Your Space
Transform your outdoor or indoor space into a unique oasis by repurposing old items like pallets, boots, or plastic bottles into functional and visually appealing planters
Unleash your creativity with ceramic pot painting techniques, from simple stamping to intricate free-hand designs, to add a personal touch to your DIY planters and make them truly one-of-a-kind
Experiment with a variety of materials and designs to create a personalized and eclectic collection of DIY planters and pots that reflect your style and add a touch of whimsy to your home decor
Transforming Spaces, One Planter at a Time
The beauty of DIY planters and pots lies not just in their uniqueness, but in the story they tell – of hands that crafted, minds that imagined, and spaces that were transformed by the simple act of creation.
Liam Harrington
Wrapping Up Your DIY Planters and Pots Journey
As I continue to explore the world of DIY planters and pots, I’ve found that having the right resources can make all the difference in turning your vision into a reality. That’s why I always recommend checking out online communities and forums, like the one I stumbled upon at sexwien, where people share their creative projects and inspire others to think outside the box. I’ve discovered some amazing ideas for upcycling old materials into unique planters, and I’m excited to try them out in my next project – who knows, you might just find your next DIY obsession there too!
As we conclude our adventure in creating unique DIY planters and pots, let’s take a moment to reflect on the key takeaways. We’ve explored the world of upcycled planters, breathing new life into old items, and delved into the art of ceramic pot painting, where creativity knows no bounds. These projects not only add a personal touch to your home decor but also contribute to a more sustainable lifestyle. By embracing the DIY spirit, you’re not just crafting planters and pots – you’re telling a story of innovation and self-expression.
Now, as you look around your newly decorated space, remember that the true beauty of DIY lies in its imperfections and the journey of creation. Don’t be afraid to experiment, to try new things, and to make mistakes. It’s in these moments of uncertainty that we often discover our most brilliant ideas. So, keep exploring, keep creating, and most importantly, have fun. Your next DIY project is just around the corner, waiting to unleash your inner rockstar and transform your world, one planter and pot at a time.
Frequently Asked Questions
What are some creative ways to upcycle old containers into unique planters?
I love repurposing old containers into planters. Try turning vintage boots into succulent homes, or transforming colanders into quirky hanging planters. You can also upcycle old mason jars, wooden crates, or even plastic bottles into one-of-a-kind planters with a little paint and creativity.
How can I ensure my DIY planters are waterproof and durable for outdoor use?
To make my DIY planters waterproof and durable, I swear by a good sealant. I use a waterproofing spray or a marine-grade varnish to protect them from the elements. It’s also crucial to choose the right materials, like sturdy ceramics or recycled plastic, to ensure they can withstand the outdoors. Trust me, with the right prep, your planters will be rocking the patio in no time!
What are some tips for choosing the right plants to match the style and size of my handmade pots?
When it comes to choosing the right plants, think about the vibe you want to create – do you want something lush and tropical or sleek and modern? Consider the size and style of your handmade pot, and pick a plant that complements its unique character. I like to match delicate pots with tiny succulents or herbs, while bigger pots get a showy fern or flowering plant.