
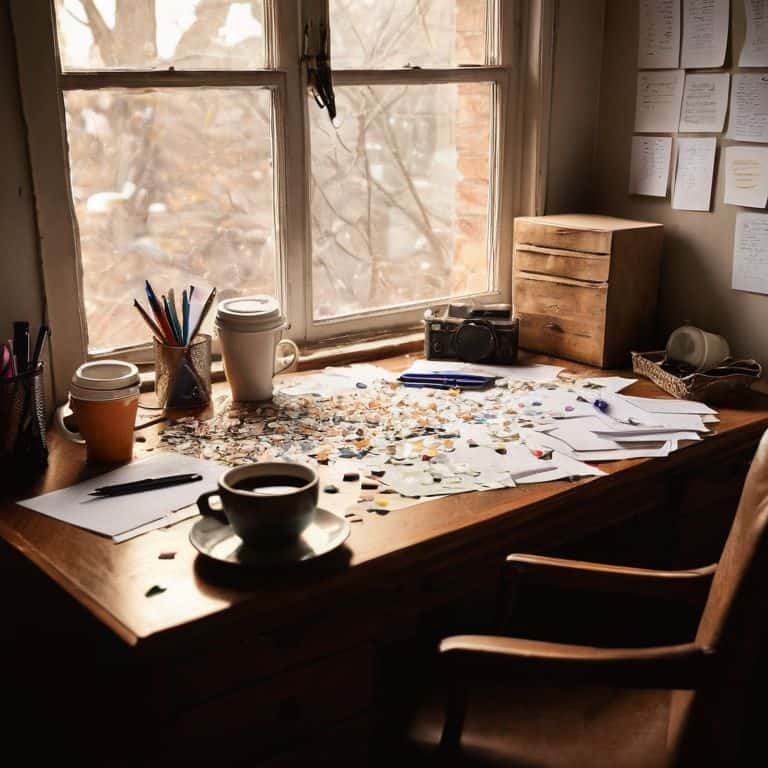
I still remember the day I stumbled upon a vintage typewriter in a thrift shop, and it sparked a DIY brainstorming session that changed the way I approach creativity. The common myth is that you need a fancy office or a team of experts to come up with innovative ideas, but I’ve found that sometimes the best ideas come from the most unexpected places. A DIY brainstorming session can be as simple as gathering a few friends, some markers, and a willingness to think outside the box.
In this article, I’ll share my personal approach to hosting a successful DIY brainstorming session. You’ll learn how to create a space that fosters creativity, how to encourage wild and wacky ideas, and how to turn those ideas into tangible projects. I’ll give you the honest, no-hype advice you need to get started, from preparing the right materials to facilitating a productive discussion. By the end of this guide, you’ll be equipped to host your own DIY brainstorming session and unlock the full potential of your creativity. So, let’s get started and see where the journey takes us!
Table of Contents
Guide Overview: What You'll Need
Total Time: 1 hour 30 minutes
Estimated Cost: $0 – $10
Difficulty Level: Easy
Tools Required
- Whiteboard (or large piece of paper)
- Markers (assorted colors)
- Sticky Notes (various sizes)
- Timer (optional)
Supplies & Materials
- Comfortable Seating (for participants)
- Water and Snacks (to keep participants energized)
- Blank Paper (for note-taking)
Step-by-Step Instructions
- 1. First, let’s set the scene for our DIY brainstorming session – gather your crew, and choose a space that sparks creativity, whether it’s your backyard, a local park, or even a cozy corner in your home. Make sure it’s comfortable and free from distractions, so you can all focus on unleashing your inner DIY rockstars.
- 2. Next, get your materials ready – we’re talking markers, sticky notes, scissors, glue, and any other crafty supplies that will help bring your ideas to life. Don’t worry too much about what you have, just make sure you have a good mix of tools to keep things interesting and interactive. Oh, and don’t forget the snacks – a well-fed brain is a happy brain, after all.
- 3. Now it’s time to warm up those creative juices – start with some fun icebreaker games or activities that will get everyone in the right mindset. This could be anything from a quick round of “DIY-themed Pictionary” to a group challenge to come up with as many uses for a paperclip as possible. The goal is to get those ideas flowing and to have a blast while doing it.
- 4. With your creative engines revving, it’s time to dive into the brainstorming session itself. Start by throwing out a few central themes or questions to get the conversation started – these could be related to a specific project you’re working on, or just some general prompts to get the ideas flowing. Encourage wild, wacky, and wonderful suggestions – the more outrageous, the better.
- 5. As the ideas start to flow, make sure to capture them – use those markers and sticky notes to jot down every suggestion, no matter how crazy it may seem. Don’t worry about judging or editing at this stage, just focus on getting everything down on paper. You can always refine and prioritize later, but for now, it’s all about embracing the chaos and seeing where it takes you.
- 6. With your ideas captured, it’s time to start making connections – look for common themes, patterns, or threads that run through your suggestions. Use your materials to start grouping and linking ideas, and see if you can start to build a cohesive vision or plan. This is where the magic happens, and you start to turn those wild ideas into something truly tangible.
- 7. Finally, put your plan into action – take the ideas and concepts you’ve developed, and start to turn them into a concrete plan of action. Break down bigger projects into smaller, manageable tasks, and assign responsibilities to each member of your crew. With a clear roadmap and a team of motivated DIY enthusiasts, you’ll be amazed at what you can accomplish – and have a blast doing it.
Diy Brainstorming Session

As I always say, the key to a successful creative problem solving exercise is to get everyone involved and invested in the process. That’s why I love using _group mind mapping strategies_ to generate ideas and encourage collaboration. By visualizing our thoughts and ideas, we can start to see connections and patterns that might not have been immediately apparent. Plus, it’s a great way to get everyone moving and engaged – who doesn’t love a good brainstorming session with sticky notes and markers?
When it comes to facilitating these sessions, I’ve found that effective meeting facilitation techniques can make all the difference. It’s not just about throwing a bunch of people in a room and hoping for the best – you need to have a plan and a process in place to ensure that everyone’s voice is heard and that ideas are being generated and built upon. I like to use a combination of virtual and in-person tools to keep things fresh and exciting.
By incorporating _collaborative note taking techniques_ and idea generation and prioritization methods, you can take your brainstorming sessions to the next level. Don’t be afraid to think outside the box and try new things – and always remember to have fun! With a little creativity and a lot of enthusiasm, you can unlock the full potential of your team and come up with innovative solutions to even the toughest challenges.
Effective Meeting Facilitation Unleashed
As we dive into the world of DIY brainstorming, it’s essential to have a solid plan in place to facilitate those creative juices. I like to think of it as “construction” – we’re building a space where ideas can flow freely. To get started, assign a meeting leader to keep the conversation on track and ensure everyone gets a turn to share their thoughts. This person can also help guide the group through any roadblocks, keeping the energy high and the ideas flowing.
By establishing a positive and supportive environment, you’ll be amazed at the innovative solutions that emerge. I recall a recent workshop where we transformed an old door into a stunning coffee table – the ideas were buzzing, and everyone left feeling inspired. Remember, the goal is to encourage wild, wonderful ideas, not to critique them just yet. So, let’s get facilitation frenzy started and watch those creative sparks fly!
Group Mind Mapping Strategies Revealed
Now that we’ve got our creative juices flowing, it’s time to dive into the nitty-gritty of group mind mapping. This is where the magic happens, folks! I like to think of it as a collaborative puzzle, where each participant brings their unique perspective to the table. We start by writing down ideas, no matter how wild or wacky, on sticky notes or a giant whiteboard. Then, we begin to connect the dots, literally, by drawing lines and grouping related concepts together. It’s amazing to see how quickly a jumbled mess of ideas can transform into a cohesive, visual roadmap.
As we map out our ideas, I encourage everyone to think outside the box (or in this case, the room!). We’re talking crazy, zany, and sometimes downright impossible schemes. The goal is to tap into that collective genius, where 1 + 1 equals 3 (or 10, or 100!). By embracing the absurd and the unknown, we can stumble upon innovative solutions that might have otherwise gone unnoticed. Trust me, it’s a thrill unlike any other – and it’s all about embracing the chaos and having fun with it!
5 Tips to Turbocharge Your DIY Brainstorming Session

- Set the scene: ditch the conference room and opt for a cozy, eclectic space that sparks creativity, like a vintage-themed cafe or your own backyard oasis
- Round up the right crew: gather a diverse group of friends, family, or fellow DIY enthusiasts who share your passion for creative problem-solving and aren’t afraid to think outside the box
- Get your hands dirty: incorporate tactile elements like LEGO, playdough, or even DIY tool-patterned socks (like mine!) to keep minds engaged and fingers busy
- Free-flowing frenzy: establish a ‘no judgment’ zone where wild, wacky ideas are encouraged, and the phrase ‘that’s a crazy idea’ is replaced with ‘that’s a crazy awesome idea’
- Capture the chaos: appoint a ‘chief idea catcher’ to jot down, record, or sketch out the best ideas, and make sure to review, refine, and build upon them in future sessions
Key Takeaways to Revolutionize Your DIY Brainstorming
Embracing the chaos of DIY brainstorming can lead to innovative solutions and a deeper connection with your community, so don’t be afraid to get a little messy and try new things
Effective meeting facilitation is crucial, but it’s equally important to remember that DIY brainstorming is all about experimentation and having fun – so keep it light, keep it loose, and always keep those creative juices flowing
By incorporating group mind mapping strategies and encouraging wild, unconventional ideas, you’ll not only foster a culture of creativity but also discover hidden talents and passions within your team, leading to a more dynamic and inspired collaborative environment
Unleashing Creative Chaos
A DIY brainstorming session is like rummaging through a thrift store – you never know what hidden gems you’ll uncover, but with a little creativity and a lot of curiosity, you can turn any old thing into something truly extraordinary.
Liam Harrington
Wrapping Up Your DIY Brainstorming Adventure
As we conclude our journey through the world of DIY brainstorming sessions, let’s take a moment to reflect on the key takeaways. We’ve explored the importance of effective meeting facilitation, where a well-structured approach can make all the difference in unlocking your team’s creative potential. We’ve also delved into group mind mapping strategies, discovering how this visual approach can help stimulate innovative ideas and bring your projects to life. By embracing these principles, you’ll be well on your way to hosting successful DIY brainstorming sessions that yield tangible results.
So, as you embark on your next DIY project, remember that the true magic lies not just in the end result, but in the creative journey itself. Don’t be afraid to think outside the box, to experiment, and to push beyond your comfort zone. With a playful spirit, a willingness to take risks, and a pair of mismatched socks for good luck, you’ll be unstoppable. Happy building, and I look forward to seeing the amazing things you’ll create!
Frequently Asked Questions
How can I ensure that all participants in my DIY brainstorming session feel heard and included?
To make sure everyone’s voice is heard, I like to kick off my DIY brainstorming sessions with a fun icebreaker that gets everyone chatting. Then, I encourage each participant to share one idea before we open the floor for discussion – it’s amazing how this simple trick ensures everyone feels seen and heard!
What are some effective ways to deal with distractions or dominant personalities during a DIY brainstorming session?
When distractions or dominant personalities arise, I swear by the ‘parking lot’ method – jot down tangents and table them for later. For dominant voices, set a ‘talking stick’ rule or assign a facilitator to keep the creative train on track, ensuring everyone’s ideas shine.
How can I translate the ideas generated during a DIY brainstorming session into tangible, actionable projects?
Now that we’ve got a storm of ideas, let’s turn them into reality! I like to use a simple framework: prioritize, categorize, and assign tasks. Take your top ideas, group them into themes, and delegate tasks to team members. This will help you create a clear roadmap for bringing your DIY projects to life.