I still remember the day I stumbled upon the concept of a minimalist workflow in my DIY projects – it was like a weight had been lifted off my shoulders. I had always been fascinated by the idea of stripping away the clutter and finding freedom in a more streamlined approach, but it wasn’t until I started applying it to my own work that I realized just how powerful it could be. The common myth that a minimalist workflow means sacrificing creativity or quality is simply not true – in fact, I’ve found that it’s quite the opposite.
As you dive into this article, you can expect to learn the practical tips and tricks I’ve picked up along the way to implement a minimalist workflow in your own DIY projects. I’ll be sharing my personal story, including the challenges I faced and the lessons I learned, to help you avoid common pitfalls and get the most out of this approach. From simplifying your toolkit to streamlining your design process, I’ll be covering it all in a way that’s easy to understand and apply to your own work. By the end of this article, you’ll be equipped with the knowledge and inspiration you need to transform your own workflow and take your DIY projects to the next level.
Table of Contents
Guide Overview: What You'll Need

Total Time: 1 hour 15 minutes
Estimated Cost: $0 – $10
Difficulty Level: Easy
Tools Required
- Pencil (for labeling)
- Sticky Notes (for temporary reminders)
- Whiteboard and Markers (for visual planning)
- Computer or Mobile Device (for digital organization tools)
Supplies & Materials
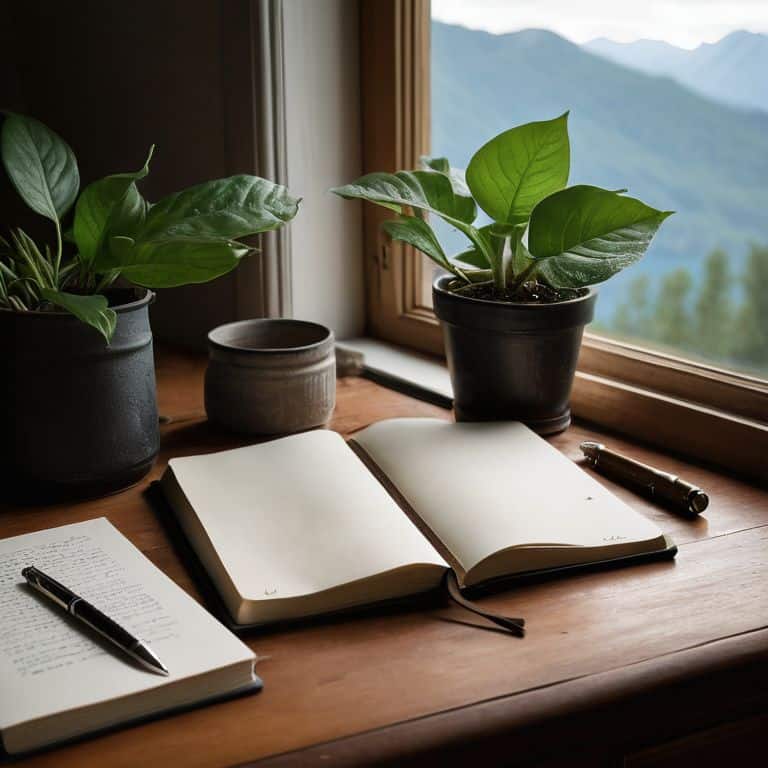
- Notebook or Journal (for brainstorming and note-taking)
- Folder or Binder (for organizing documents)
- Digital Storage Device (for backing up files)
- Minimalist Planner or Calendar (for scheduling and time management)
Step-by-Step Instructions
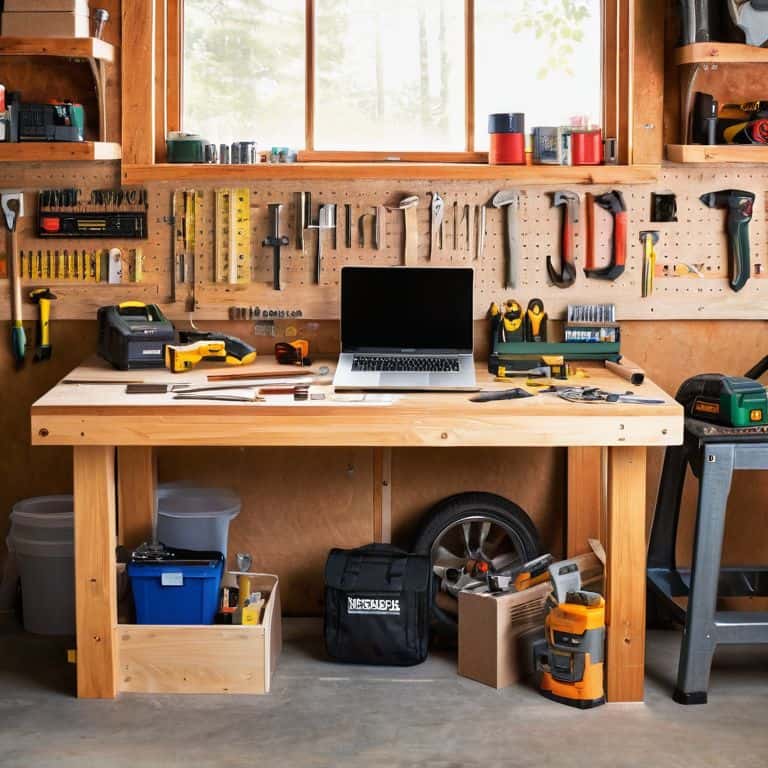
- 1. First, let’s clear the clutter and get down to business – start by gathering all your DIY tools and supplies and sorting them into categories, like painting, woodworking, and electrical work. This will help you see what you have and what you can get rid of, making it easier to adopt a more streamlined approach to your projects.
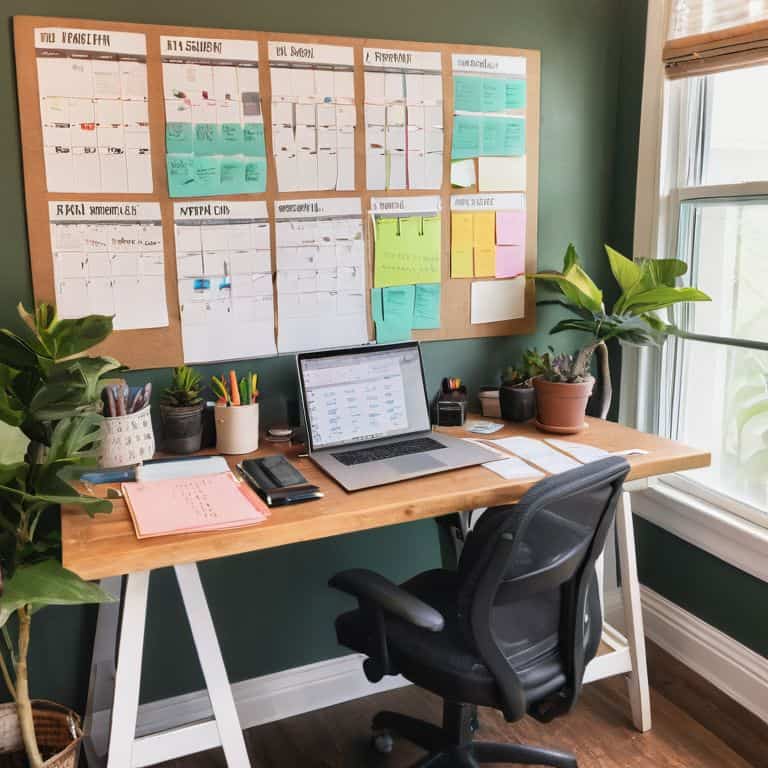
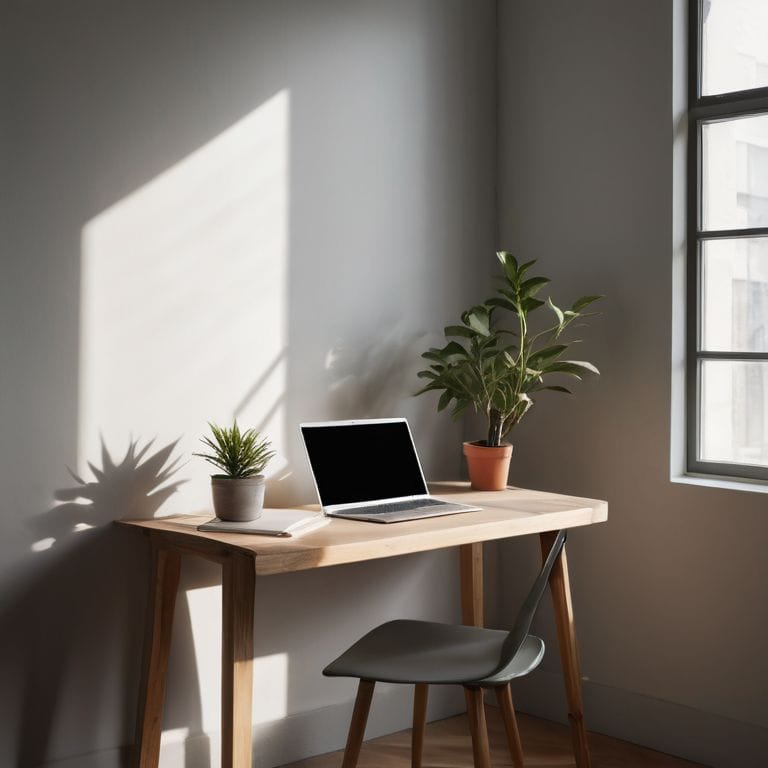
- 2. Next, designate a specific workspace for your DIY projects, and make sure it’s well-ventilated and well-lit – natural light is always a plus, but if that’s not possible, invest in a good lamp or two. This will be your minimalist hub, where you can focus on your work without distractions.
- 3. Now, let’s talk about the tools of the trade – take a closer look at your sorted supplies and get rid of anything that’s broken, outdated, or just plain unnecessary. Be ruthless – if you haven’t used it in the past year, it’s probably safe to say you won’t miss it. This will help you simplify your workflow and reduce decision fatigue.
- 4. Once you’ve pared down your supplies, it’s time to think about storage solutions that will keep your workspace organized and clutter-free. Consider investing in a few modular storage units, like bins or baskets, that can be easily labeled and accessed. This will help you keep everything in its place and make the most of your minimalist workspace.
- 5. With your workspace and supplies in order, it’s time to think about your project workflow – break down your DIY projects into smaller, manageable tasks, and create a schedule that works for you. This might mean setting aside a few hours each weekend to work on your projects, or dedicating a specific day to a particular task, like painting or sandpapering.
- 6. As you work on your projects, remember to stay focused and avoid multitasking – it’s tempting to try to tackle multiple tasks at once, but this can lead to distractions and a decrease in overall quality. Instead, try to immerse yourself in the task at hand, and take regular breaks to rest your mind and recharge your creative batteries.
- 7. Finally, don’t be afraid to experiment and adapt as you go – a minimalist workflow is all about finding what works for you and embracing the process, not just the end result. Be willing to try new things, take risks, and learn from your mistakes – this is where the real magic happens, and you’ll be surprised at how much more creative and productive you can be when you’re not weighed down by clutter and distractions.
Embracing Minimalist Workflow
As I delve deeper into the world of streamlining tasks for efficiency, I’ve come to realize that it’s all about finding a rhythm that works for me. By adopting an essentialist approach to work, I’ve been able to cut out the noise and focus on what really matters. This means being intentional about the tasks I take on and eliminating anything that doesn’t align with my goals.
One of the biggest game-changers for me has been simplifying digital tools. I used to have a plethora of apps and software that I thought would make my life easier, but in reality, they just added to the clutter. By paring down my digital toolkit, I’ve been able to create a distraction-free environment that allows me to stay focused on the task at hand. Whether I’m working on a new DIY project or writing a blog post, I can count on my streamlined setup to help me stay on track.
By prioritizing tasks with the Eisenhower matrix, I’ve been able to tackle even the most daunting projects with ease. This simple yet effective tool has helped me to break down complex tasks into manageable chunks, making it easier to stay on top of my work. And as an added bonus, I’ve started to see the benefits of a paperless office – not only is it better for the environment, but it’s also helped me to stay organized and focused.
Simplifying Digital Tools for Distraction Free Work
For me, simplifying digital tools is all about paring down to the essentials. I ditched my bulky project management software for a trusty notebook and a few carefully chosen apps. Now, I can focus on the fun stuff – like upcycling old furniture finds. By streamlining my digital toolkit, I’ve reduced distractions and freed up mental space for more creative pursuits.
I’ve also implemented a “tool timeout” rule: if I haven’t used a digital tool in a week, it’s gone. This helps me stay clutter-free and avoid the temptation to over-research or over-plan. With a leaner digital workflow, I can dive straight into my DIY projects and let my imagination run wild.
Streamlining Tasks for Creative Freedom
For me, streamlining tasks is all about finding that sweet spot where creativity and productivity collide. By paring down my to-do list to only the essentials, I’m able to focus on the fun stuff – like upcycling vintage finds or experimenting with new DIY techniques. It’s amazing how a little bit of simplicity can spark a whole lot of innovation. I’ve found that when I’m not bogged down by clutter – physical or mental – I’m free to explore new ideas and bring my most imaginative projects to life.
This approach has been a total game-changer for my urban treasure hunting adventures, too. With a clear mind and a lean workflow, I can devote more energy to scouring flea markets and thrift shops for hidden gems, and then turn them into something truly unique. It’s all about creating space – literally and figuratively – for creativity to flourish.
Screw Loose: 5 Essential Tips to Tighten Up Your Minimalist Workflow
- Start with a clean slate: Clear out your workspace and digital tools to get a sense of what you really need to create
- Ditch the duplicates: Identify redundant tasks and tools, and streamline your process to avoid unnecessary clutter
- Schedule sanity: Set aside dedicated time for focused work, eliminating distractions and minimizing multitasking
- Tool up, not down: Invest in a few high-quality, multipurpose tools that can help you tackle a variety of tasks with ease
- Review and revise: Regularly assess your workflow and make adjustments as needed to ensure you’re staying on track and maintaining your creative momentum
Hammering Home the Essentials
I’ve learned that a minimalist workflow is all about stripping away the noise and focusing on what truly matters – it’s amazing how much more I can accomplish when I’m not bogged down by clutter and distractions!
By streamlining my tasks and simplifying my digital tools, I’ve been able to tap into a sense of creative freedom that’s taken my DIY projects to the next level – it’s like having a superpower in my toolbox!
Remember, the key to making a minimalist workflow work for you is to stay flexible and keep it real – don’t be afraid to experiment, try new things, and always keep your mismatched socks on (just kidding, sort of!)
Finding Freedom in Simplicity
A minimalist workflow isn’t just about clearing clutter, it’s about making space for the beauty of unfinished ideas to unfold into something truly remarkable.
Liam Harrington
Simplifying Your DIY Journey

As I reflect on our journey through implementing a minimalist workflow, I’m reminded of the power of streamlining tasks and simplifying digital tools. By embracing this approach, you’ve taken the first steps towards a more organized, efficient, and creative you. You’ve learned to prioritize your projects, eliminate distractions, and make the most of your time and resources. Whether you’re a seasoned DIY enthusiast or just starting out, a minimalist workflow can help you stay focused and achieve your goals.
So, as you move forward on your DIY path, remember that a minimalist workflow is not just about getting things done, but about cultivating creativity and finding joy in the process. Don’t be afraid to experiment, try new things, and make mistakes – it’s all part of the journey. With a minimalist workflow as your foundation, you’ll be amazed at what you can accomplish, and the unique, one-of-a-kind creations you’ll bring to life.
Frequently Asked Questions
How do I decide which tasks to prioritize and which to cut back on in a minimalist workflow?
For me, it’s all about focusing on the tasks that spark joy and drive progress in my DIY projects. I ask myself, “Which tasks will move the needle?” and “What can I let go of without sacrificing the end result?” It’s all about simplifying and prioritizing to make room for the good stuff.
What are some essential digital tools that I can use to simplify my workflow without sacrificing productivity?
I swear by a few essential digital tools that keep my workflow lean and mean – Trello for task management, Evernote for note-taking, and Canva for design. These gems help me stay focused and organized, without weighing me down with unnecessary features. Give ’em a try and watch your productivity soar!
How can I balance the need for creativity and inspiration with the simplicity and focus of a minimalist workflow?
For me, it’s all about finding that sweet spot where creativity and minimalism coexist. I make time for thrift store treasure hunts and flea market adventures to spark inspiration, then filter those ideas through my minimalist workflow to stay focused and avoid clutter – it’s a balance that works like a charm!